
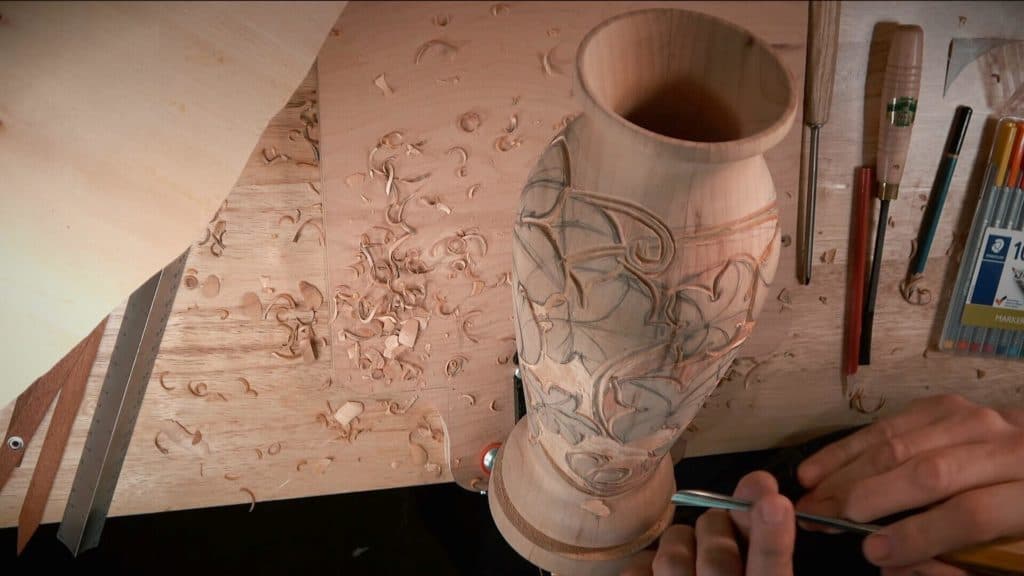
Alexander Grabovetskiy, woodcarver, School of Woodcarving · Published 2020
How do you plan a carving design on a round vase?
Quick answer: Laying out grape leaves on a turned vase is pencil work straight on the bare wood, guided by paper discs sized off the calipers. Each leaf climbs or drops, one vine joins them all the way round, a share of the surface stays background, and a count after the first outline brings the leaves to 13.
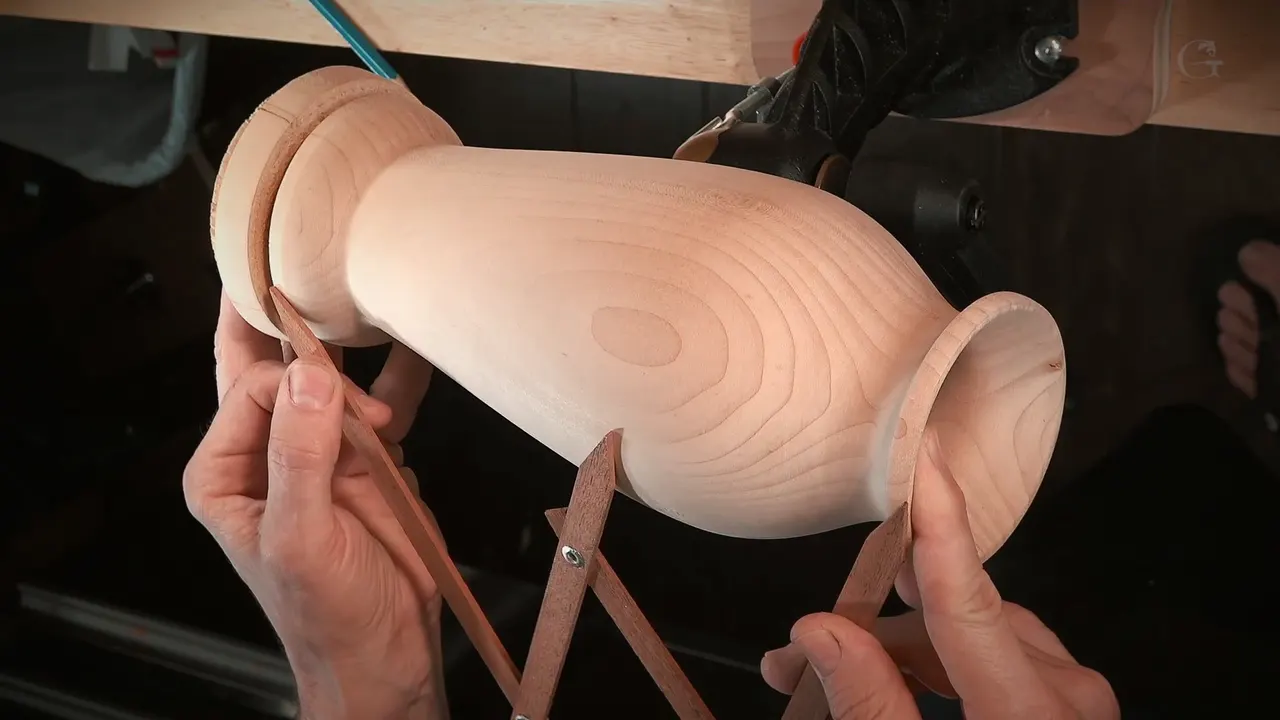
Planning a carving design on a round vase is layout work done on the bare turning, before a gouge goes near it. In lesson 1 of Carving Vase with grape leaves I drew boundary circles on paper, sized off golden ratio calipers, and cut them loose with no compass. Each leaf grew uphill or downhill, and all of them tied into one vine round the body. Some wood stayed as background. The vine went on in marker before the first outline, and once that outline was in, I counted the leaves and added two to make 13.
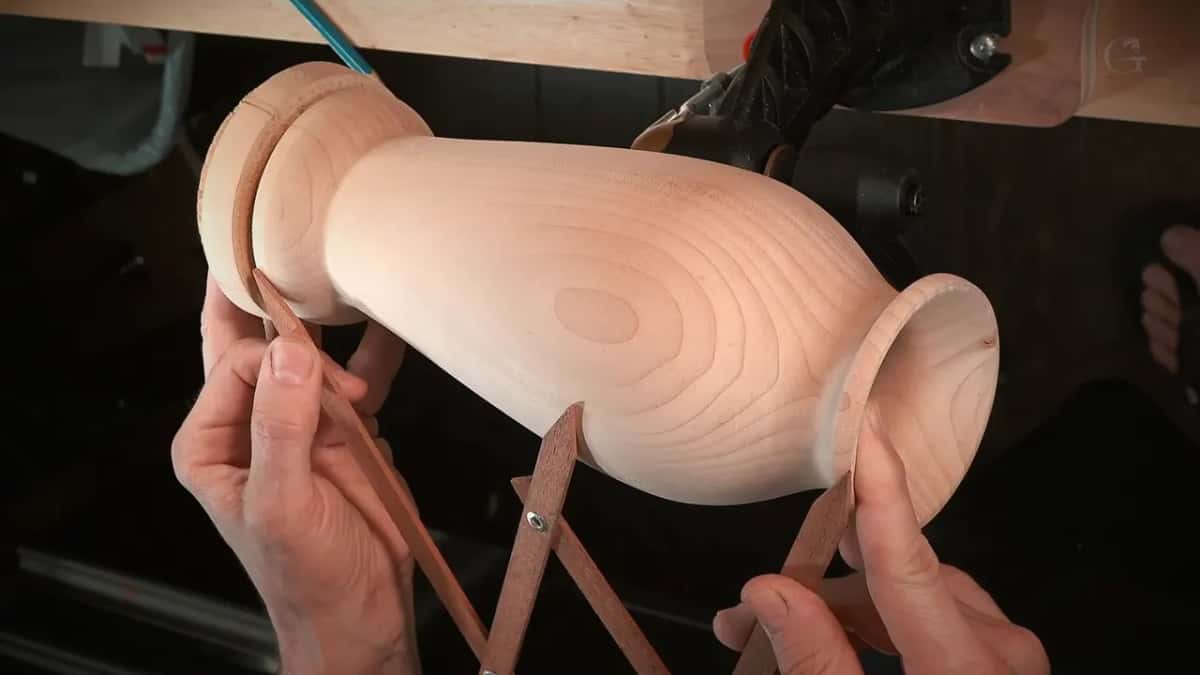
My carved wood vase is a small one. About 10 and a half inches tall (267 mm), about four and a half inches (114 mm) at the widest part, and hollow inside. At the start I was not sure yet what kind of design I'd do. We made it together, right on the fly, right on the piece of wood. But we followed some rules.
Can you hold a pencil? Can you cut a circle out of a sheet of paper? Then you can lay a vine of grape leaves round a vase the way I did, one rule at a time.
My carved wood vase plan, in seven lines
Paper circles in three sizes set the limit of every leaf, and the biggest is as wide as the vase.
A compass is optional.
Every leaf grows uphill or downhill, with some of each filling the space.
One vine ties them, with lines running underneath and dying into the next movement.
Each grape leaf gets five lines from its center, the five division kind I like the most, with eyes on the golden ratio.
Some space stays empty, because I need background area also.
After the outline I counted 11 leaves, then added two more to reach 13.
Where do the first circles come from?
From my calipers, the golden ratio kind, spread to the widest part of the vase. That opening is four and a half inches, and rule number one says it becomes the widest leaf I'm going to create. A second circle took the larger opening at 62 percent, which is the golden ratio if you count point to point as 100 percent.
I drew them on white paper. Then I said, let me take scissors or maybe a knife, and I cut them out. If you want to use a compass, go ahead and do that. I really didn't need it.
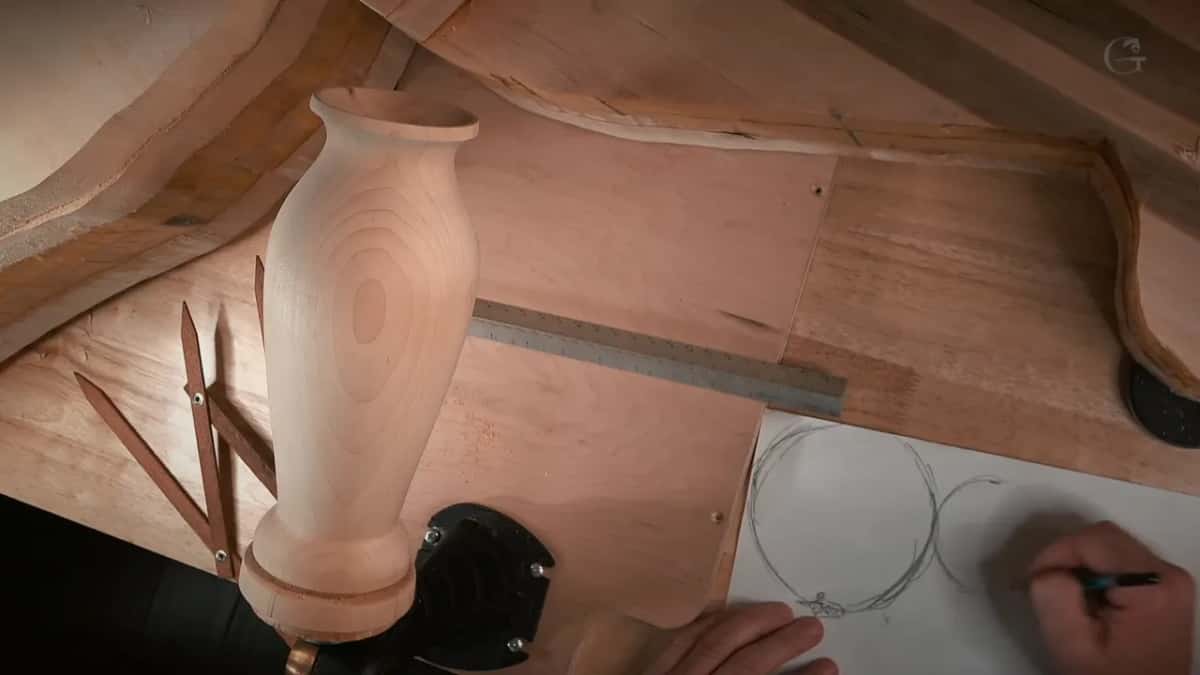
None of it has to be exact, just approximate, and twice in that one part I said so out loud. Those circles are only boundaries. How exact a layout must be on a flat plate is its own question, and Carving Plate with butterflies 1 answers it. Part two left me with three boundary circles, in three sizes, big and medium and small.
Each paper disc went against the round body, and I drew round it with a pencil. The biggest one sits where the calipers put it, on the golden ratio point of the height, and the course page tells that part in full.
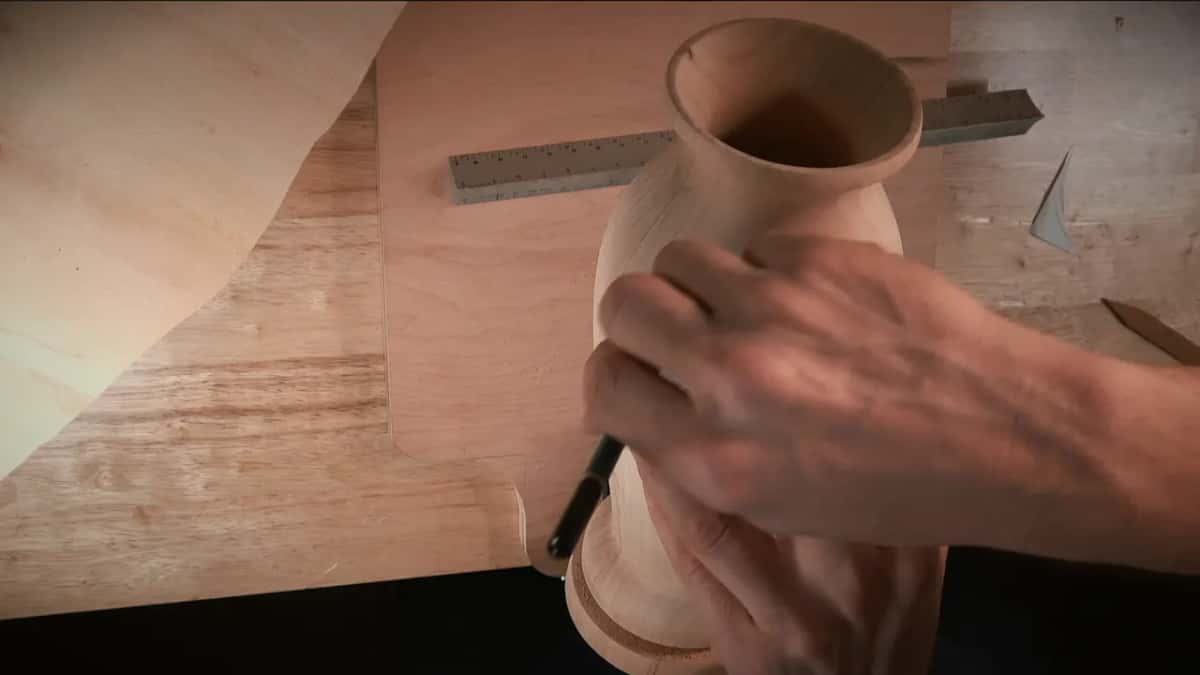
Then I measured the space left between two circles. A bigger space on one side, a smaller opening on the other, and I was on the golden ratio again. That makes me happy, I said. I also didn't want the other side to be exactly the same. Or maybe I do. I don't know.
What is under the pencil on this vase?
Two pieces of wood, glued together and book-matched. I glued them because I knew I would carve it, and I'm not going to show too much grain. The grain runs up in different directions, and one side matches the opposite side very much. It's not really going to matter much, I said.
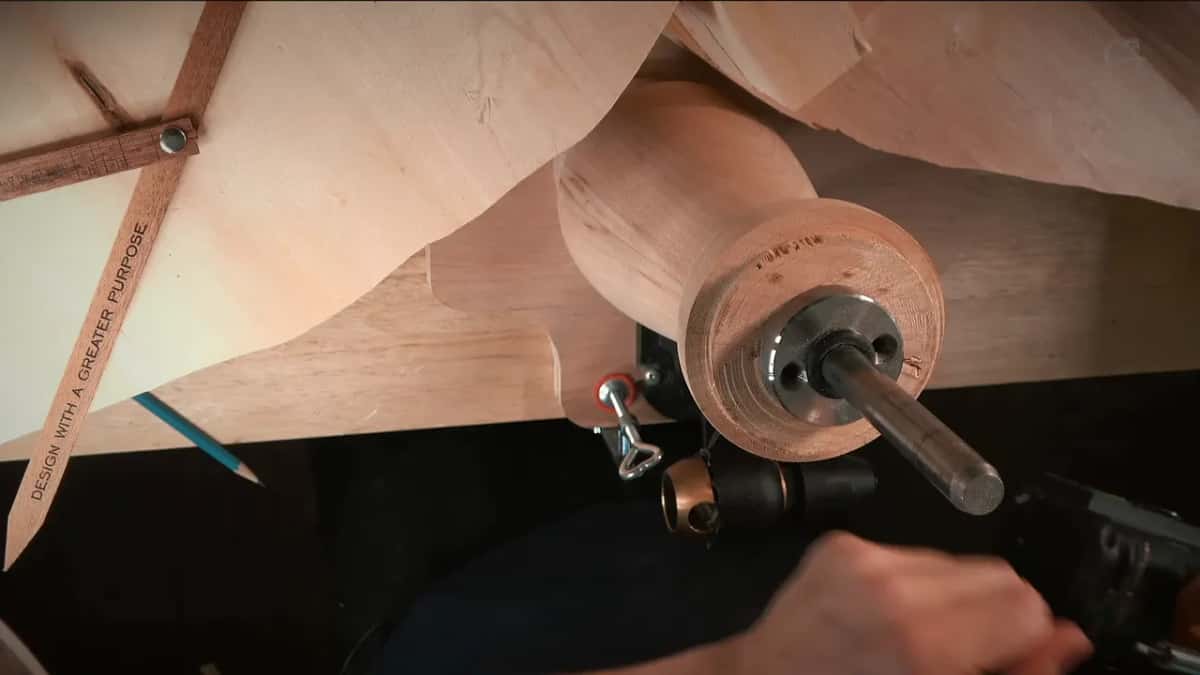
Later, in part five, I remembered to say the wood is basswood, which is limewood, the same wood. When I drew the first stem in part three, there was my marriage line, two pieces glued together, right under my pencil. The vase sat on my carver's vise plate the whole time, so I could rotate it in whatever direction I needed and come at a leaf from a side. I lowered it a little in part eight to attack one area, and raised it in part ten, because it was more convenient.
Which way should each leaf grow?
Up, down, or both, and on this vase I used both. Early in part three I said I could grow the leaves from the bottom of the vase up, or from the top down, which is also legit. Or I could do some up and some down to fill the space, and that is the one I drew.
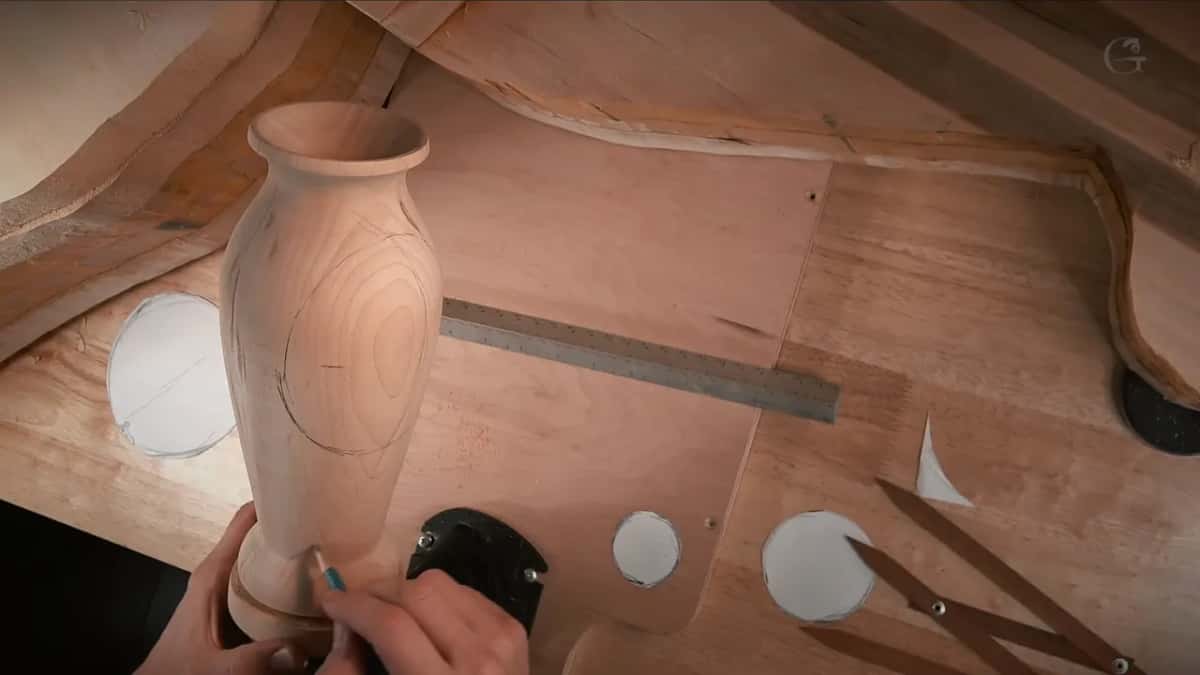
One leaf on the wider side grows uphill, and the leaf next to it grows downhill. On the other side there was the choice of a downhill movement, and a medium leaf went in to tie everything together. One small leaf looked a little too high. I might have to move it downhill, I said, since I don't want to go too high that direction.
By part five one leaf was going up and the same leaf on the other side was going down. For the next one I asked out loud, that way or that way? Both can make sense. I picked the center line that logically just continues this way.
How do the leaves tie into one vine?
By running under each other and carrying on. Filling the space was only half the job, and I wanted every leaf to look like a part of the same branch or vine. So one leaf branched out of the same movement, went underneath that movement all the way, and then it turned.

Small leaves did a lot of that work. A really small one went in and tucked underneath, and a couple more sat together like a cluster. One line I fixed in part six would never be visible. Continue it and it dies in pretty much the same direction as that movement, just like a tie. Another center line dies underneath the big movement.
I kept checking that I wasn't losing the movements. Late in the drawing I added a wrapping movement from underneath, then one more like it, or even a double, whatever you call them. Tiny but nice.

What each mark on the vase was for
Six kinds of marks went onto the bare turning in this lesson, and each one had a single job.
Mark | Purpose | Tool | When |
|---|---|---|---|
Three paper circles | Set the size and edge of leaves | Calipers, paper | Traced onto the vase, part two |
Uphill and downhill | Showed which way each leaf would grow | Pencil lines | Drawn in parts three to five |
Five middle lines | Divided every grape leaf from its center | Pencil again | Started in part four, then repeated |
Green center line | Kept my center line from getting lost | Drawing markers | Added in part seven, before tools |
First veiner outline | Set in the main idea, sixteenth deep | Number 11 | Parts eight to eleven, one tool |
Colored pencil patches | Showed all the background still to remove | Colored pencils | Last part, ready for a gouge |

Do you need a paper drawing first?
Paper first is absolutely fine, I said on camera, and I have no problem with that. Designing a flat panel on paper is a whole course of its own, Carving Furniture Panel, Design, Part 1. This vase got its drawing straight on the wood.
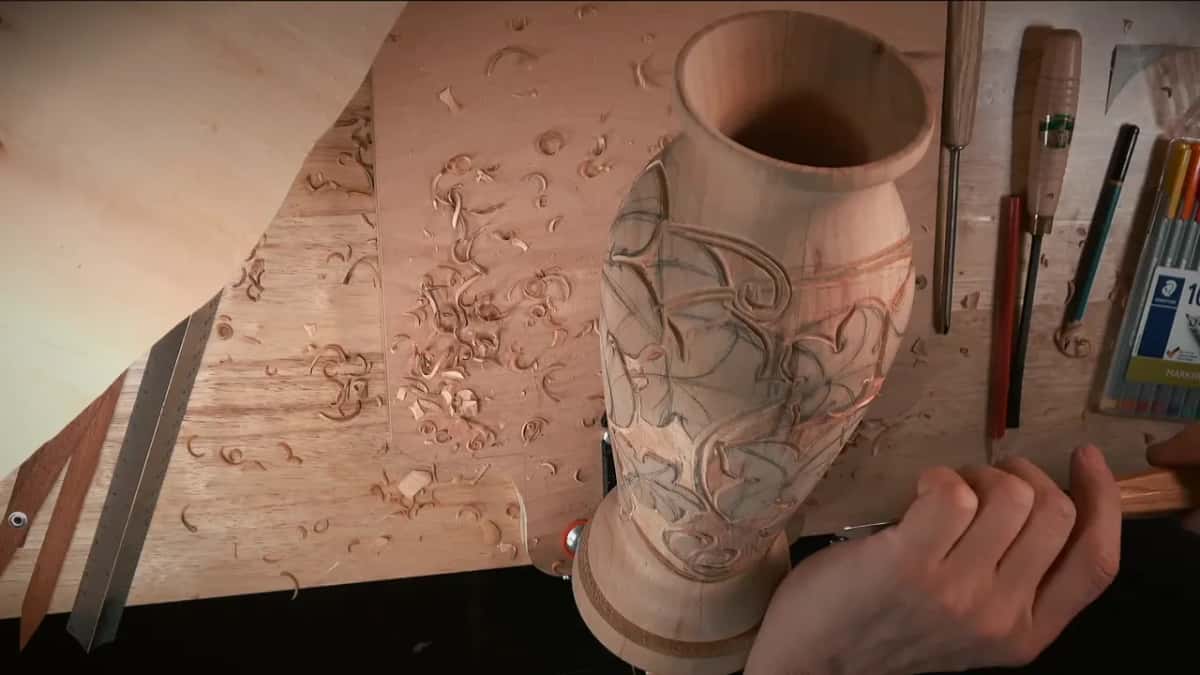
Markers carried the idea before the tools did. Mine are architectural drawing markers, made in Germany, and I've used those for years. They don't penetrate too deep, so I'm not going to have any problems removing them. Keeping a leaf's middle line through the carving with a marker has its own page, from Venice Room 33.
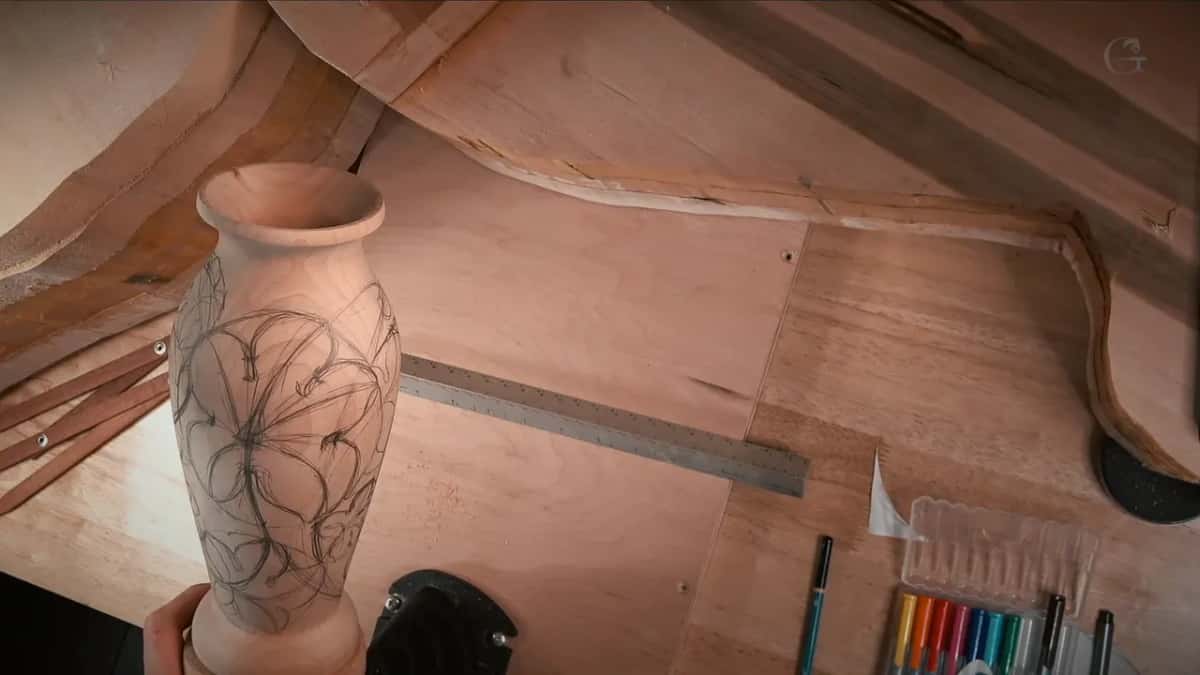
I outlined the main movement first, because I do not want to lose it. The center line got a green color, from almost nothing, just visual, with no beginning and end to it. At the very end came colored pencils, on every patch of background I need to remove.
Copying my layout exactly is possible too. One way, I said, is to wrap the vase with plastic, draw over the plastic, and maybe upload the pattern. Then your vase has to be exactly the same dimensions. Clear plastic on a curve gets a full answer on the livestreams course page. I would still encourage you to try the design process yourself. It's fun. Really, really fun.
How much of the vase stays background?
Enough that the grapes themselves waited. I said I'd see if I was going to stick a few grapes on or not, and that it doesn't really need to be, because I need some background area also. I could do some grapes on the bottom, where the material is a little thicker, but the vase is hollowed pretty much to the end. Grapes get a course of their own in Carving Grape Onlay.
Before the outline I looked for unnecessary space. It looked like I did not leave any, except one space that was not too good. Some negative spaces stayed open, and grapes could fill them, I said. Maybe yes, maybe no, or maybe some movements on the inside, like vine intersections, but not now.
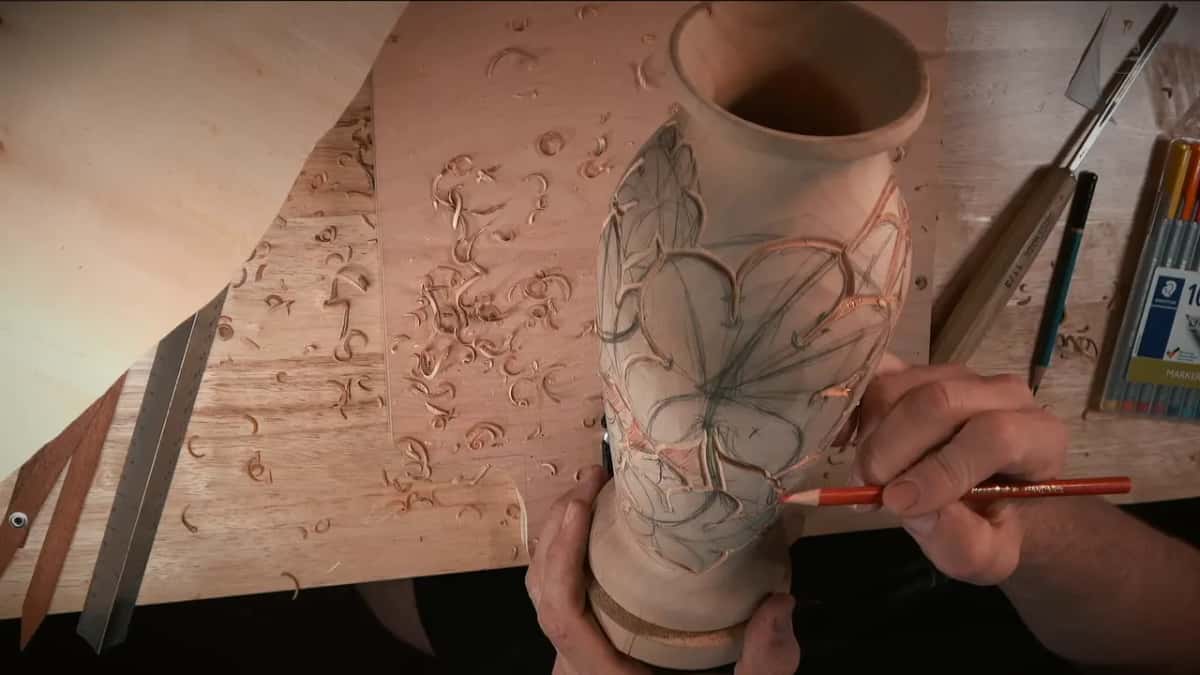
Even a gap fell close to the same line. Back in part three the big circle was positive space, the place where two circles cross was negative space, and it still falls approximately on the same line. Not exactly, but pretty close. All that background will be black, ebonized, I said, unless I change my mind. I started taking it out at the end of the lesson with a number 7, about half an inch, 14 millimeters to be exact, across the grain whenever I can, and lesson 2 carries on from there.
How many leaves go round the vase?
Thirteen. I forgot to count until I was well into the outline, so I said let me outline first, and then I'll count. The count reached 11. I needed one more somewhere, I guess.
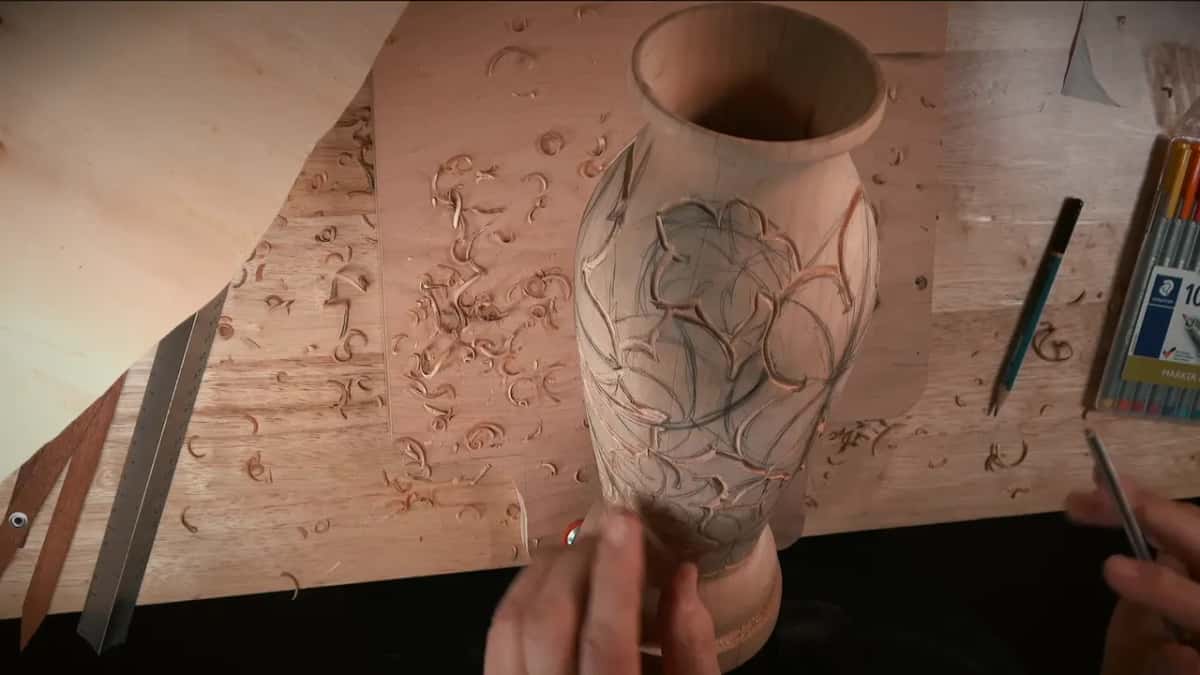
I still had doubts about my number, so I counted again. Eleven. So I need 13. One more leaf went right underneath. The last one is really small, sticking out from underneath as part of a movement, only partially visible. With that I was true to the Fibonacci sequence, on the golden ratio map, as I put it.
Counting a whole design until it lands on a Fibonacci number has its own page too, from Designing Furniture Panel 14. Inside every circle the leaf is a grape leaf with five divisions, the kind I like the most. There are three division and five division ones, and I kind of like this one.
From the center run five middle lines. Wherever there is an eye there's a pipe, the same as the eyes and pipes of an acanthus leaf, and each eye sits on a golden ratio point between the center and the boundary. Wood carving is all about exaggeration, I said, so we really need to exaggerate.

When does the first outline go in?
After the idea is marked, and with one tool, though I stopped to think about a knife first. With the knife it's a lot harder to clean up, I said, and I'd have to start separating the main separations right away, which I didn't want to do yet. So I took a number 11, 3 millimeters, one-eighth of an inch, and started outlining. Carefully.

My middle stem, the vine, went first. I went about a sixteenth of an inch deep, roughly 1.6 mm, at least at that point. There's only 6 millimeters of wall in places, so I don't want to make a problem that I can't fix later. That same number 11 did all of the outlines.
My tool slipped once in part nine. Oops. No bueno. It's okay, but it is better not to do that. One pass of the tool went wrong in part ten, and then one of the lines threw me off, an unnecessary line. This is a preliminary outline, not detailed carving yet, so please do not judge. The concaves and convexities come later.

You could carve this pierced if you wish, I said, maybe on some piece in the future. Not this one. This one is more on the coloring.
Is a vase like this too hard for a beginner?
I think it's a really, really nice project for even a beginner, and I said so in part six. It's not that complicated, and I'm pretty sure you'll be able to make it if you understand the logic. Simple but really rich, I called the design. I didn't want too complicated a design, so that you could repeat it.
Late in part three it was all circles. I know that doesn't make sense as of now, but it will, I said. Part seven looked messy, and I said it would look really good. The same rules of design work on a flat piece too, and Principles of Design in Wood Carving teaches them one at a time. A grape leaf on a flat tray is in The Tray of Blessing.
For anyone with woodturning gear, I think it's a good idea sometimes to put turning and carving together, so you can do really unique pieces. Every lesson sits on the lessons map.
Tuition keeps this school going as a 501(c)(3) non-profit. Access runs monthly or yearly and renews automatically each period until you stop it from your own account. Both plans are on the Access page.
Got a pencil? And a sheet of paper to cut three circles from? Then start there.
How it's done
- Size the circles off the vase. Spread the calipers across the vase at its widest. That size is the biggest leaf, and a second, smaller circle comes from 62 percent.
- Free the circles from the paper. Draw the circles on paper and cut them loose with scissors or a knife. Approximate is enough.
- Trace them on the turning. Hold each disc on the bare vase and draw round it with a pencil, the biggest one where the calipers place it.
- Give every leaf a direction. Turn some leaves uphill and some downhill, and run each line underneath its neighbor so all of them belong to one vine.
- Mark the idea before the tools. Go over the main movement with a marker that does not soak in, and keep the center line in green, so you do not lose it.
- Outline with one veiner. Take a 3 mm number 11 and outline the vine first, then the leaves, only about 1/16 in (1.6 mm) deep.
- Count, then mark the background. Count the leaves and add small ones until you reach 13. Then shade every patch that will come out in colored pencil, as I did last of all in lesson 1.
Frequently asked questions
Do you need a compass to draw circles on a vase?
A compass is fine, I said, if you want one. My sizes came off the calipers, set across the vase's widest point, plus a second, smaller size from the 62 percent opening. I drew them on paper and cut each one loose, and approximate was enough.
How many grape leaves are on the vase?
Thirteen, after a recount. My first count reached 11, so one leaf went underneath and a really small one came out from under a movement, only partly visible. Thirteen keeps the design true to the Fibonacci sequence, in my words on camera.
Can leaves on one carved vine point different ways?
On my vase they do. Some grow uphill and some downhill, and each one still belongs to a single vine. Its line carries on underneath a neighbor or dies into the next movement, the way I drew it in parts three to six.
What to carve next