
July 6, 2024 · Updated October 9, 2026
By Alexander Grabovetskiy — Master Woodcarver · Founder, School of Wood Carving · 9 min read
Weatherproof woodcarving for outdoor work that lasts
Key Takeaways
- Species choice beats any can on the shelf entirely.
- Quartersawn moves half as much sideways.
- Oily rags can set themselves alight overnight, so spread every one of them flat outside.
- Shed the water.
- Walk out each spring with a cloth and put another coat on before the surface goes chalky.
Weatherproof woodcarving starts with the board, not the can. Pick a species whose heartwood resists decay, keep the piece off the ground and out of standing water, and then feed the surface with a finish you are willing to renew. No coating on earth makes a carving permanent.
I am from Russia, and there is a beautiful city there called St Petersburg. Peter the Great built it. Some of those buildings are three hundred years old now, and the window jambs and sashes and doors are all wood.
What did they put on them? Boiled linseed oil. That is it. Three hundred years later the wood still looks fresh. Nothing rotten. No wormholes.
I think about that every time somebody asks me which sealer to buy.

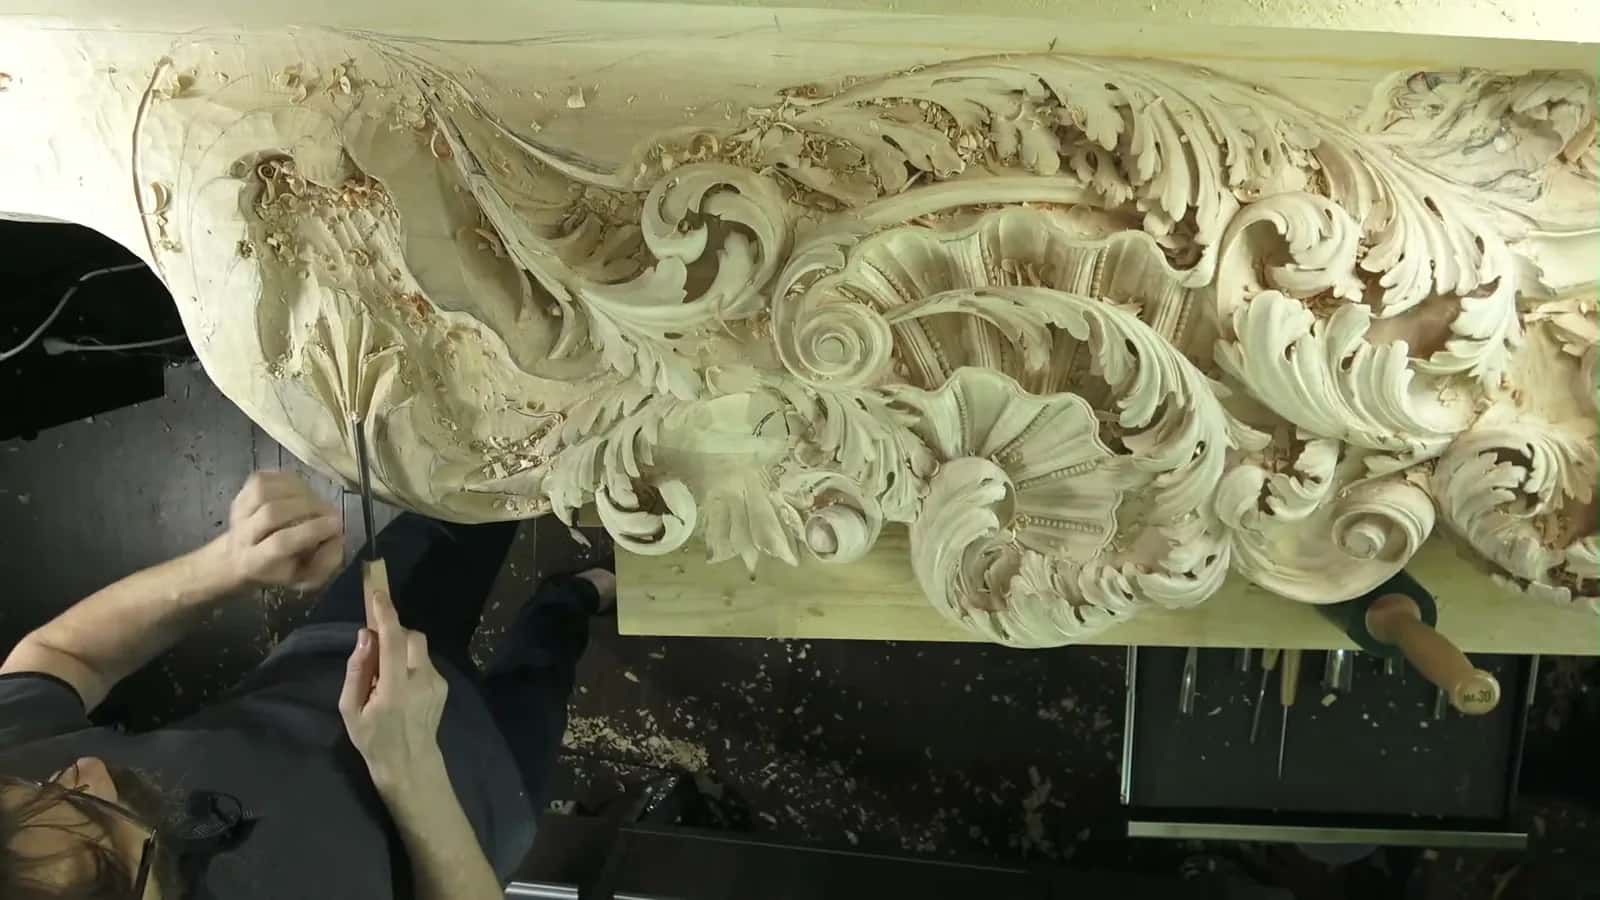
A run of acanthus over a molding. Put this outside unprotected and you get maybe two seasons.
What actually destroys a carving left outside?
Four things, and only one of them is rain. Sunlight breaks down the surface fibers, which is why unprotected wood goes silver. Water is worse when it cycles, soaking in and drying out, over and over, because the swelling and shrinking opens every joint you made.
Then come the living things. Fungi need moisture and a food source, and they get both from a carving sitting in a shaded damp corner. Insects arrive later and finish the job. A finish slows all four of them down, and stops none of them forever.
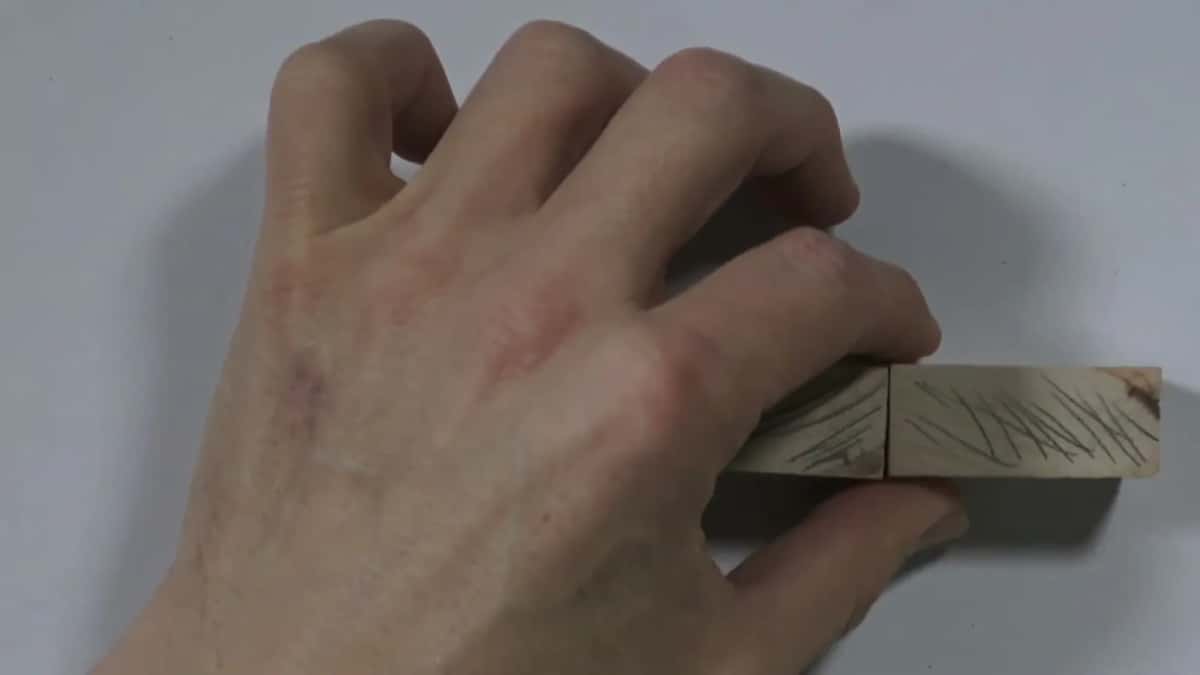
Pencil arcs on the end grain. They tell you which way this board is going to move once it gets wet.
Which wood should you carve for outdoor work?
One whose heartwood is rated durable before you touch it. That rating is not marketing, it is published, and it is the single decision that matters most.
| The wood species | Janka hardness given in pounds of force | Rated for decay resistance | Where I would actually put the finished piece outdoors |
|---|---|---|---|
| American white oak, Quercus alba | 1,350 pounds of force, the hardest board listed here | Very durable, and used in boatbuilding | Exterior doors |
| Teak, the gold standard for decay | 1,070 pounds force | Heartwood very durable, and hard on edges | Boat work |
| Western red cedar, light and soft | 350 pounds, softer than basswood by a good margin | Durable, mixed against insects | Signs and porch work under a roof |
| Bald cypress, southern | 510 pounds, and easy under a gouge outdoors | Old growth durable, young less | Garden pieces, and anything that will sit in weather |
| Black walnut, mostly a furniture wood | 1,010 pounds | Very durable, but insects like it | Covered porches only |
Every number and every rating there comes from the white oak, teak, western red cedar and bald cypress entries in the Wood Database. Read the cypress line twice. Old growth cypress is a different material from the young stuff sold today, and a lot of disappointed carvers learned that the expensive way.
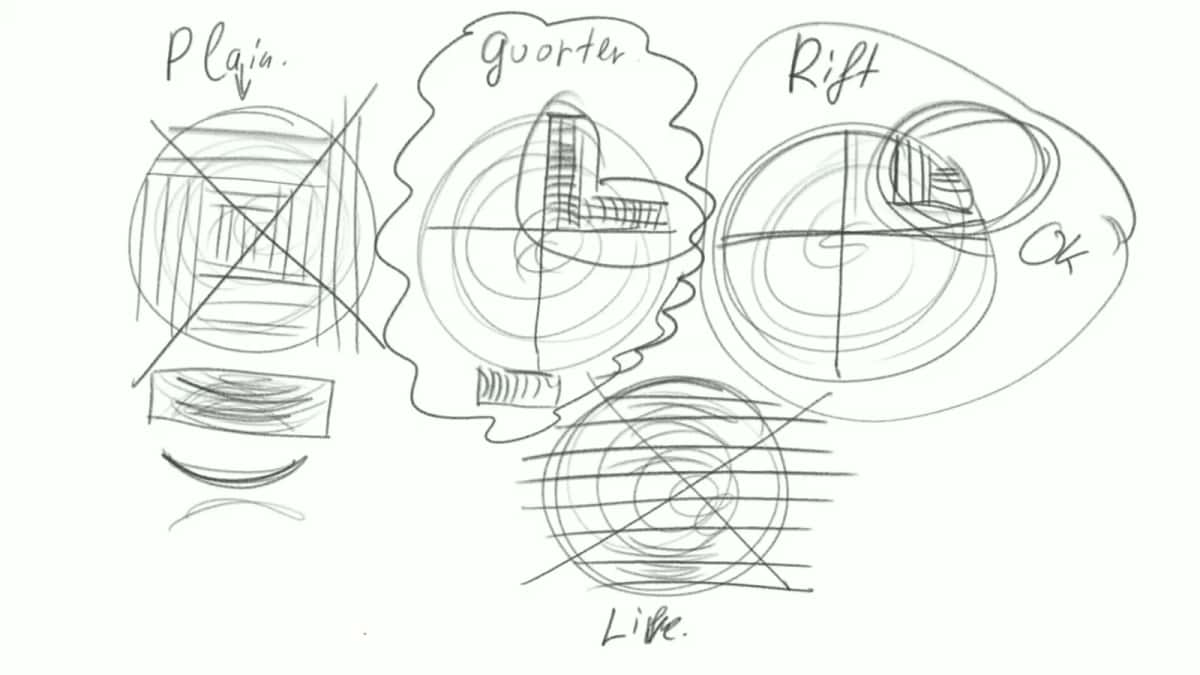
Plain, quarter, rift and live sawn, drawn out. How a log is cut decides how far the board moves later.
Does basswood belong outside at all?
Not really, and I say that as somebody who carves it every day. The Wood Database rates basswood as non durable for heartwood decay. It is the finest carving wood I know and it is the wrong wood for a fence post.
People do carve basswood and put it outside with no problem. It is soft and its pores are open, so a normal lacquer soaks right in, and nowadays that makes it easy to protect. If the piece matters, carve it in cypress and keep the soft pale stuff for the parlor, the way I keep walnut for furniture.
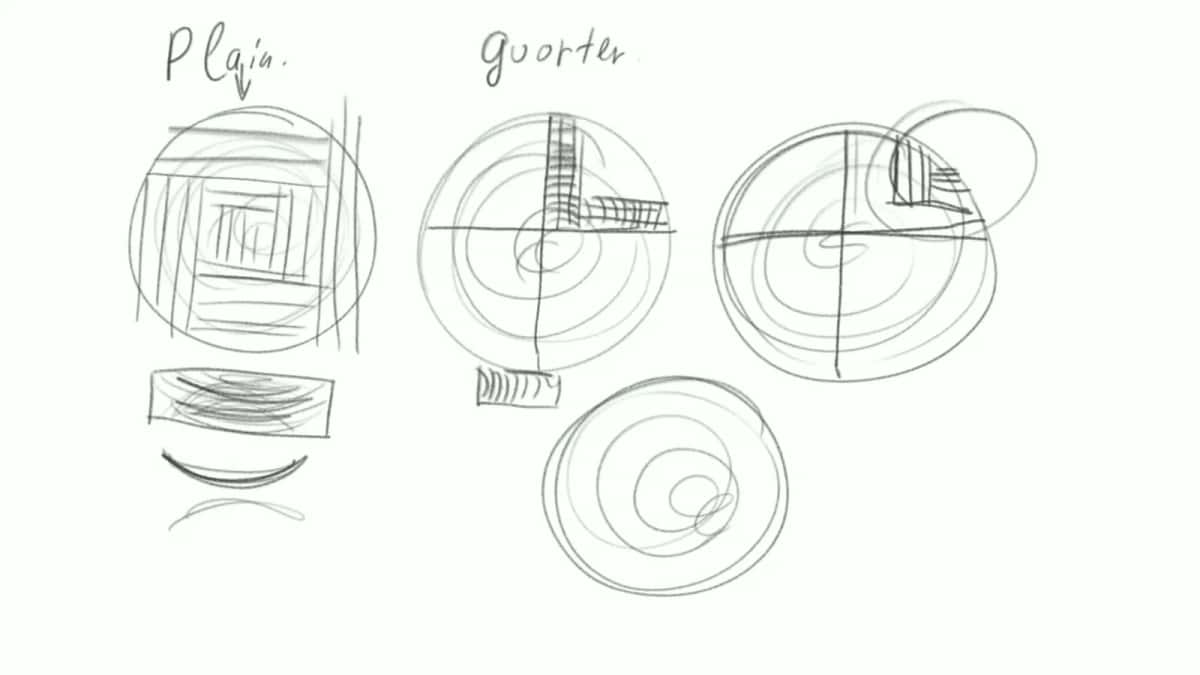
Why a plain sawn board cups away from the heart. Cut matters as much as species.
What finish did the old shops use, and does it still work?
Oil and beeswax, and yes, within limits. As far as we know the ancients had two finishes. Beeswax, and oil, usually boiled linseed oil. That is what went onto those St Petersburg sashes, and the joinery is still sound.
Here is the honest part. Those windows sit under deep eaves on a heated building, and somebody reoiled them for three centuries. Linseed oil is not a shield. Garden furniture treated with it can grow mildew, and the film never fully cures. The old work survived because of the wood, the detailing and the maintenance, and the oil was one leg of three.
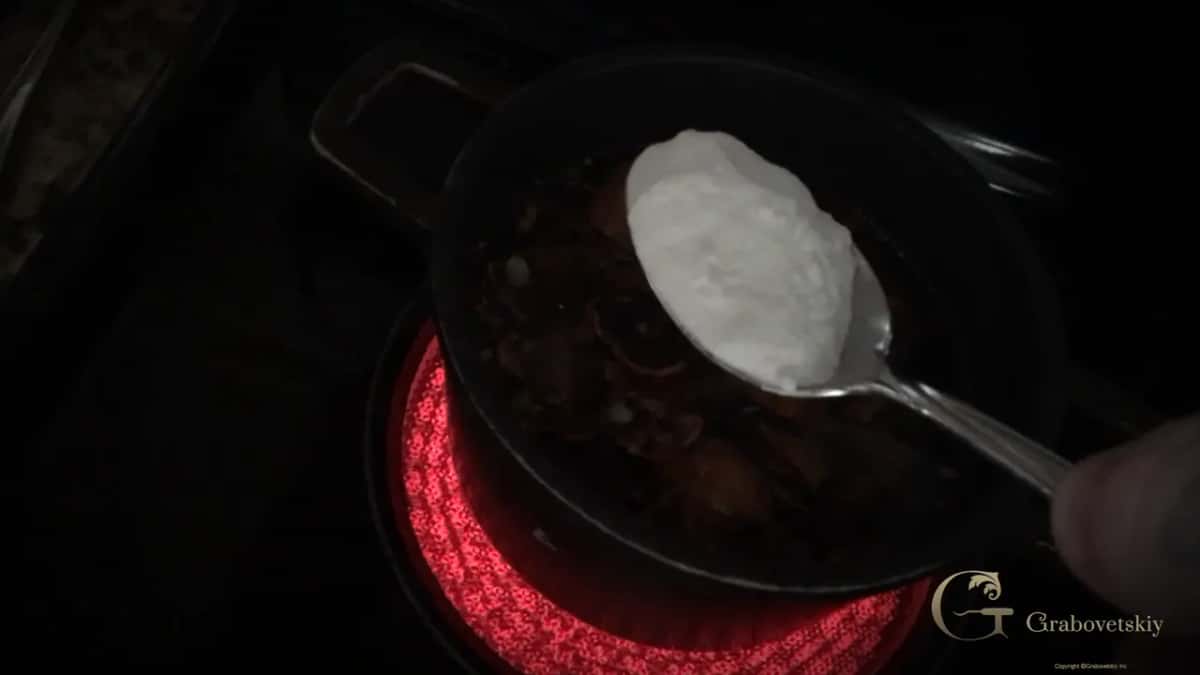
Boiling shells down for a natural stain, because old finishes were made rather than bought.
One safety line I will not skip. Rags soaked in linseed oil generate their own heat as they dry and can catch fire on their own. Oily rags are believed to have started the One Meridian Plaza fire in Philadelphia in 1991, which killed three firefighters. Spread every rag flat outside until it is stiff. Never leave them balled up in a bin.
For a piece that will actually live in weather, most modern shops reach for spar varnish, which stays flexible and carries ultraviolet blockers. Oil underneath and spar over the top is a reasonable system. So is a marine grade epoxy sealer if you accept that it too has to be renewed.
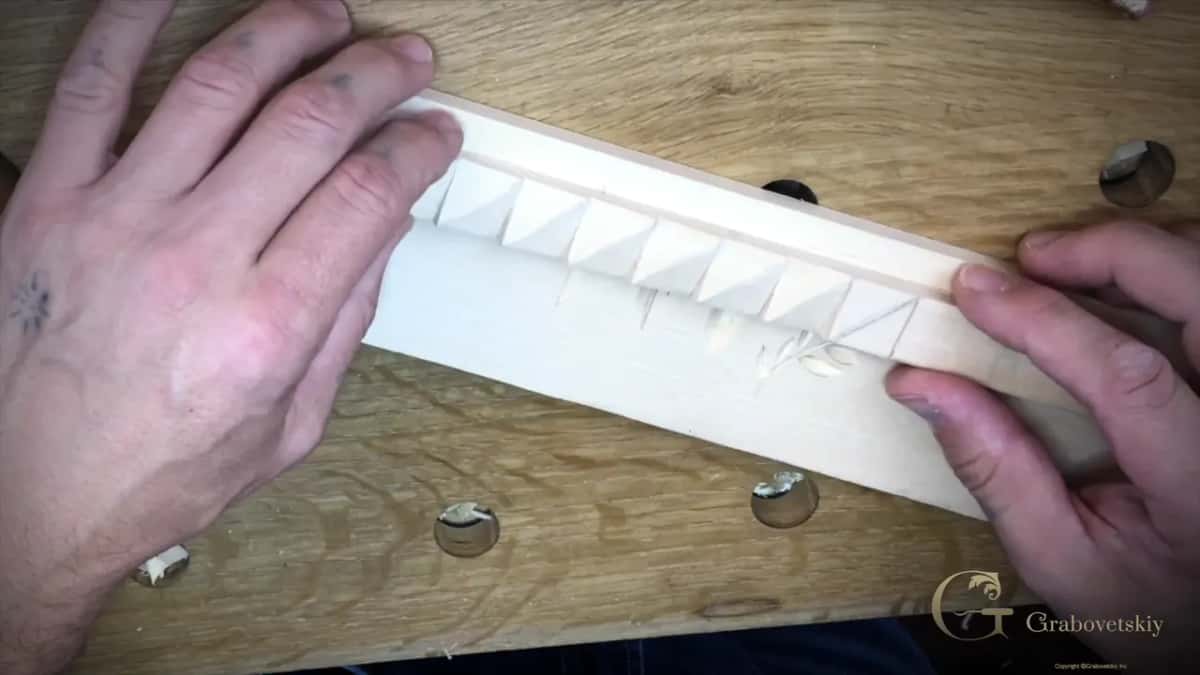
Crisp arrises like these are the first thing weather rounds over.
How do you weatherproof a carving step by step?
Seven steps, and the first three happen before the carving is finished.
Step 1, pick durable heartwood and dry it properly
Buy heartwood, not sapwood, in a species rated durable. Let it reach the moisture content of the place it will live. A board that is still giving up water will move under your finish no matter how many coats go on.
Step 2, choose the cut, not just the species
Quartersawn stock moves about half as much across its width as plain sawn. For anything wide, that difference decides everything.
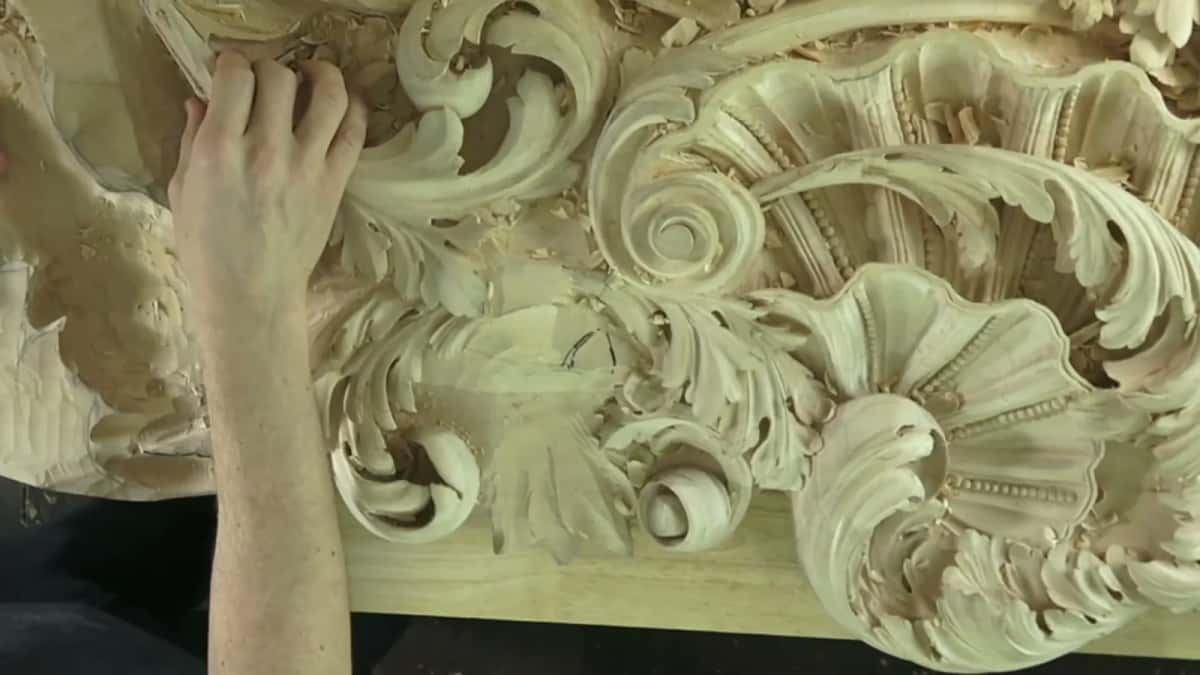
Carving deep releases tension inside the board, which is a help outdoors and a surprise indoors.
Step 3, design so water runs off
Every hollow that faces up is a cup. Tilt the deep pockets. Break the sharp inside corners slightly, and give the underside somewhere to drain. Old exterior carving is full of this thinking once you know to look.
Step 4, leave the surface clean off the tool
A cleanly carved surface takes oil more evenly than a sanded one, and it does not raise fuzz when it gets wet. Because the surface is clean, I am not afraid to put water on it before finishing, and the grain hardly lifts.
Step 5, treat with a preservative first
On anything going into real weather, a wood preservative under the finish buys you years against fungi and boring insects. Do this before any film goes on, and let it dry fully.
Step 6, build the finish in thin coats
Thin coats, dry between each, three to five of them. Thick coats trap solvent, skin over and peel in sheets the first hot summer. End grain drinks more, so give the end grain extra.
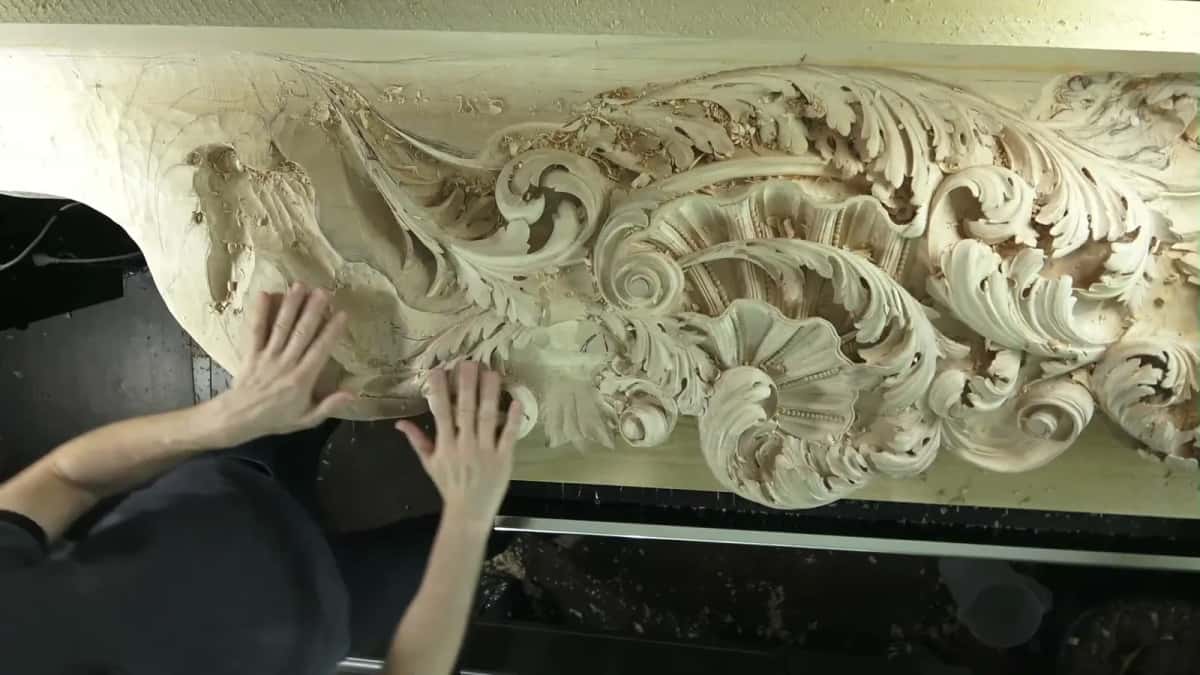
A long frieze that has stayed flat and uncracked, which is mostly a wood choice, not a finish.
Step 7, mount it off the ground and renew it
Set the piece on a stone or concrete pad rather than on soil, leave air behind it, and keep it out of direct afternoon sun where you can. Then look at it every spring and recoat before the surface goes dull.
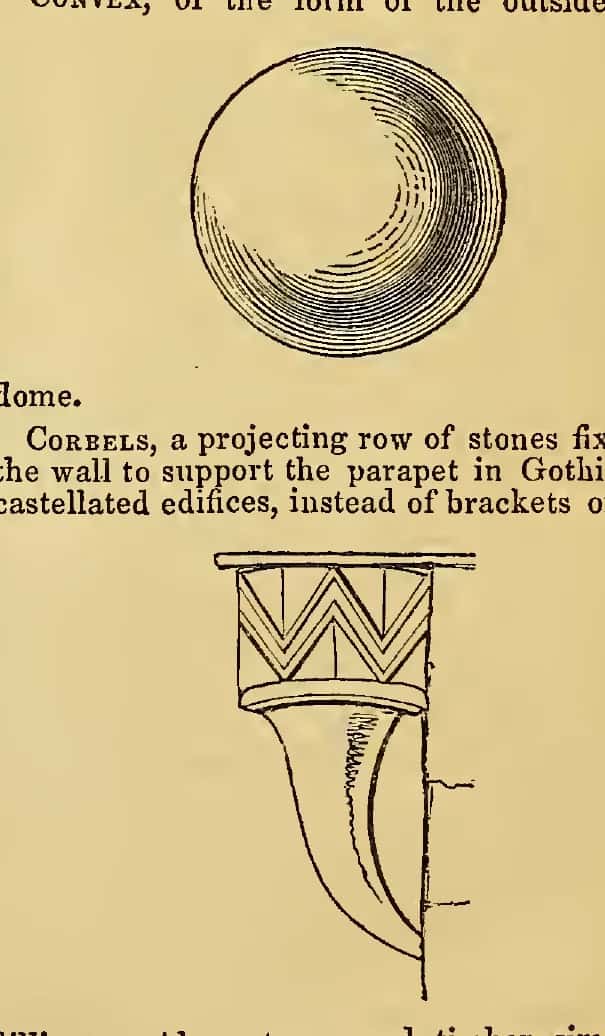
Exterior brackets and cavettos were shaped to shed water long before anybody sold a can of sealer.
Which glue survives outdoors?
Titebond III for exterior work, with one honest catch. The III is a good glue outdoors. When it dries it leaves a brown marking, and if your carving crosses that joint you will be carving straight into it.
So I use Titebond II for glue blocks and interior lamination, and I only accept the brown line when the piece is genuinely going to get wet. Plan the layout so a glue line falls in a background rather than through a leaf.
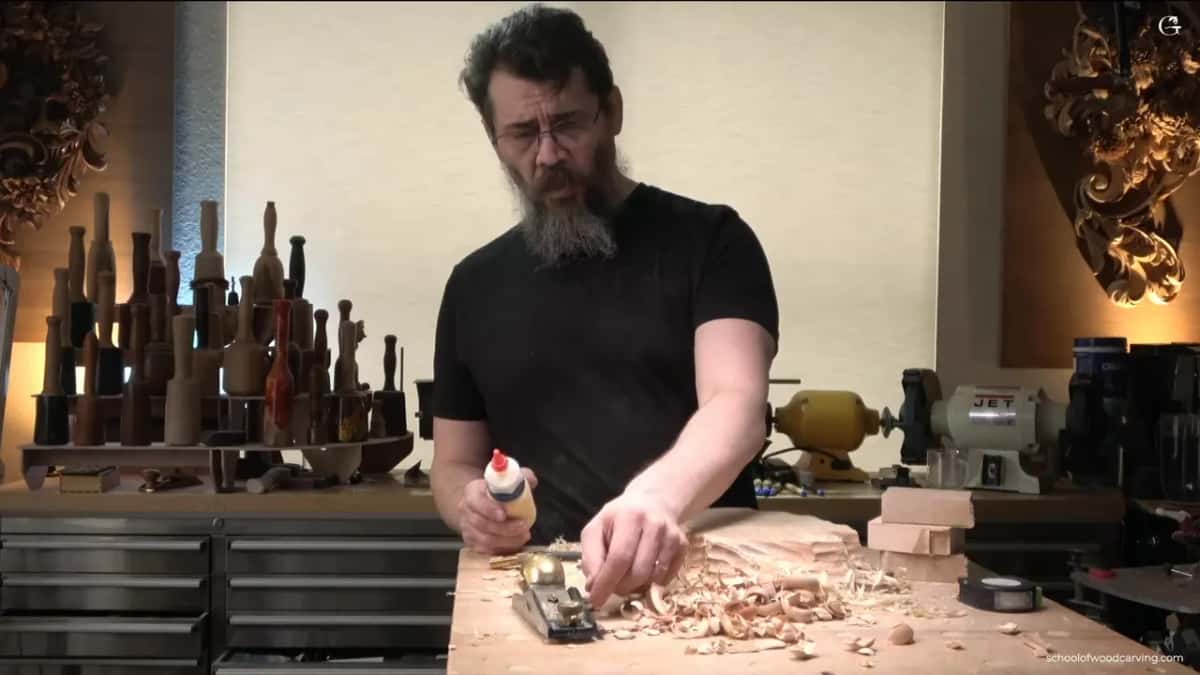
The bottle I reach for indoors. Outdoors the choice changes, and so does the glue line.
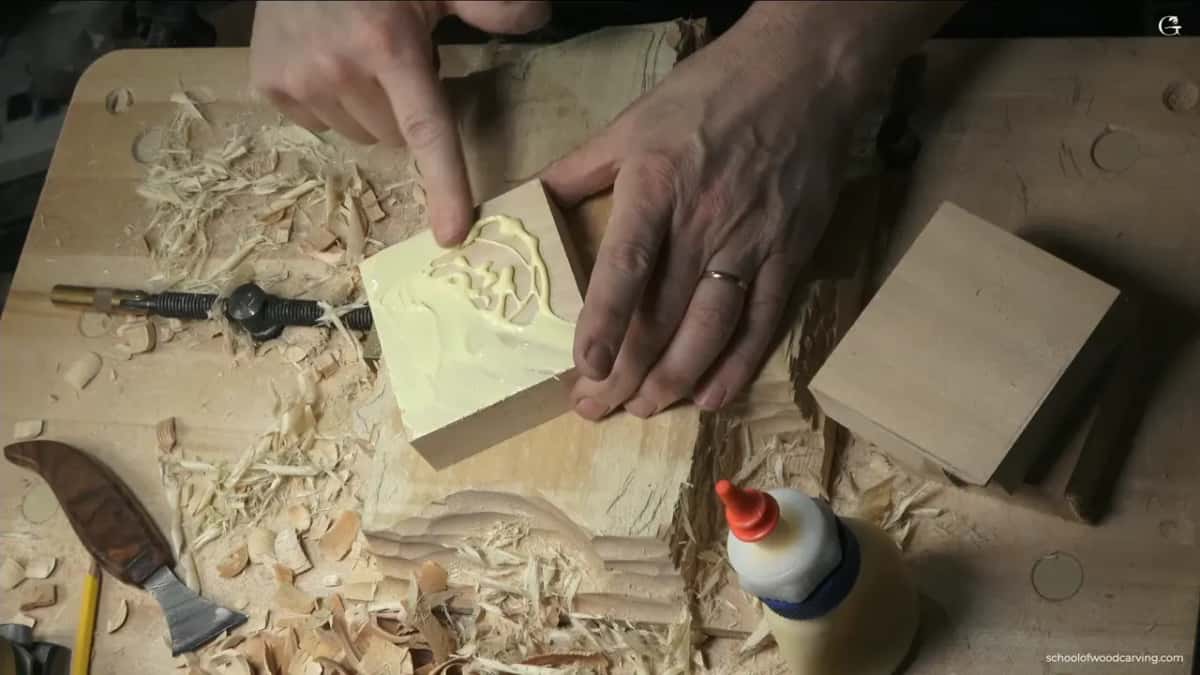
Plenty of glue, spread with a finger, then wiggle the block until it sucks down.
Whatever glue you use, do not starve the joint. A thin glue line in an exterior piece is the first place water gets in.
How often does an outdoor carving need looking after?
Once a year at minimum, and after every hard winter. Walk out in spring with a cloth. If the surface has gone chalky or the color has shifted, it is time. Waiting until you can see cracks means you are repairing rather than maintaining.
Fill any opening cracks while they are small, touch in the finish, and check the mounting. Most outdoor pieces I have seen die from the bottom up, where they meet whatever they are standing on.
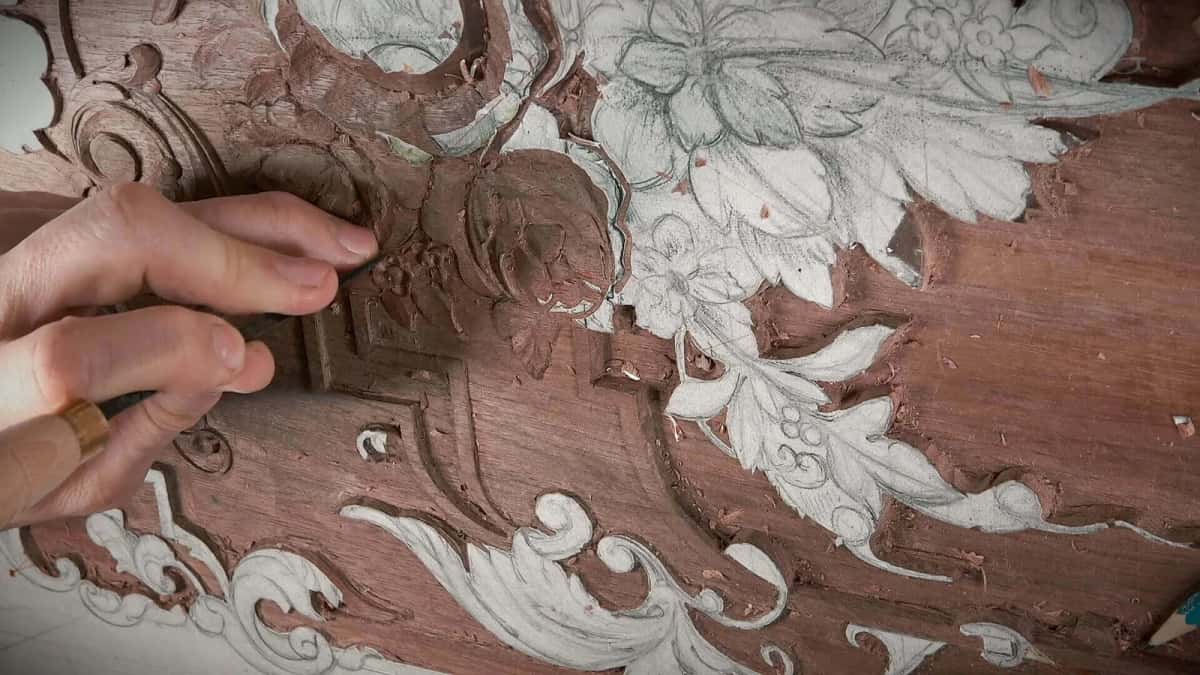
A panel that settled and dried before the carving started.
Here is where I talk about surface, sanding and why a carved face behaves differently from a sanded one.
Everything above assumes you can already carve the thing. If that part is still the hard part, the school takes it from the first sharpened edge through acanthus and on to ornament over a molding, which is exactly the shape most exterior work takes. There are notes on how hard it really is if you are still deciding. Access renews automatically every 12 months and you can stop it from your account page.
Frequently asked questions
Can I put a basswood carving outside if I seal it well?
You can, and you will be recoating it forever. Basswood heartwood is rated non durable, so the finish is doing all the work. It survives under a covered porch. In open weather it becomes a maintenance project that never ends.
Is spar varnish better than polyurethane outdoors?
For carvings, usually yes. Spar stays flexible as the wood moves and carries ultraviolet blockers, while ordinary interior polyurethane goes brittle and lifts in sheets. Look for a marine or exterior grade rather than whatever is cheapest.
How many coats of finish does an outdoor carving need?
Three to five thin ones. Thin is the operative word here, and drying time between coats is not optional. Heavy coats skin over, trap solvent underneath and peel the first hot season, which looks worse than no finish at all.
Does linseed oil protect wood on its own?
Partly, and only with upkeep. It penetrates and slows water, but it does not fully cure and it can grow mildew outdoors. The old work that survives got reoiled for generations, so treat oil as a base coat and never as the whole answer.
What glue should I use on an exterior carving?
Titebond III or another rated exterior adhesive. It leaves a darker glue line than the II does, so lay out your blanks with that line falling in a background rather than through the middle of a leaf.
Should an outdoor carving sit in sun or shade?
Shade, with air moving around it. Direct afternoon sun breaks down the surface fastest, but a permanently damp shaded corner invites fungi. Open shade with airflow and a stone underneath is the spot you want.