
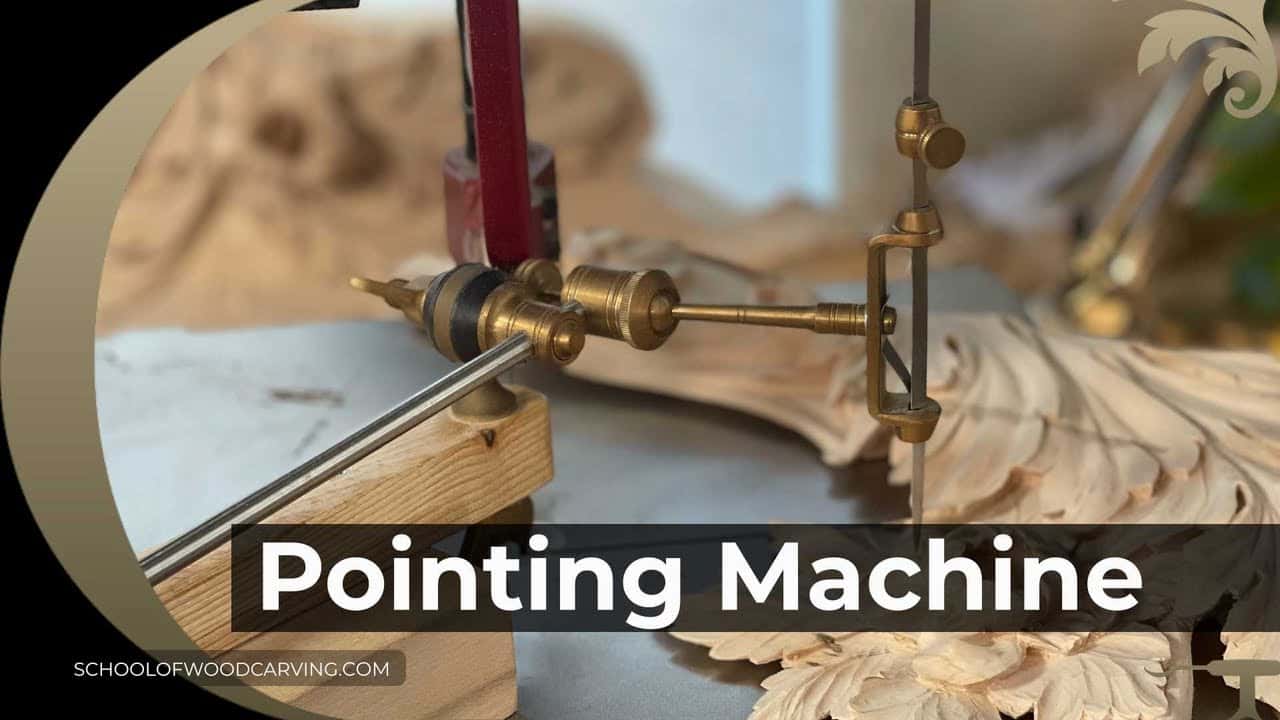
August 11, 2024 · Updated August 9, 2026
By Alexander Grabovetskiy — Master Woodcarver · Founder, School of Wood Carving · 13 min read
Pointing Machine for Wood Carving
Key Takeaways
- Pointing machine copies shapes and curves in wood with great accuracy so you stop guessing where to cut.
- Needle finds the highest and lowest spots on your block and tells you how deep to carve.
- Flat workbench gives you a steady base for measuring. I added poplar wood to the bottom of my machine to clamp it down flat.
- Michelangelo and Leonardo da Vinci used pointing machines to plan and scale their sculptures.
- Basswood is soft and easy to carve, making it a good choice when you start out.
Quick answer: A pointing machine is a measuring arm with an adjustable needle that copies a sculpture point by point, so a carver can repeat a model in wood without guessing. I set the needle on the highest spot of my model, lock the depth, and the machine tells me exactly how deep to cut.
You carve the left lion for a pair of doors, and it comes out alive. Then the right one fights you. The mane sits lower, the jaw drifts a little, and nobody can say what went wrong, but every visitor feels it.
I know this catches a lot of carvers. Your eye is a fine tool, but it tires, and a tired eye lies.
This whole craft splits into measuring against guessing. Carvers have kept one tool on the measuring side, in one form or another, since Rome. Below I will show you what the tool does, how I set mine up, what Michelangelo really did with his models, and when to leave the machine on the shelf and trust your gouge.
Before you pick one up, what matters most?
Points move straight off the model onto your block, so the copy cannot drift.
Its needle finds the highest and the lowest spots and sets the depth of every cut.
Everything registers on three fixed metal points. Move them mid job and the copy is dead.
I bolted a block of poplar to the base of mine so it clamps flat to the bench.
The modern tool dates to about 1800. The method is far older than that.
Stop every point a hair proud and let the gouge finish the surface.
What does a pointing machine do?
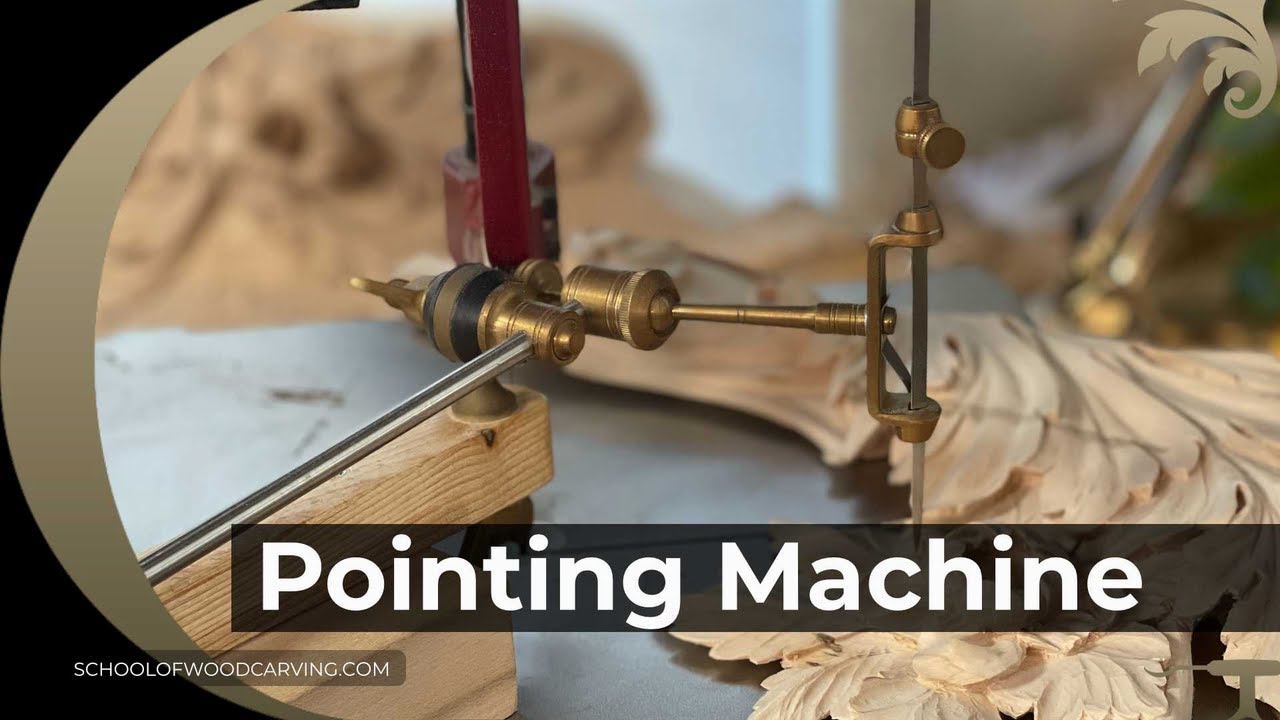
The pointing machine copies a three dimensional model into wood by transferring measured points, one at a time, until the block carries the same shape as the model. Do not let the word machine scare you. No motor anywhere. It is a hand tool, the same family as your gouges: a frame that seats on three metal points, one arm that swings, plus a needle sliding in and out against a stop.
Think of tracing a drawing, but in depth as well as width, which is exactly the part your eye cannot hold steady across a long job. The needle remembers for you.
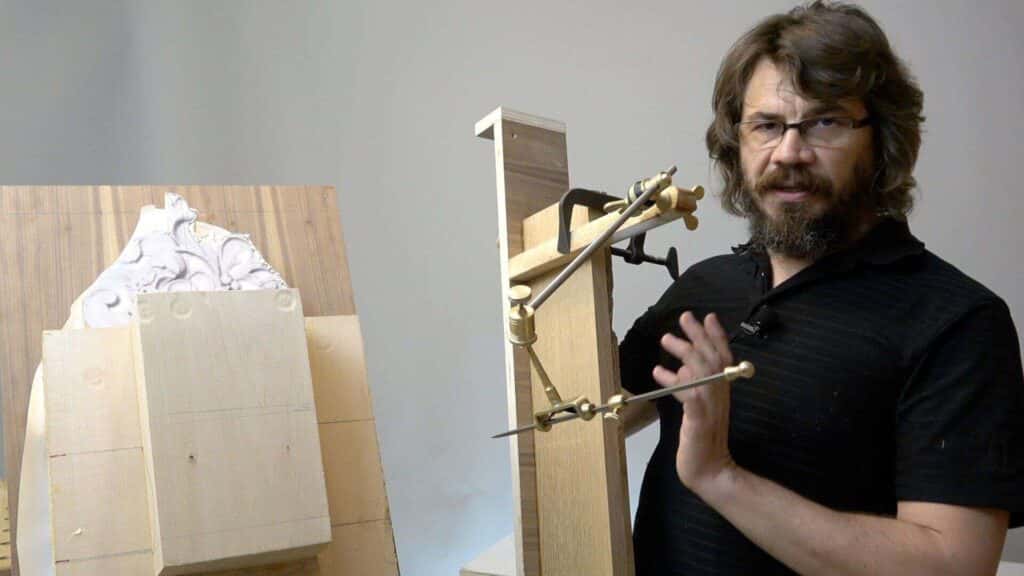
One frame, one arm, one sliding needle. Nothing plugs in.
Where does the tool come from?
The pointing machine in its modern form appeared around 1800, and the credit goes to two men at once: the French medallist Nicolas-Marie Gatteaux and the English sculptor John Bacon. Antonio Canova, the greatest marble man of that age, refined the way workshops used it, and his crew turned point copying into an industry.
The idea is much older. Egyptian carvers laid grids over stone. Greek and Roman shops used plumb lines, sticks, and calipers, and copying Greek statues for Roman buyers was a large trade long before anyone wired a needle to an arm. When you buy a pointing machine today you are buying the settled habit of a hundred generations of carvers.
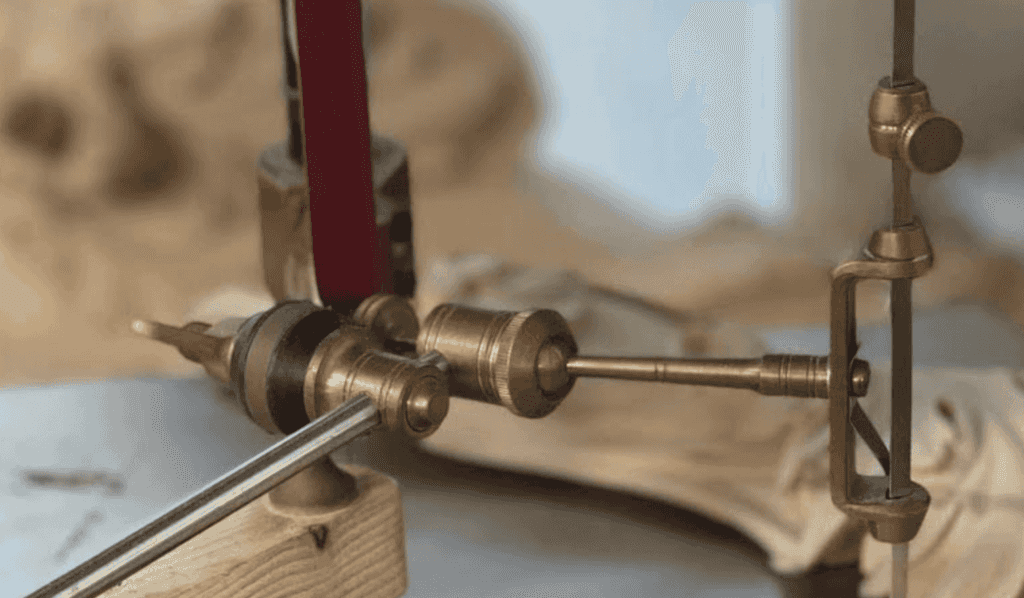
Brass on a wood base. The design has barely moved in two centuries.
Why does a copy drift when you carve by eye?
A copy drifts because every freehand measurement starts from a reference that is itself moving, and that reference is you. You judge the cheek from the nose you carved yesterday. The nose was a touch high. Now the cheek is high too, and the error rides forward into the jaw, and by the third evening the whole face has slid.
The error stacks, and it never announces itself.
Most carvers fight it with a ruler and a squint. A ruler is honest on a flat board, but carved ground gives it no square edge to sit on, so every reading you take off a curve is half measurement and half hope. On one leaf that is fine. On a pair of lions for a client's doors, it is a slow disaster you only see at the end.
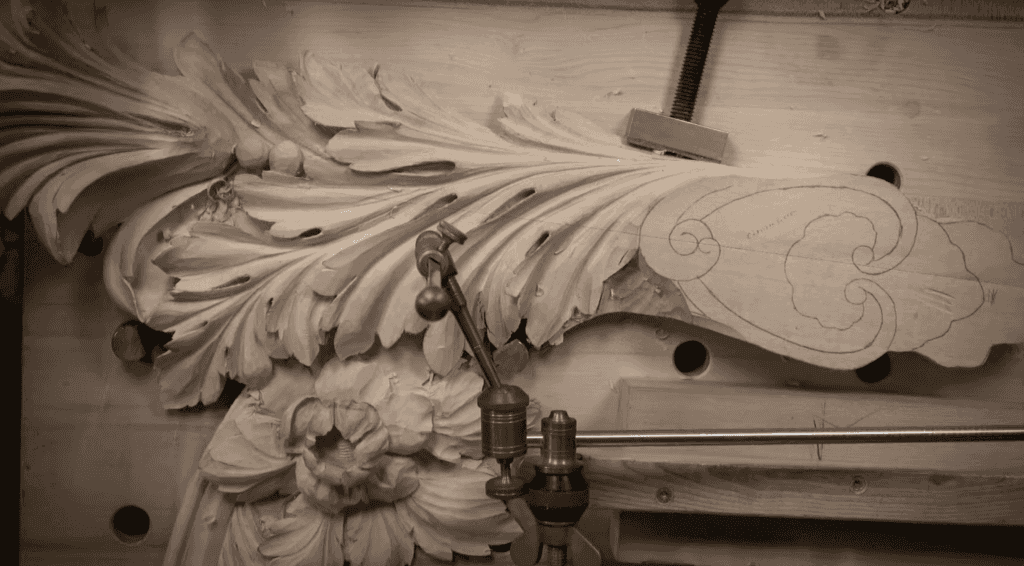
Carved ground gives a ruler nowhere honest to stand. A needle does not care.
Which copying method actually stops the drift?
Four methods cover nearly every copying job in a carving shop, and each one has a place where it wins.
Method | Best at | Where it fails |
|---|---|---|
Eye and pencil alone | One-off pieces and fast sketching in wood | Drifts on pairs, portraits, and any long job |
Calipers and dividers | Quick width and length checks | No depth control on carved ground |
Counterproof tracing | Mirrored pairs in shallow relief | Dead the moment the relief gets deep |
Pointing machine | Deep relief, portraits, exact repeats of an approved form | Slow to set up, ruined if a reference point moves |
Pick by depth. Flat work wants paper, deep work wants points, and the rest of this page walks down the fourth row.
How does the needle find every depth?
The needle touches one spot on the model, locks against its stop, and then reports that exact height anywhere on your block, as many times as you ask. It reaches the proudest bump and the deepest hollow the same way. Highest spot, lowest spot, and everything between: the needle treats them all as plain numbers.
Here is how I put it in one of my short lessons. Once you established how high that spot is supposed to be, you can measure all around. I can just measure all the points, whatever the height is supposed to be, anywhere, and I can drill the holes all around. That's gonna be my spots, and I know I'm not gonna miss it.
Those drilled holes are the trick worth stealing. Each hole bottoms out at the measured depth, so when my gouge opens the ground and the hole disappears, I know the surface has arrived. Points do not lie.
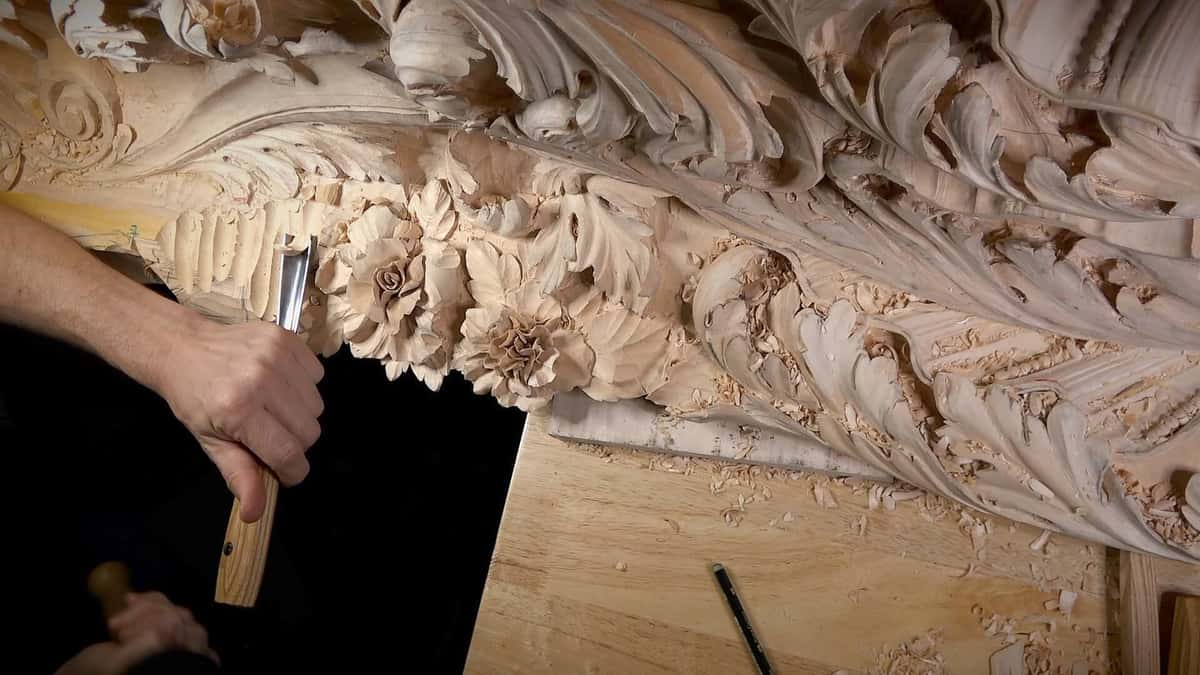
Deep basswood foliage, where depths hide from the eye. This is the work points were made for.
How do I set one up and take the first point?
Setup decides everything, because the machine can only repeat what your bench holds still. Five steps, and none of them is hard.
Step 1. Give it a flat home
Clamp the work to a bench that does not rock. The base of my machine would not sit flat the way it came, so I bolted a block of poplar under it, and now it clamps down solid anywhere on the bench. If you are still building that bench, carvers pass around an old sizing trick: stand straight, bend one elbow, measure elbow to floor, and take off two inches.
Step 2. Fix three reference points
Set three small metal points on the model and three matching ones on the block. The frame seats on them the same way every single time, and that is the whole guarantee. Touch them mid job and you have two different sculptures.
Step 3. Take the highest spot first
Bring the needle to the proudest point of the model and lock the stop. Starting high protects you, because wood you leave can always come off later, and wood you take has no way back.
Step 4. Drill or carve to depth
Swing the arm over the block and work down until the needle seats against its stop. Repeat around the form, point after point after point. The rhythm gets fast once your hands learn it.
Step 5. Stop proud and finish by eye
Leave the last skin of wood on every point. The machine only blocks the form out, and the life in the finished surface still comes from your gouge and your eye.
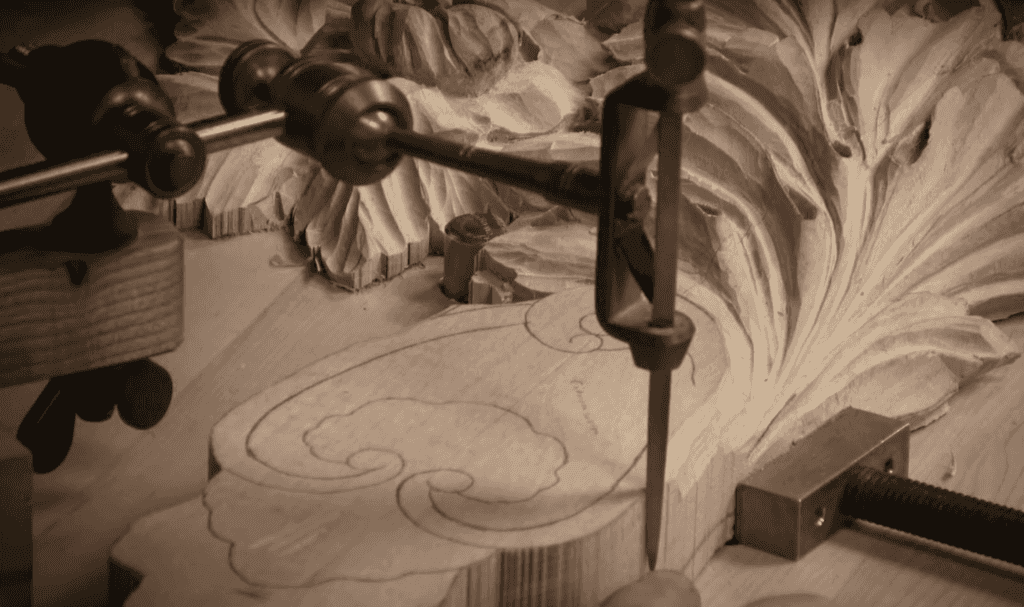
Clamped flat and seated on its three points, ready to repeat one honest depth all day.
What did Michelangelo really do?
Michelangelo planned every figure from models he could measure, and the pretty legend hides that fact. I tell this story in the short lesson below. There is a famous story, when someone asked him how in the world you take a piece of marble and carve out a beautiful sculpture. And the answer Michelangelo gave, he said, well, when I look at the stone, I let the stone talk to me. And when I'm taking the chisel in my hand and the mallet, I start just bringing out whatever is already in the stone. That's a really interesting story, but it's not true. Not necessarily true.
The working truth is less romantic and far more useful to you. Michelangelo shaped small models in clay and wax before touching the marble, and his workshop measured from them. Some of those models survive in Casa Buonarroti in Florence today. The man could carve anything, and he still refused to guess.
George Walker and Jim Tolpin, in their book By Hand and Eye, pass on the other half of his method:
Michelangelo said to carry your compass in your eye, not your hand.
Both halves matter. Measure like a clerk, then judge like an artist. My own master in Russia hammered the same lesson into me at sixteen: design is not drawing on paper, it is the laws of space, rhythm, and repetition, and you plan them before the first chip falls.
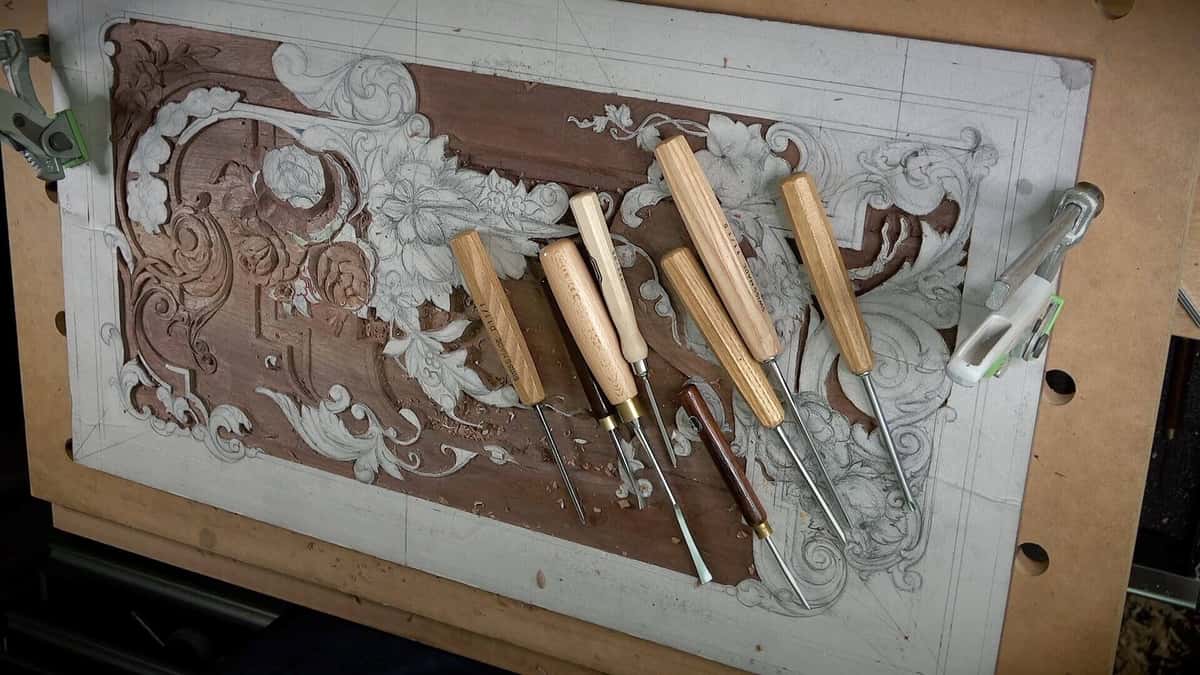
My plan, glued straight onto the walnut. The drawing decides everything here, and the gouges just obey it.
Is copying another carver's work cheating?
Copying is how this craft has been taught since Rome, and every master you admire spent years doing it on purpose. David Esterly rebuilt a burned Grinling Gibbons drop at Hampton Court. In The Lost Carving he put it plainly:
No matter what direction you take later, imitating the best work of your betters makes a good beginning. Maybe my eighteenth-century motto got it backward. Don't imitate Homer, imitate the Iliad.
Gibbons himself, the man William Aglionby called "the Michelangelo of Wood," copied his own work constantly. Esterly found that he drew one drop of a pair in greasy chalk, folded the paper, and used the reversed print as the outline for its twin.
I carve mirrored pairs the same way, like the two lion head onlays I made for a client's doors. All my work is by hand, and even if it's reversed, it's still going to be the same idea. The judges who named me International Woodcarver of the Year were not grading my originality alone. They were grading control, and control is a copied pair that matches.
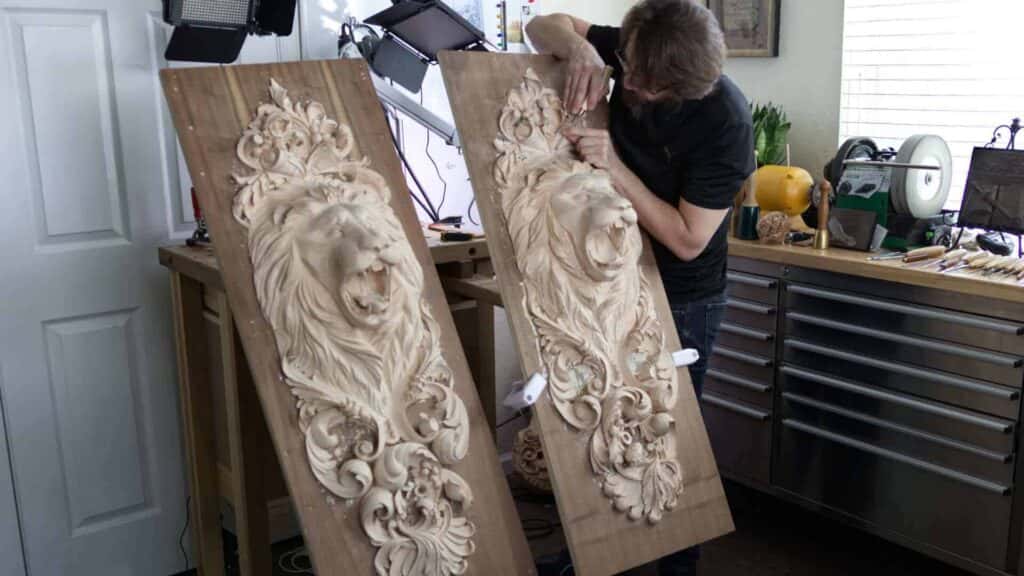
Two lions, one idea. A pair like this works only when nobody can tell which twin came first.
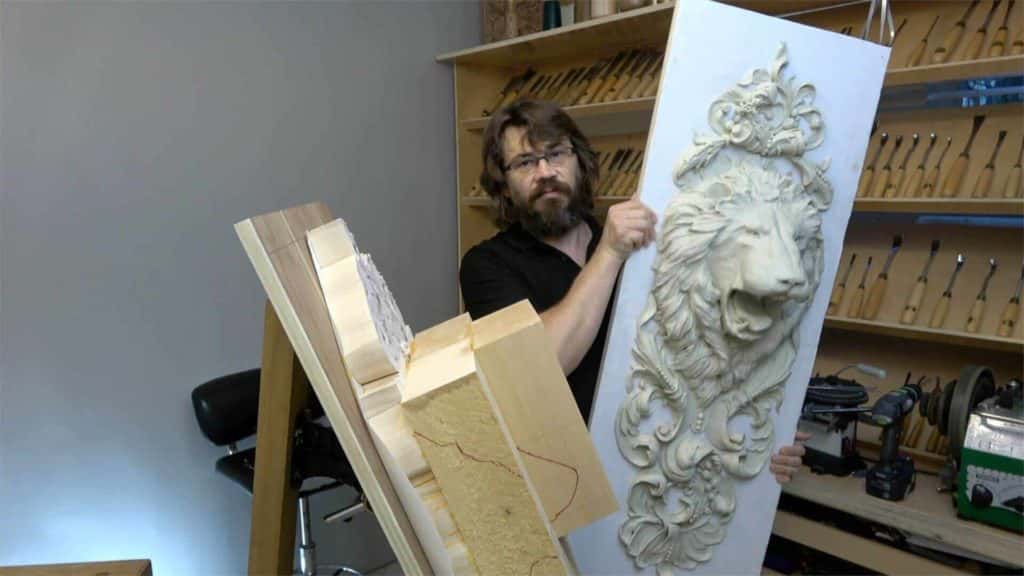
The first lion of the pair.
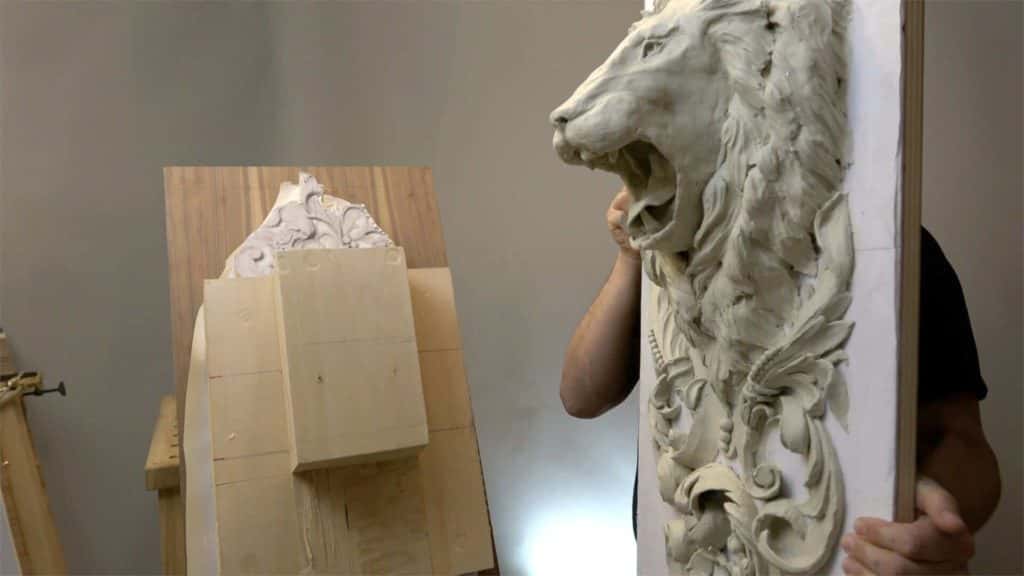
And its reversed twin. Want the full method? I carve a lion head, cut by cut, in this lesson.
When should you leave it on the shelf?
Skip the pointing machine when the work is flat, small, or already solved on paper. A shallow rosette or a single acanthus leaf comes straight off the drawing, and a counterproof tracing handles a mirrored pair in low relief faster than any needle. Setting up points costs real time, and on a two hour carving that setup is the most expensive part of the job.
Where the machine earns its keep is depth. Portrait heads. Deep undercut foliage. Repeats of a form a client already approved. On my Venice Room panels, whole walls of Baroque ornament had to agree with each other, and at that scale agreement is a measurement.
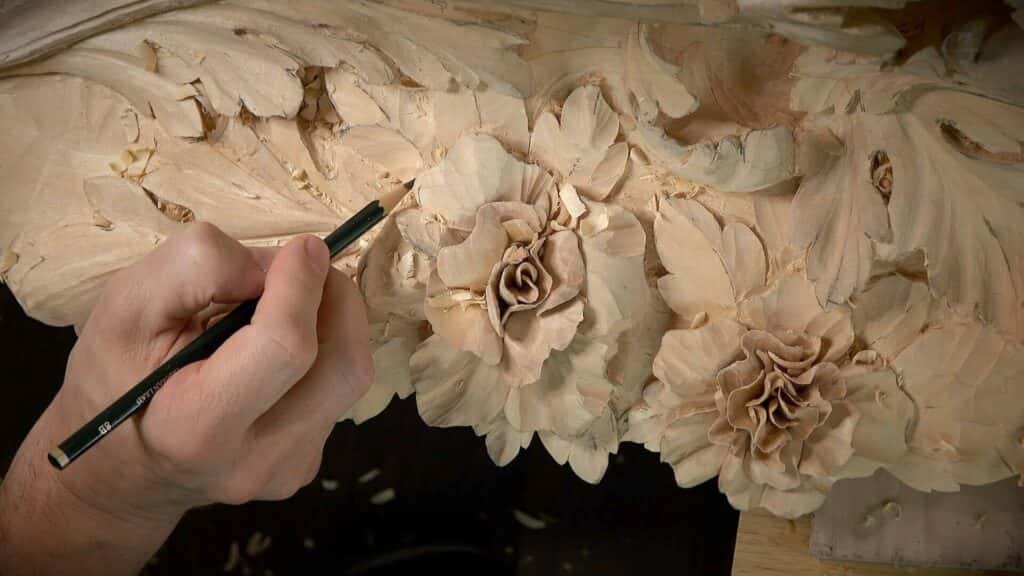
Wall panels have to agree with each other. Agreement is a measurement.
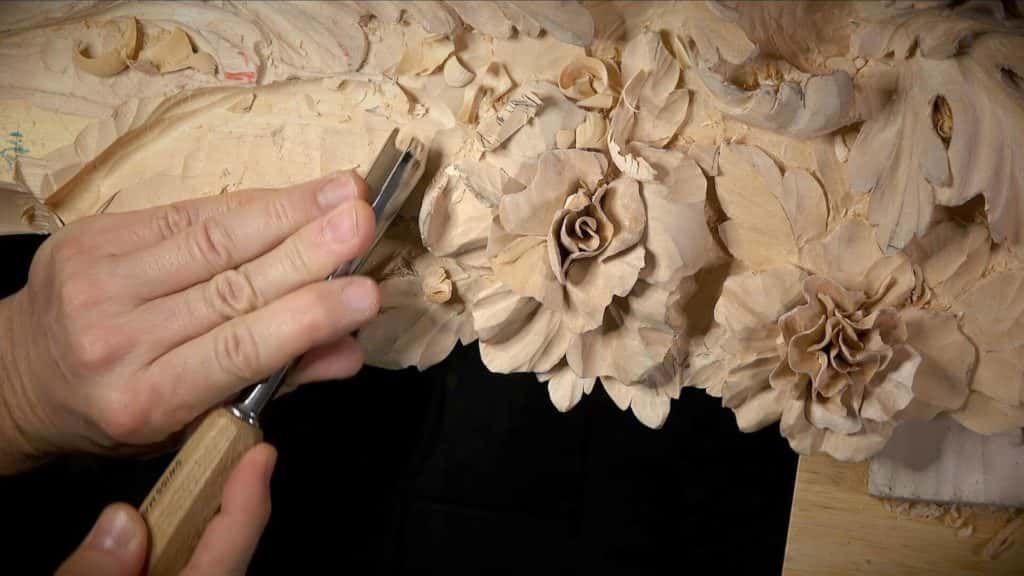
Small, shallow, drawn out in full: this kind of work never needs a needle.
Do you need special tools beside it?
You need the same tools you already carve with, kept sharp: gouges, a V-tool, calipers, and wood that behaves. A #7 gouge roughs out between the drilled points, a veiner chases the detail, and the strop keeps both honest. My course on carving tools walks through the whole kit piece by piece.
Wood matters as much as steel. Basswood, the carver's Tilia, takes a point cleanly and lets the needle read true, which is one more reason I hand it to beginners. Oak and walnut hold crisper detail and fight you harder for it, and I lined all three up against each other in what is the best wood for carving.
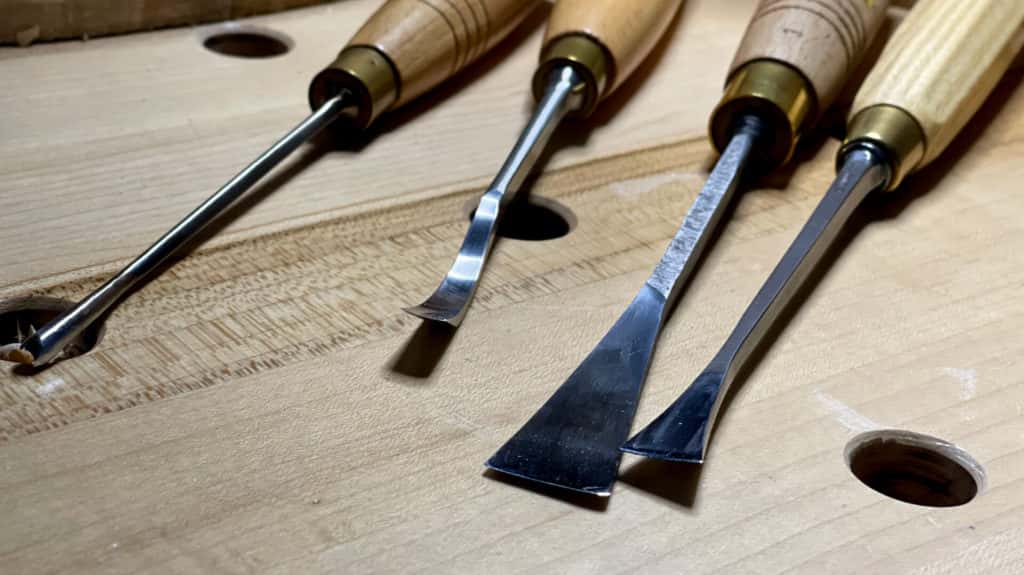
The same kit you already own. Only the measuring is new.
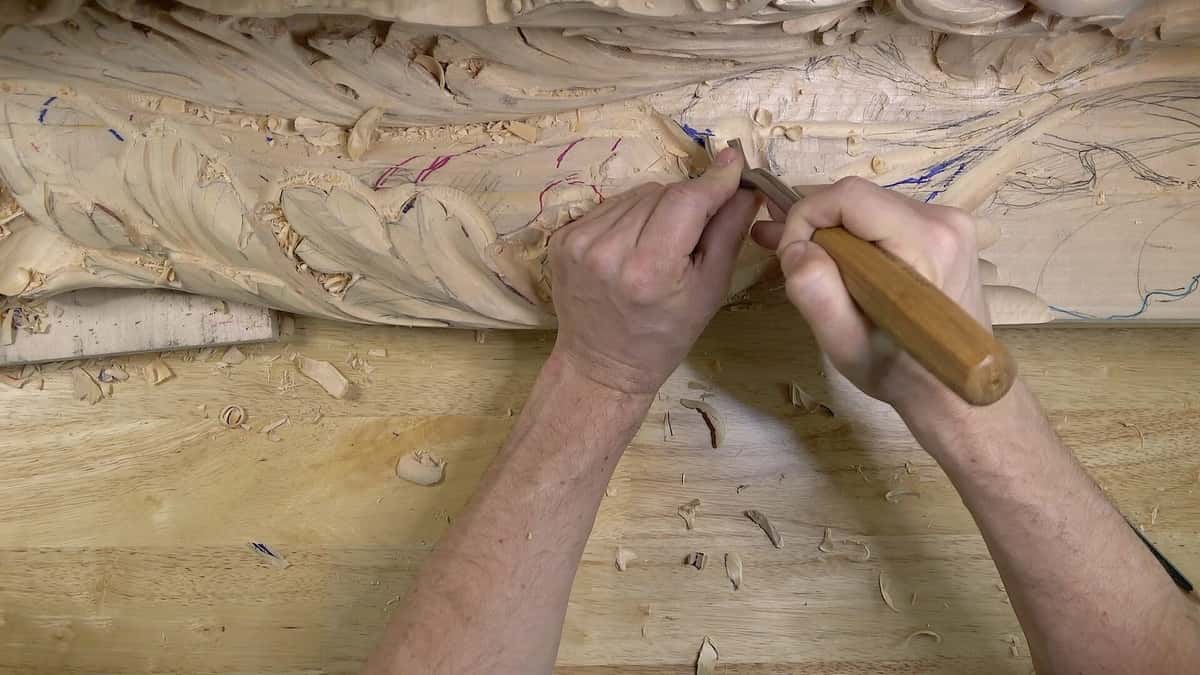
Blocked out by the points, finished by the hands and the eye.
Where should your first copy start?
Start with a form you love enough to carve twice, because the second pass is where the learning lives. A flower rosette is the classic first copy, and my flower rosette course gives you a model worth repeating. Carve it once by eye. Then take points, carve its twin, and set the two side by side in raking light, where every drifted depth shouts at you.
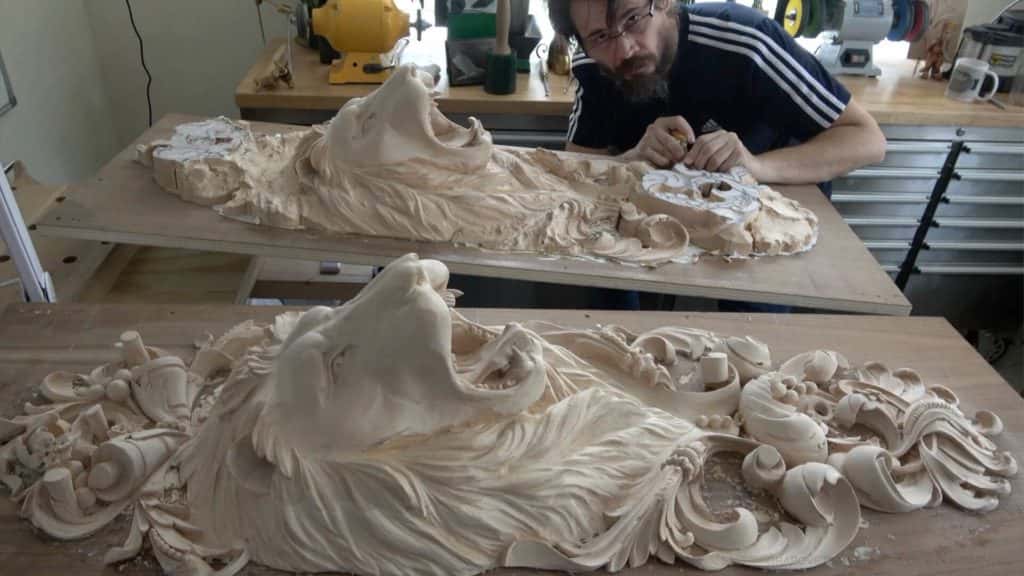
When the rosette stops scaring you, a lion head onlay is the next copy worth making.
That comparison will teach you more in a weekend than a month of single carvings. You will see exactly where your eye drifts, and you will stop trusting it in those spots and keep trusting it everywhere else, which is precisely the balance the old masters ran their workshops on.
I have carved for over forty years, and I still take points before I take chances on a client's commission. That machine never made a carving of mine worse. Guessing has.
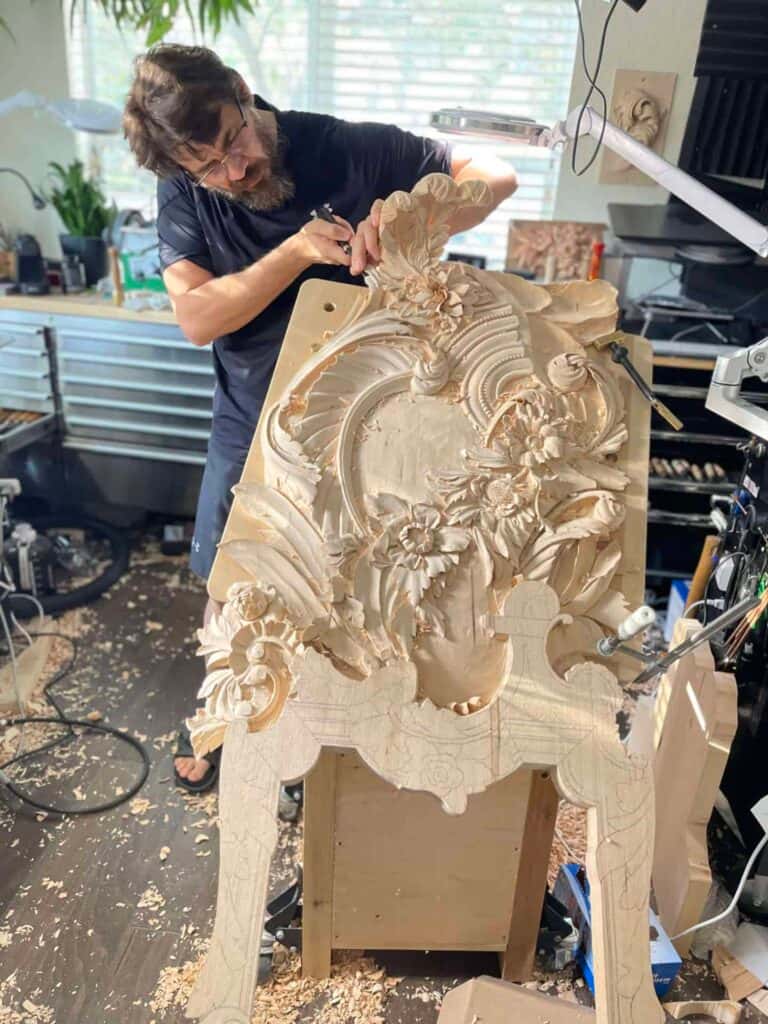
A panel this size forgives nothing, not even a sixteenth of an inch.
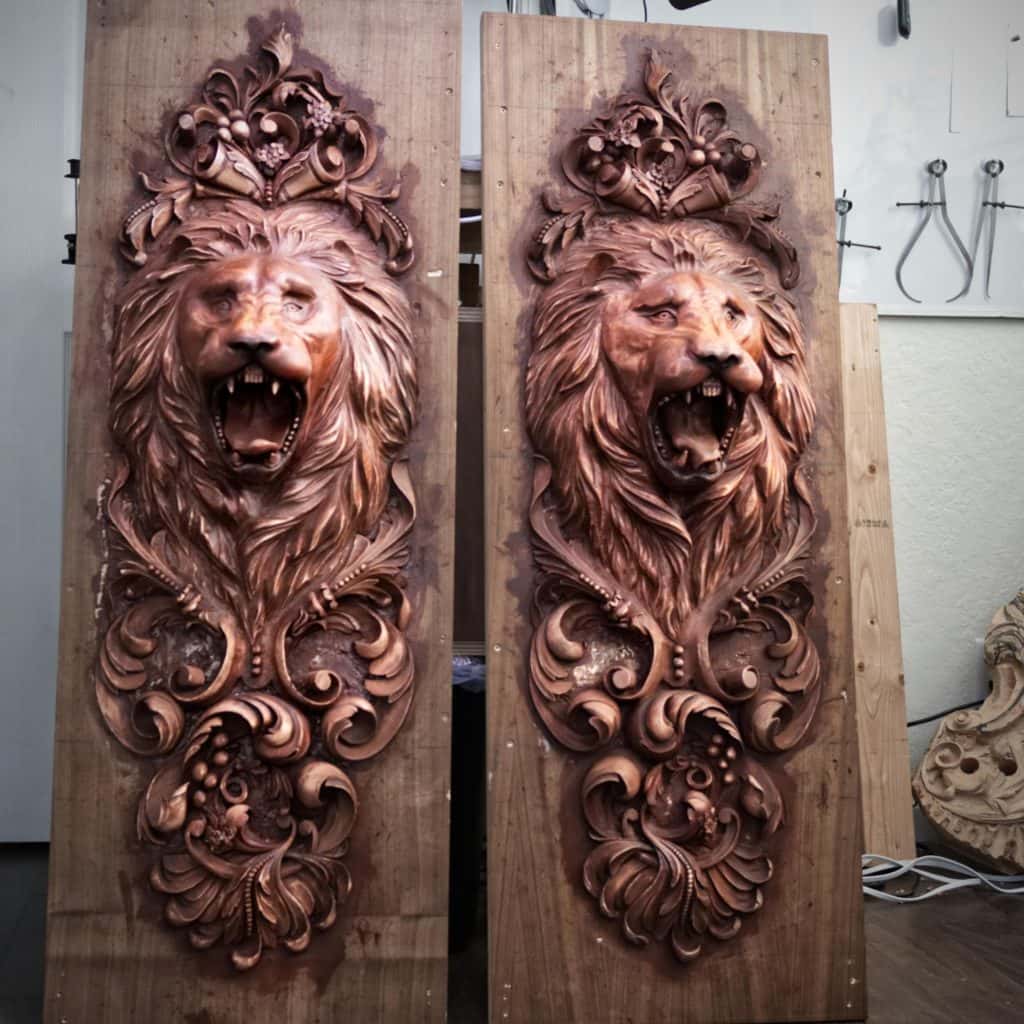
Your second lion can match your first. Points made that promise long before us, and they still keep it.
Got a carving you wish you could repeat? Want the second lion to match the first without a week of squinting? Then let the needle carry the numbers while your hands do the part they love, and let 3,000 lessons at the School of Wood Carving walk you through the rest of it, one cut at a time.
Frequently asked questions
What is a pointing machine in wood carving?
A pointing machine is a measuring frame with an adjustable needle that carries exact points off a model onto a block of wood. It registers on three fixed metal points, so each reading begins at the same three spots. Sculptors and carvers have used it to copy work since about 1800.
Did Michelangelo use a pointing machine?
The three armed machine came about three centuries after him, credited to Nicolas-Marie Gatteaux and John Bacon around 1800. Michelangelo worked from clay and wax models and measured from those, so the spirit of the method is his even though the tool is not. The tale that he simply freed figures from the marble is a story, and he planned far more than the story admits.
Can you copy a carving without one?
You can, and carvers do it every day. Calipers and dividers handle width and length, a counterproof tracing handles mirrored pairs in shallow relief, and a patient eye handles a single leaf. The machine earns its place when the relief gets deep and the depths start hiding from your eye.
How accurate is a pointing machine?
As accurate as its setup. If the three reference points never move and the bench stays flat, the needle repeats a depth exactly, and the copy lands as close to the model as your patience allows. The last skin of wood is always finished by eye, so the final surface stays a carving instead of a printout.
Filed under
- Acquire skills in using a pointing machine
- All About Wood Carving Tools
- Become adept at using a pointing machine
- Become proficient with a pointing machine
- Beginner in Wood Carving
- Best Wood for Wood Carving
- Develop skills in navigating with a pointing machine
- Familiarize yourself with a pointing machine
- Gain expertise in using a pointing machine
- Gain knowledge in operating a pointing machine
- Get comfortable with a pointing machine
- Get familiar with a pointing machine
- How to use Pointing Maching
- Know how to handle a pointing machine
- Learn the functionality of a pointing machine
- Learn the techniques for using a pointing machine.
- Learn to control a pointing machine
- Learn to utilize a pointing machine
- Master how to use a pointing machine
- Master navigation with a pointing machine
- Practice using a pointing machine effectively
- Understand how to operate a pointing machine
- Understand the operation of a pointing machine
- Wood Carving for Beginner
- Wood Carving Techniques
- Wood Carving Tools
- Wood Carving Workshops