
Alexander Grabovetskiy, woodcarver, School of Woodcarving · Published 2017
Part of Carving Antique Style Rosette

The full video lesson is inside the school.
Alexander Grabovetskiy, woodcarver, School of Woodcarving · Published 2017
Quick answer: A groove chips because the blade is asked to split wood two ways at once. Cut one wall, lift the waste out of the middle with a small gouge, then bring the second wall down into the space you made. Order is the whole technique.
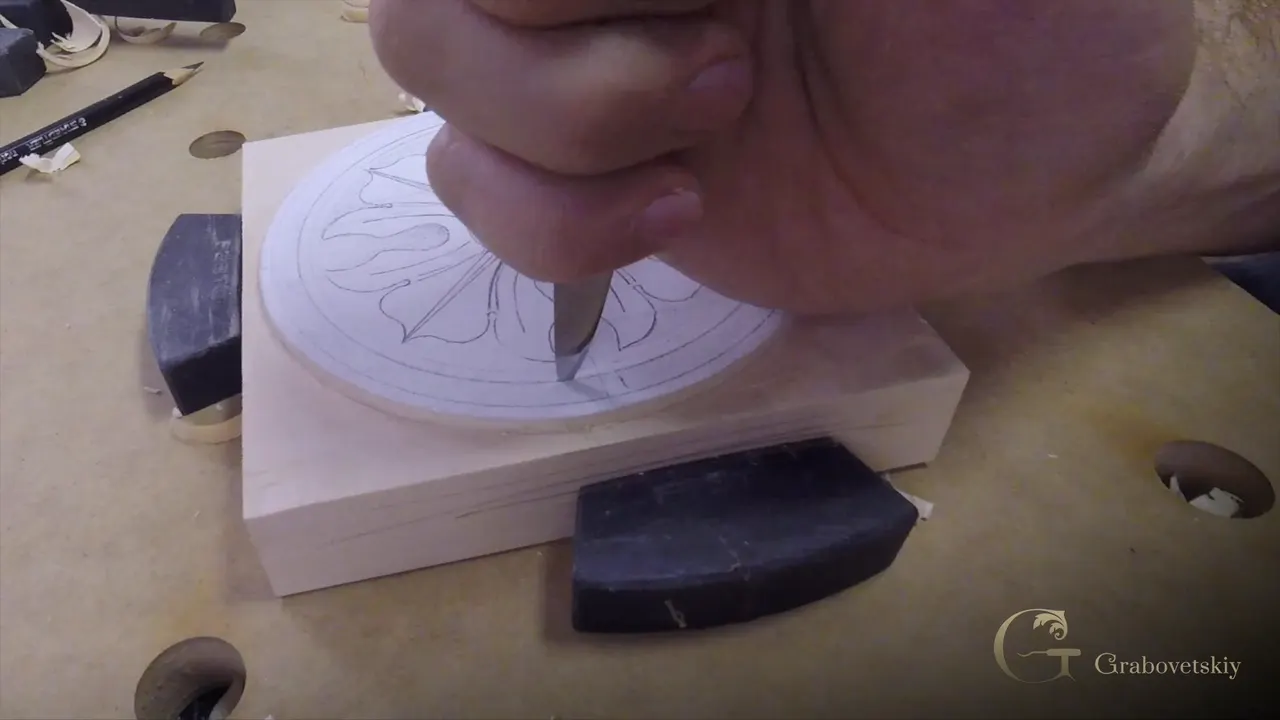
A groove chips out because the knife is asked to split wood in two directions at once. Cut one wall, clear the waste inside it with a small gouge, and only then cut the second wall. The relief cut is what holds the ring together.
Watched a clean ring crumble on the last pass, with no idea what you did wrong? Cut both walls of a groove and found the strip between them lifting away in pieces? Order. That is all this is, and the wrong order is the whole problem.

Sequence, and nothing cleverer than that. The knife goes in vertically along the outer edge of the groove, no lean at all, taken little by little until the cut is nearly the full depth of the ground.
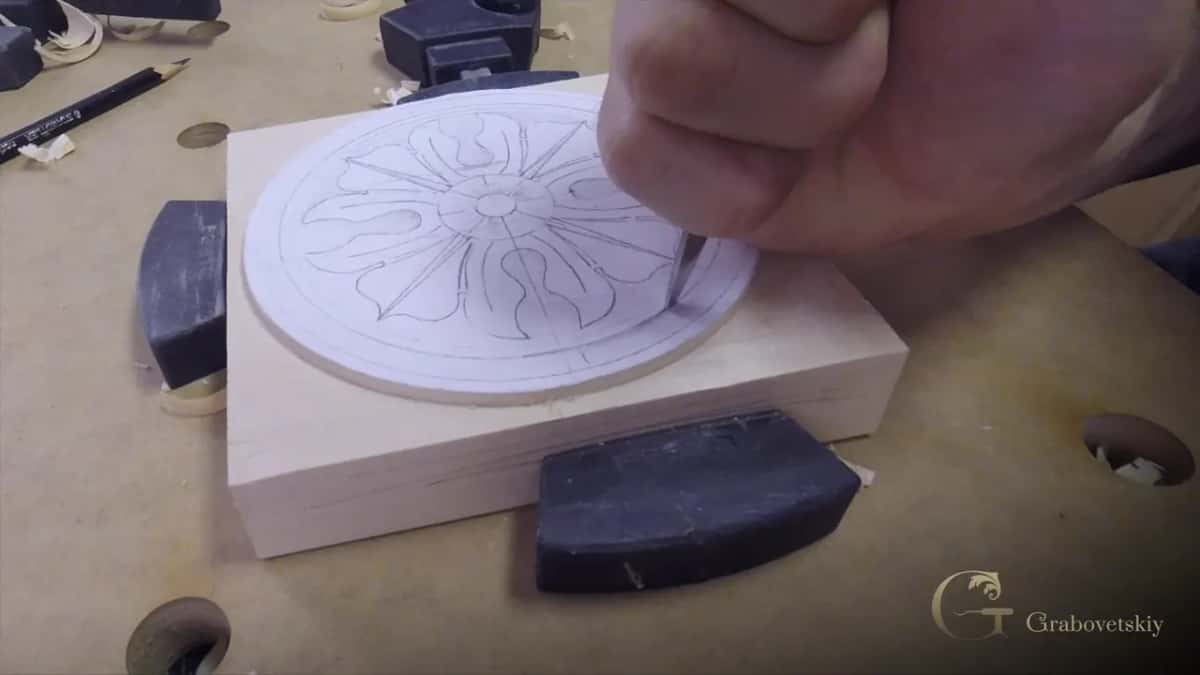
Then the temptation arrives. The knife is already in your hand, the second line is right there, and cutting it now feels like the obvious move. It is the mistake that ruins the piece.
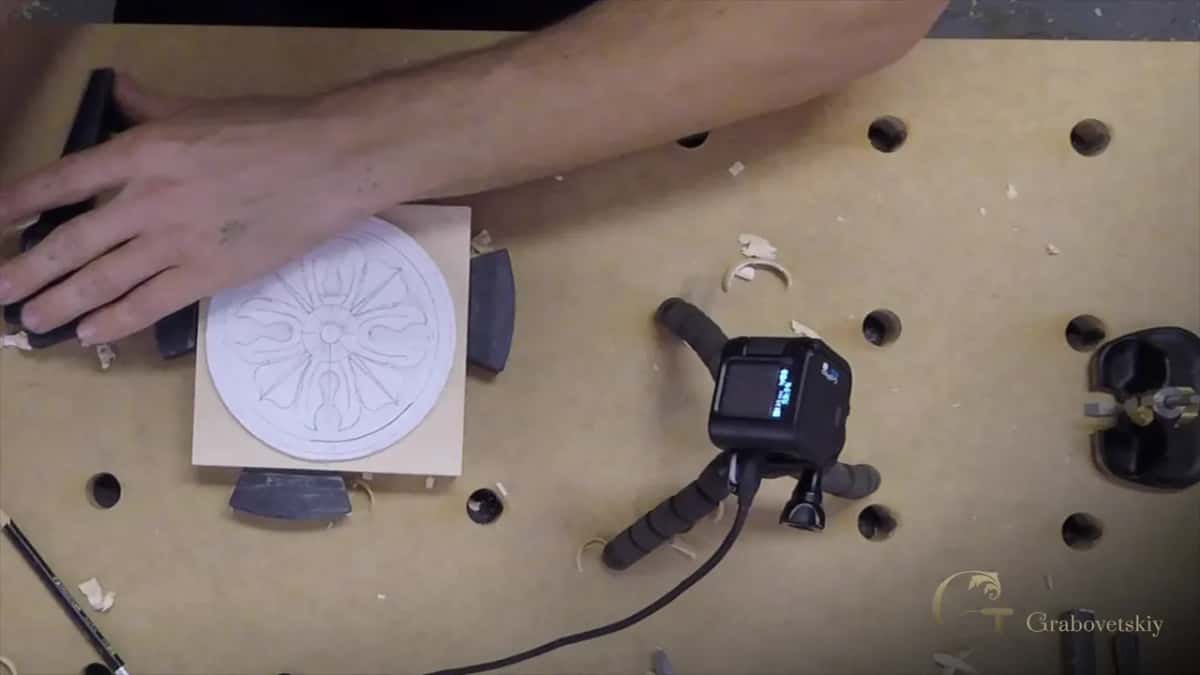
Look at what the wood is doing. On one side of that second line there is very little timber left, and on the other there is plenty, so the blade pushes into an unbalanced piece of basswood and tries to split it both ways at once. The thin side loses.

So the waste comes out first. A small gouge, a number nine in my hand, goes round the inside of the ring and lifts the meat away, close to the inner line without touching it. Now the second wall has nothing to break into.
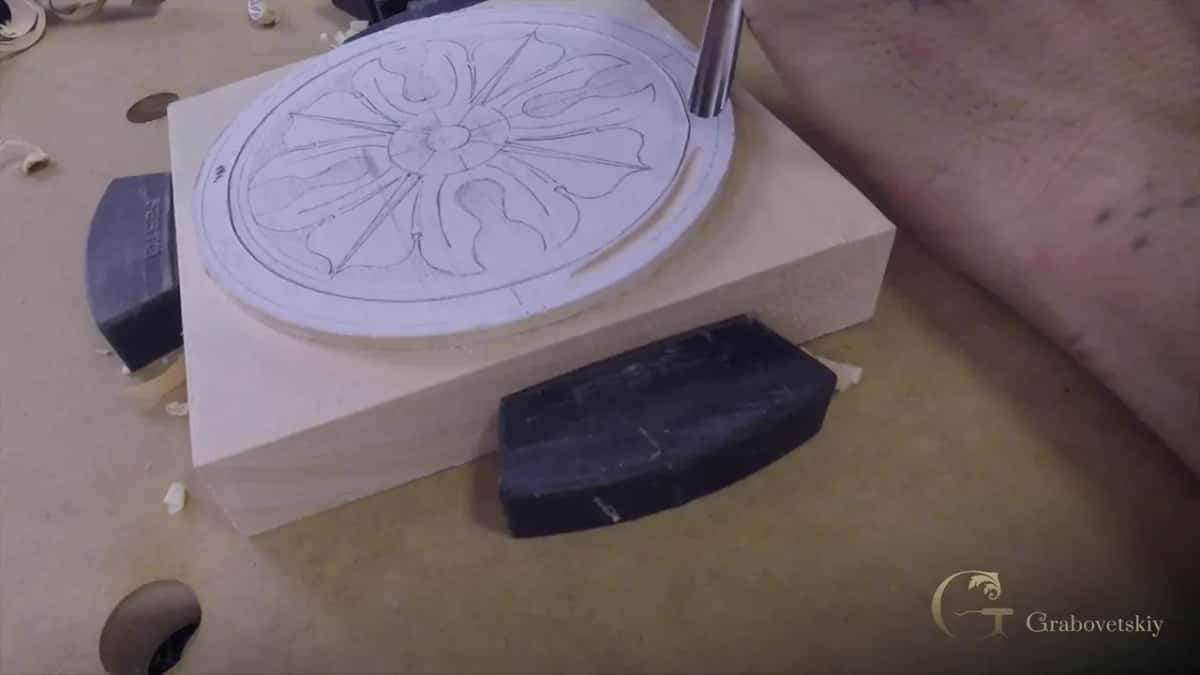
Forcing it is the other way to lose the ring. I take that first wall down in stages and never lean on the handle, because a knife pressed hard stops following the drawn line and starts following the grain instead. Those are two different curves, and only one of them is the one I drew.
Sideways movement is worse still. Push the blade left or right while it is buried and the wall comes out leaning, which reads as a soft grey edge instead of the hard black line a rosette wants. Nothing repairs that afterwards. That wall is either square from the first cut or it is not square at all.
The last millimetre is the one that shows. I take the relief cut round to roughly a millimetre from where the wall will stand, and stop there, so the knife gets the final say rather than a gouge that cannot see the line as well.

Depth matters as much as distance. That relief cut cannot drop below the ground it sits in, because the whole rosette works to one level and a dip in the middle of the ring is a shadow in the wrong place forever.
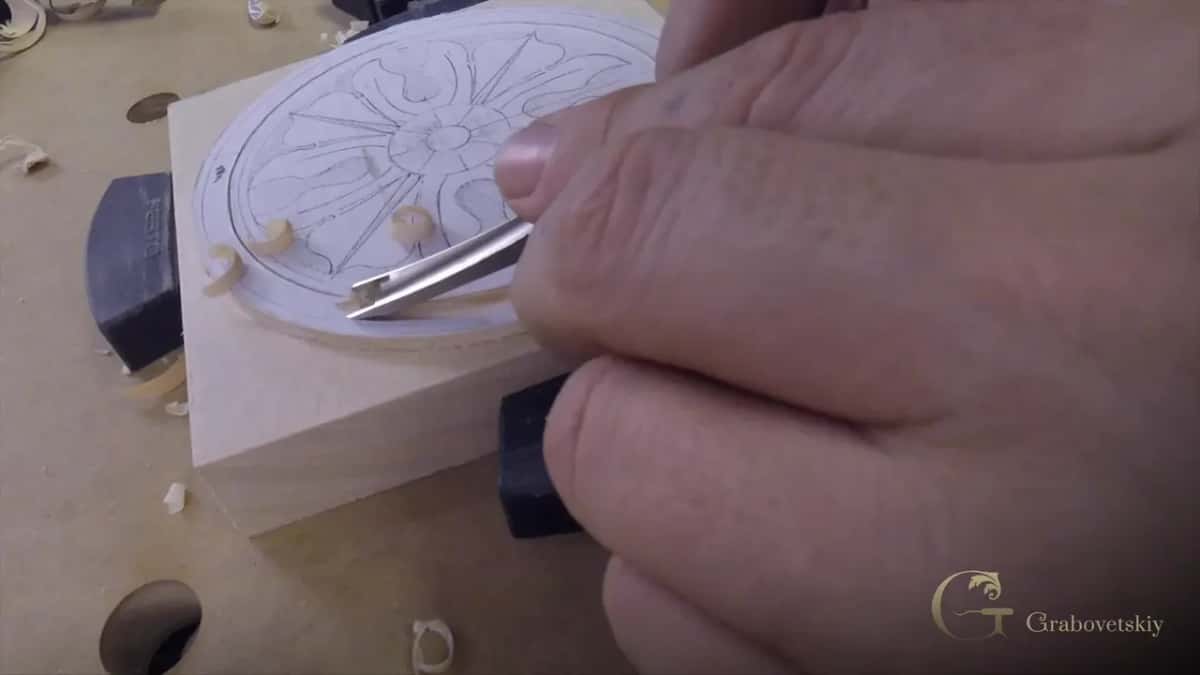
My tool that day was a nine. A V tool does the same job, and so does an eight, a ten or an eleven. What you own decides it, since all any of them is doing here is taking meat out of the way.

The curl that lifts off a sharp gouge on that pass is one of the small pleasures of the trade. Thin, even, rolling away ahead of the edge, and it tells you the tool is sharp before you have looked at the surface.

Like a pencil, and lighter than you think. On the first cut my hand sits flat and drives the blade with the weight of the arm behind it. On this one the grip changes completely.
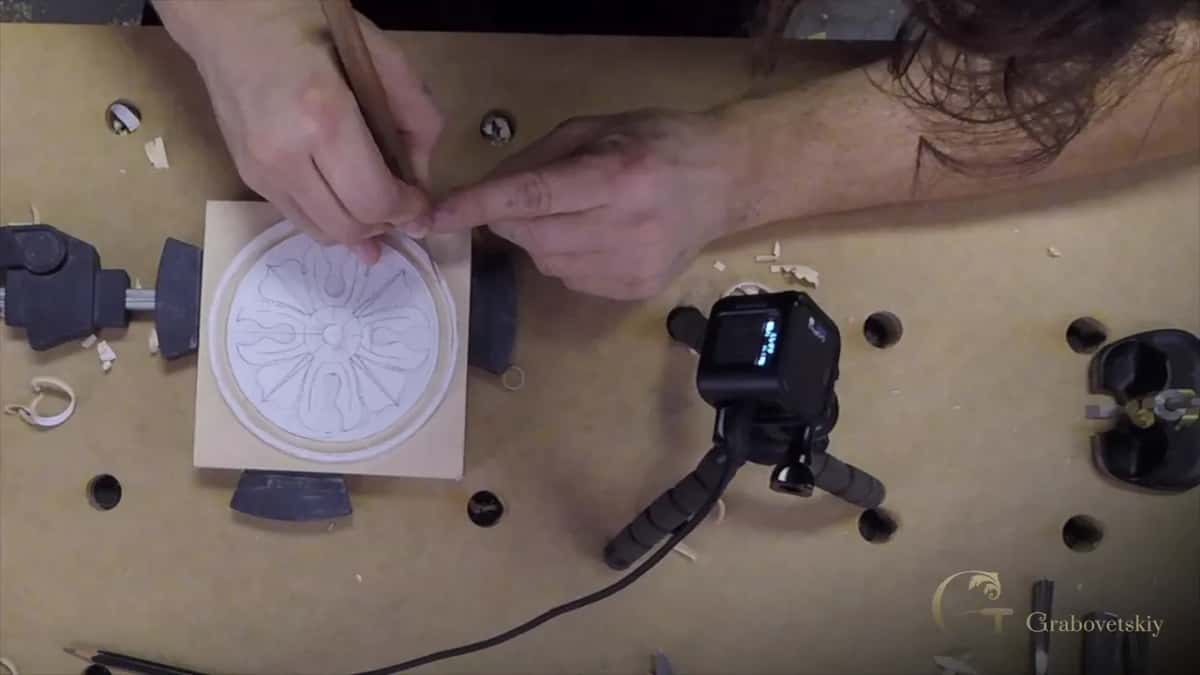
A finger rests on the work as a guide, the handle rides between thumb and fingers, and the blade goes about a sixteenth deep and no further. Two cuts, three cuts, as many as it takes.
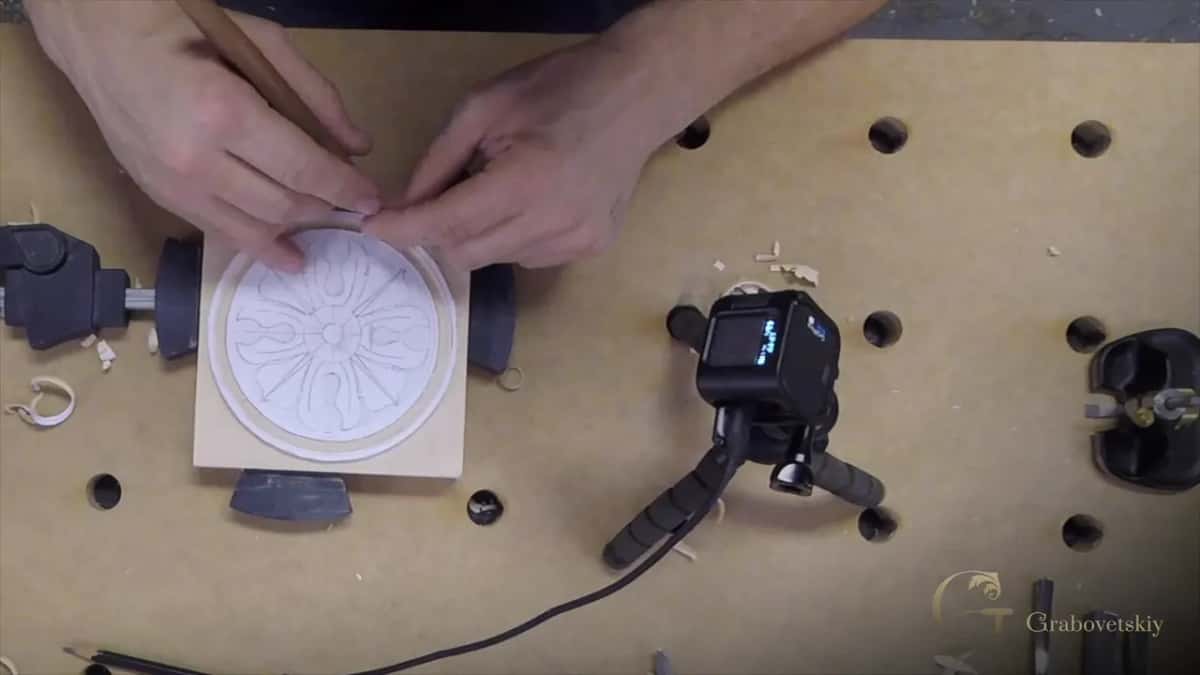
Snapping this is easy. That ring wall stands only an eighth of an inch high, unsupported on both faces, and at the end grain it needs very little persuasion to come away in your hand.

| The move | What the tool is doing at that moment | Depth | What happens if you take it out of order and carry on regardless |
|---|---|---|---|
| Outer wall | Knife straight down, following the drawn line | Nearly the full ground | A leaning blade puts a bevel where a square wall belongs |
| Relief cut | Number nine lifting waste from inside the ring | Level with the ground, never below it, because the whole rosette answers to one plane | A dip stays |
| Inner wall, cut only once the waste beside it is already gone | Knife again | A sixteenth a pass | The strip between the two walls splits and lifts away in pieces |
| Clearing out | Grounding tool number 47, worked in without touching either wall | One eighth | A wall you scarred at the last minute |
| Levelling | Background tool | Flat to the ground outside | It sits proud in one place and low in another, and the light tells on it |

Waviness is the other failure and it has one cause. Hurry. It makes no difference how steady your hand is or how long you have carved, a line taken faster than you can see it goes wavy, and an eye picks that up across a room without knowing why.
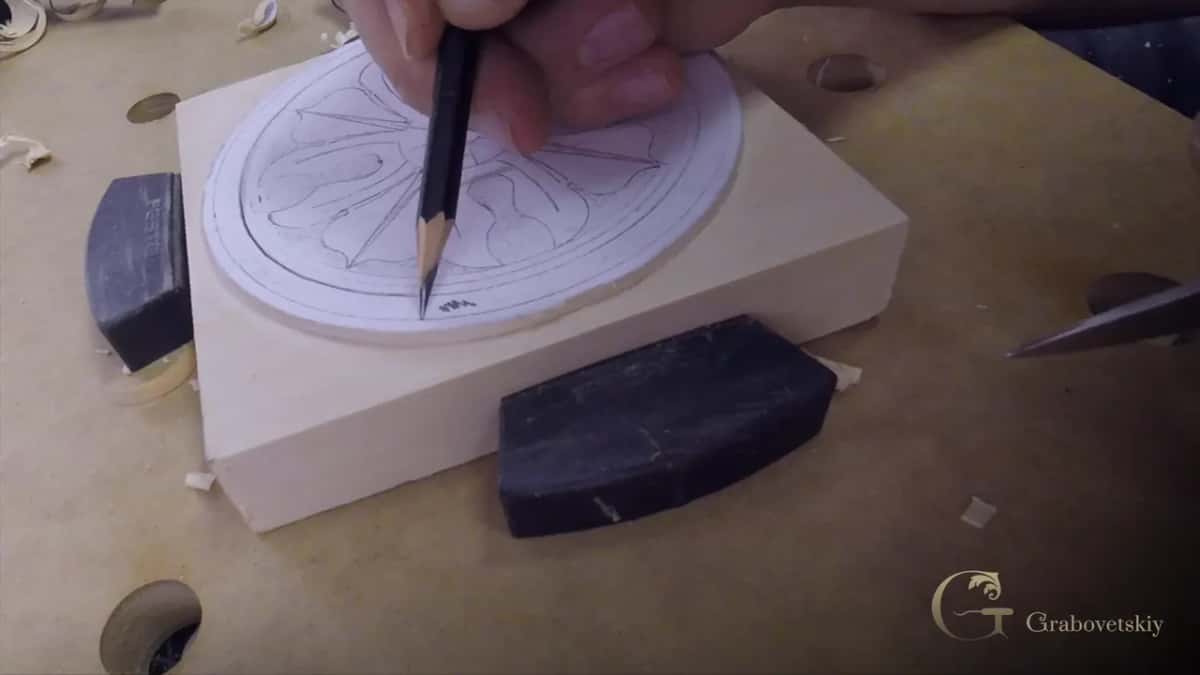
One rule I will not bend on. When a knife is cutting, the other hand stays behind the blade, never in front of it. A slip with the hand in the path is how carvers end up explaining a scar for the rest of their lives.

Everything about how the knife is held. The first pass was a scoring run, taken shallow, aimed only at establishing where the wall stands. Nothing about it needed to be deep.
Now the cut goes down to meet the ground, and the hand changes to suit it. My grip shifts, the blade sits at a slightly different angle, and the cut travels round the circle again from the beginning rather than picking up where it happened to stop.
Going round in one continuous habit is what keeps a circle a circle. Start and stop in the middle of a curve and there will be a flat spot exactly there, invisible on the bench and perfectly visible once the light comes across it at an angle.
Four rotations, four comfortable hand positions, and the block turns rather than the wrist. Same discipline the outer circle wanted in the first workshop, and it is the reason a hand carved ring can hold its shape as well as a turned one.
Something small enough to get in without bruising a wall. My first reach was too big for the gap, which happens often enough on a ring this tight, and the answer was a grounding tool numbered 47 from Ashley Iles.

It works in gradually. Rushing a narrow space is how you mark the wall you just spent twenty minutes cutting square, and a bruise there cannot be sanded out afterwards because nothing gets sanded here at all.

Diagonal grain gets its own attention. That circle crosses the grain four times on its way round, and each crossing wants the tool coming from a slightly different direction if the surface is going to stay clean.

Then a background tool brings it level, and a narrow number three takes the last of it. That side of the ring holds up under the cut, and it holds because the relief cut went in first.

Twenty minutes of knife work can be undone in one careless second with a grounding tool, which is the whole reason I slow down here rather than speeding up. The wall is the expensive part of this ring. Everything in the middle is just waste waiting to come out, and waste is never worth risking a finished surface for.
It has to match the ground outside it, exactly, all the way round. One eighth in the ring and one eighth beyond it, because a rosette reads as one object and the eye finds a step between two levels long before the brain works out what it is looking at.
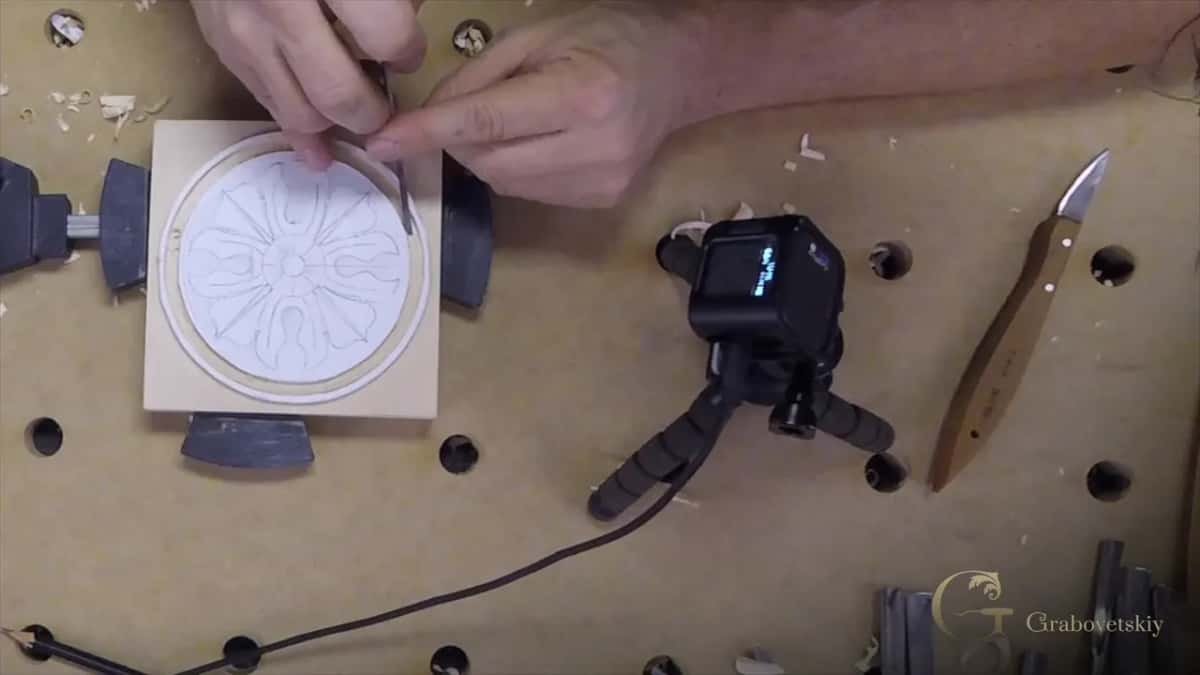
Checking it is simple enough. I drop the tool in and see whether it sits where the outer ground sits. Then the block turns and the same spot gets tried from the other side. A ring can be honest on the face nearest you and a shade proud where your arm has been reaching across it, and that is exactly the error nobody catches on the bench.
A background tool settles the argument. It levels what the grounding tool left, working from the outer ground inward so the two surfaces meet without a ridge, and then a number three, a quarter inch wide, takes the last rough patches near the wall.
None of this is the final surface. A cleaning stage is still to come on this rosette, and a texture going into the background after that to match the photograph I was sent. What I want today is a ring at the right depth with both its walls square and no chips anywhere in it.
Lime, linden and basswood are one timber wearing three names, and there is very little it will refuse to do. Soft enough to cut cleanly in any direction, stable enough to hold an edge this thin, and fine enough in the grain to take detail as small as your patience allows.

Old Europe did not file it under softwood either. Limewood counted as a hardwood in that reckoning, and pine was the softwood, which says something about how the two were valued rather than how hard they are to cut.

England priced its carving by timber. Cheap work came in pine. Expensive work came in oak to begin with, and then after the seventeenth century it came in limewood, and the man who moved that fashion across the Channel was Grinling Gibbons, who brought the idea over from the Low Countries.
Germany had been there for two centuries already. Walk into an old German church and the fifteenth and sixteenth century carving is limewood almost without exception, and it still looks fresh, which is the part that surprises people. Gibbons called this timber the queen of all woods, and having carved a few thousand hours of it, I am not going to argue with him.
The palaces are the evidence. Walk through the great English houses and the carving that everybody stops to photograph is limewood, cut three hundred years ago and still crisp at the edges. Go to Germany instead and the same timber is holding fifteenth century detail in churches that have never been heated properly in their lives.
Long argument for a material, and the one that convinced me. A timber that keeps its corners for five centuries is telling you something a modern test never will, and it costs less than oak.
Order of work is a habit worth carrying past this rosette. Every piece of relief carving I have cut since follows the same rule, whether it is a ring, a bead or a leaf standing clear of its ground: take the waste out before you cut the wall that the waste is holding up. The Greek acanthus leaf teaches the same lesson at a larger scale, with a lot more wood in the way.
Would you rather watch the relief cut go in and the second wall come down clean, at full speed with the camera over my shoulder? Shall we carve?
This is the second workshop in the antique rosette series, and tuition opens all six. Workshop one squares the blank and grounds it to an eighth, workshop three sets in the petals with matching sweeps, and sharpening decides whether that curl lifts or tears. The Gibbons class goes deeper into his timber and his methods, the flower rosette is a gentler cousin, and the tools course explains what a grounding tool is for. Want me beside you? We teach in person, and a beginner starts here.
The blade meets unequal timber. Plenty of wood on one side, almost none on the other, so it splits toward the weak side instead of cutting. Removing the waste first leaves nothing for it to break into.
A cut that gives fibres somewhere to go. Made beside the line you care about rather than on it, so the next tool pushes waste into open space rather than into solid wood that has to break to move.
Slow down. Hand steadiness has surprisingly little to do with it, and years of practice do not help either. A line taken faster than the eye can follow wanders, and wandering shows from across a room.
Behind the blade, every time. A knife that slips travels along the line of the cut, and anything in front of it is in the way. This costs nothing to obey and everything to forget.
Botanically it sits with the hardwoods, and old European workshops counted it that way too, with pine as their softwood. The label describes how the timber was ranked rather than how much effort it takes to cut.
Even grain, no strong figure fighting the design, and it cuts cleanly whichever way the tool arrives. Gibbons called it the queen among woods, and German church carving had been proving his point for two hundred years.