
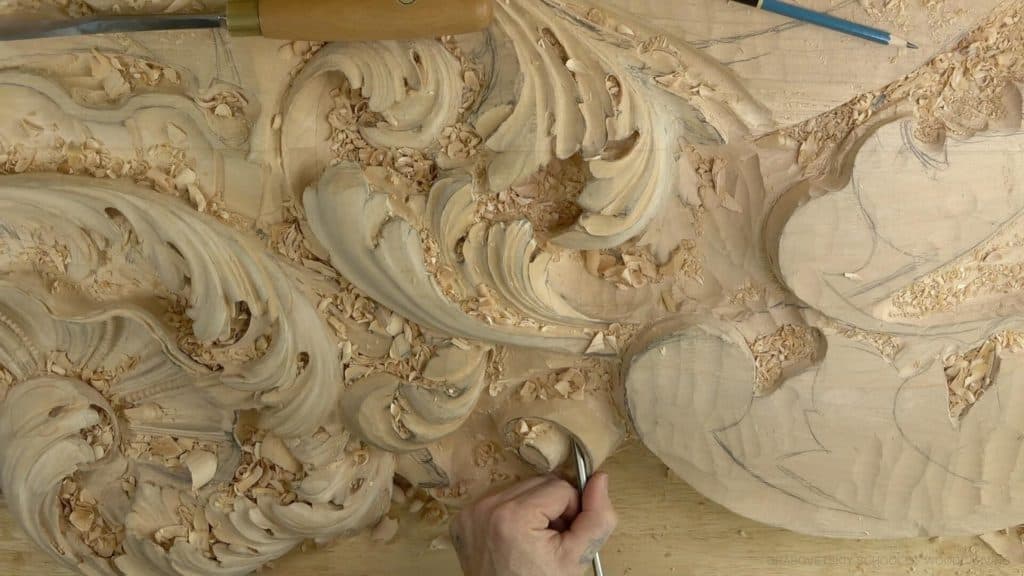
Alexander Grabovetskiy, woodcarver, School of Woodcarving · Published 2020
How do you carve a twisted volute that rises from under a leaf?
Quick answer: A twisted volute is a carved spiral that starts low, beneath an acanthus head, and climbs upward, turning sideways as it rolls. You lower the wood around it almost to the bottom, give it two slopes, keep its middle readable, and end its tail under another form so no weak spot is left.
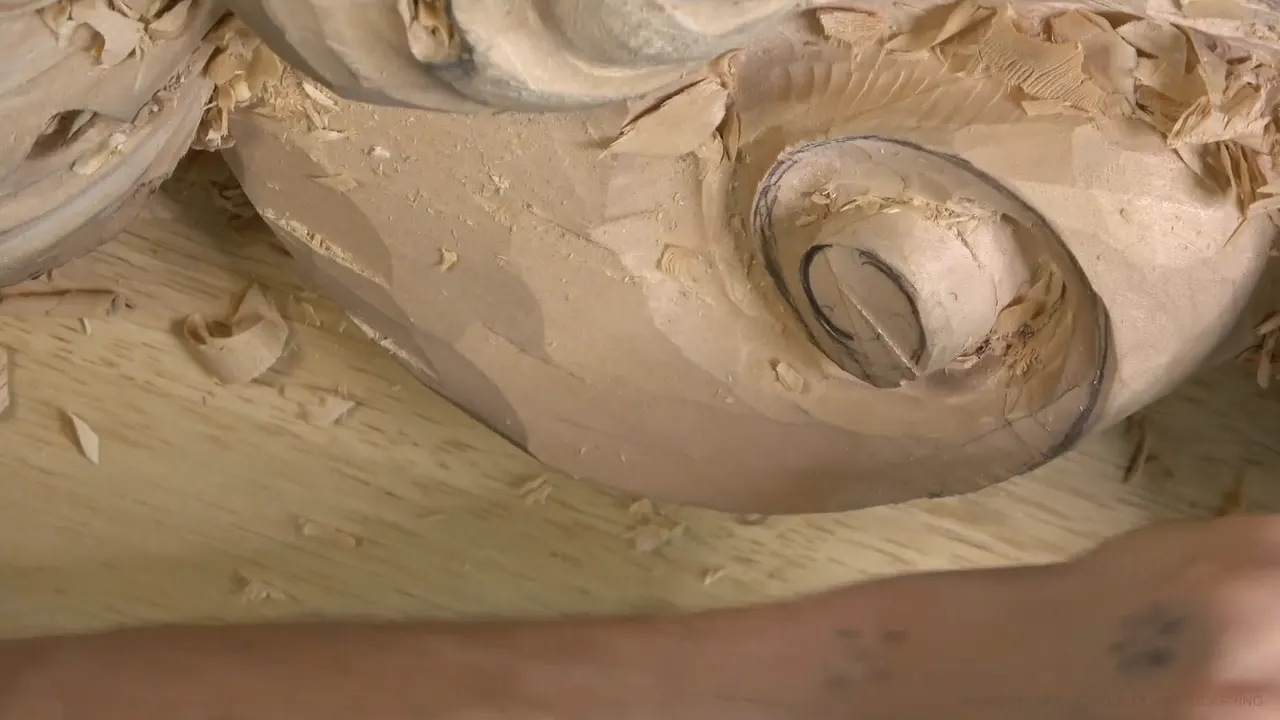
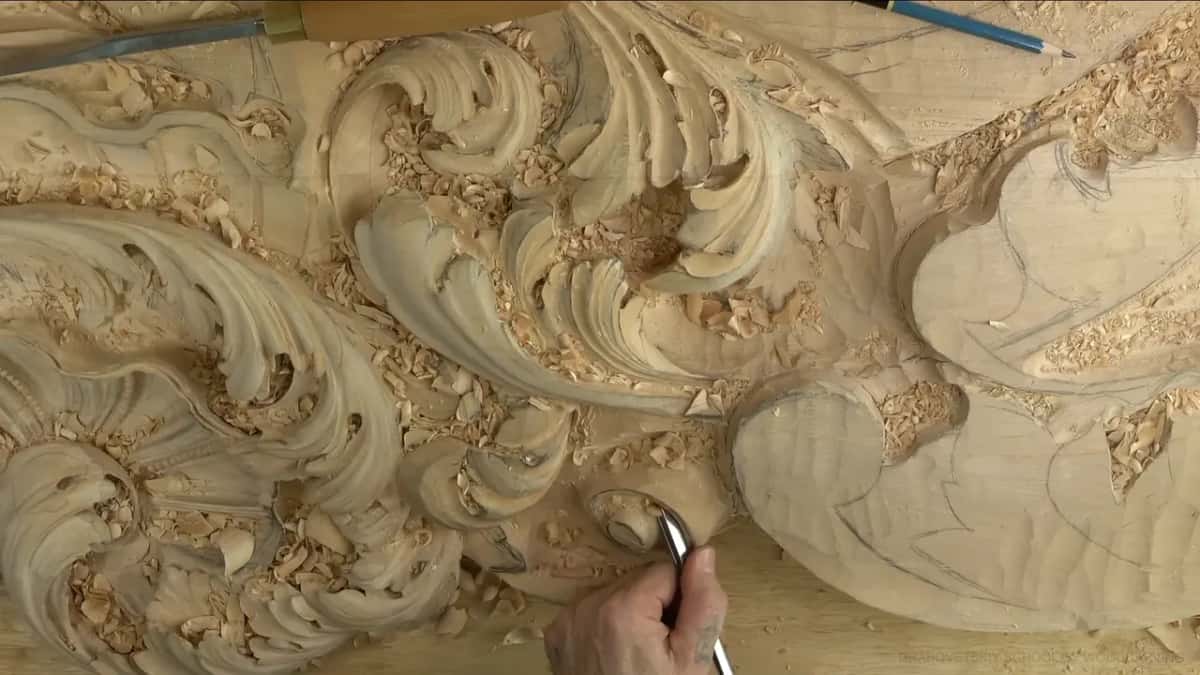
A twisted volute under a leaf is a spiral you carve from the bottom up, so it seems to climb out from beneath the acanthus head, roll over, and turn to one side. In volute carving the famous example is the flat spiral on the capital of an Ionic column. Mine grows out of an acanthus leaf instead, on my Venice Room ceiling board, and workshop 31 is where I roughed one in, starting with the first slope and ending in the deep hollow behind it.
Would you like a scroll that looks as if it climbed out of the leaf on its own? And would you like to see where that climb begins? Then put your first slope down low, underneath, and let it climb.
I'm going to be honest with you. A volute is hard to explain, and in part 31.5 I told you as much, then said you would understand in just a moment. You'll get the order I carved it in, with each tool I picked up. Near the end comes the one spot where I changed my plan so the tail had somewhere to go.

Six moves that make the volute rise from below
A separation goes around the place where the leaf head will stand, carved with a big tool.
The first slope starts low and climbs up from underneath.
Nearby wood comes down nearly to the bottom and stops short of it.
A second slope runs back the other way.
Its middle part stays readable, a bump is left for later, and the twist gets decided on the wood.
The tail dies beneath an extra acanthus movement instead of in a weak spot or a deep hole.
Where does a volute like this one begin?
Underneath, and from the opposite side. Back in that fifth part I said this volute is going to go from underneath and go like that. The head of the acanthus would stand much higher, and everything below it had to go really, really deep and slope.
A part later I put it plainer. It goes from underneath, from the opposite side, and up like that. You probably don't even see that movement yet, I told you, but you will.

The board is carved in relief, so every bit of height comes from wood I take away around a form. Volutes are one of the details I really love, besides all the acanthus work, and I said so at the very end of the lesson. The twisted ones turn sideways as they rise, and that is the kind on this board.
Other lessons cover the plain kind. The three-curve volute has a page of its own, and the question of whether its top should be flat or sloped gets another. For a scroll started outside a paper line, look in the Hashemi flowers course.
Why carve around the acanthus head first?
A separation around the head shows you where the volute will sit, and that tells you how much slope to give it. Step number one, as I put it near the end of part five, was a line carved around my future acanthus head with a bigger tool, about 20 mm (3/4 in). I added that a number nine will work too.

That separation came late in the part. Most of it went to the leaf's own movements, and I kept calling the work pre-establishing, not final. I want to see how this develops before I develop everything else, I said, and that way I'll see the overall picture.

After that I stopped to decide where the volute would go. That is where the slope gets decided, how much of it and which way. I said as much, that I need to make the decision how much slope I have to give, and the next part opens on a flatter gouge.
How low does the wood around it go?
Nearly to the bottom, and never quite there. The sixth part opens with a number three for the slope, and then a skew chisel to carefully pre-establish the movement. It still sat too high, and it has to feel like it's going from underneath, I said, so I lowered that area a lot more.
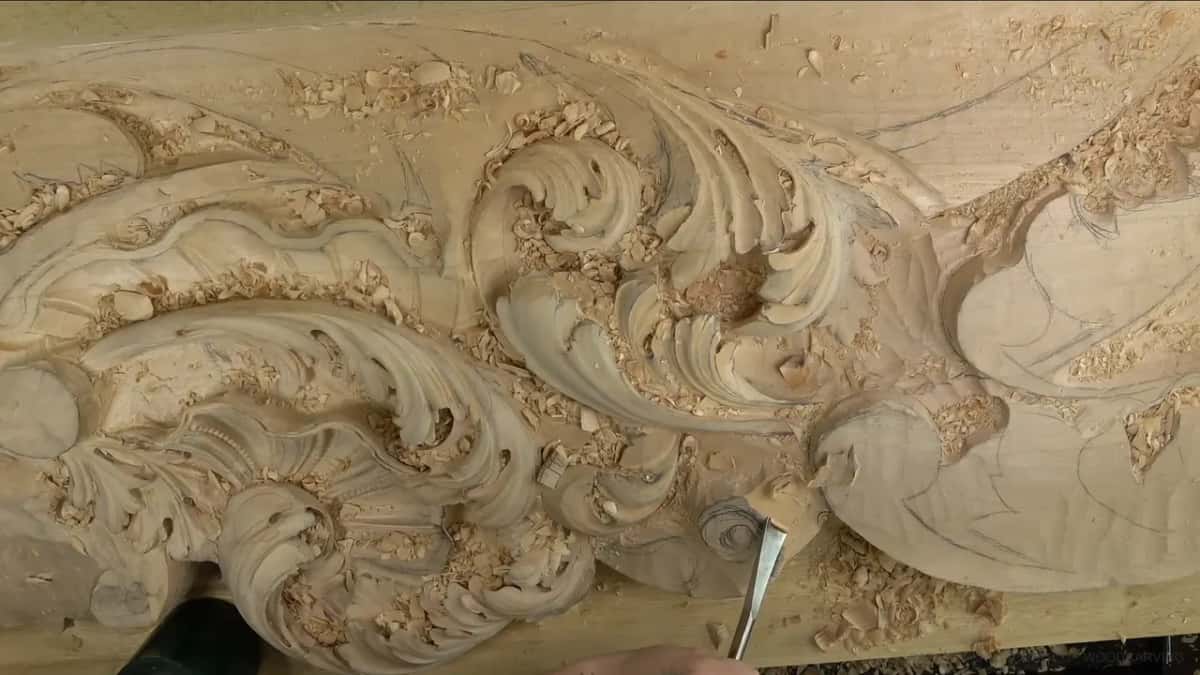
I could take it down a lot, actually, almost all the way. But I had to be mindful, because I did not want to go completely to the bottom. Going lower right away would not give me a really good movement, I said later, in part nine.
Deeper can also mean better, and in the seventh part I gave it an even bigger slope, a more pronounced one. Going deeper, I said, would give me an even better detail. How high the volute stands is up to you. In part ten I asked myself if I wanted a really high volute, sticking high above, and decided it was already gradual and nice.
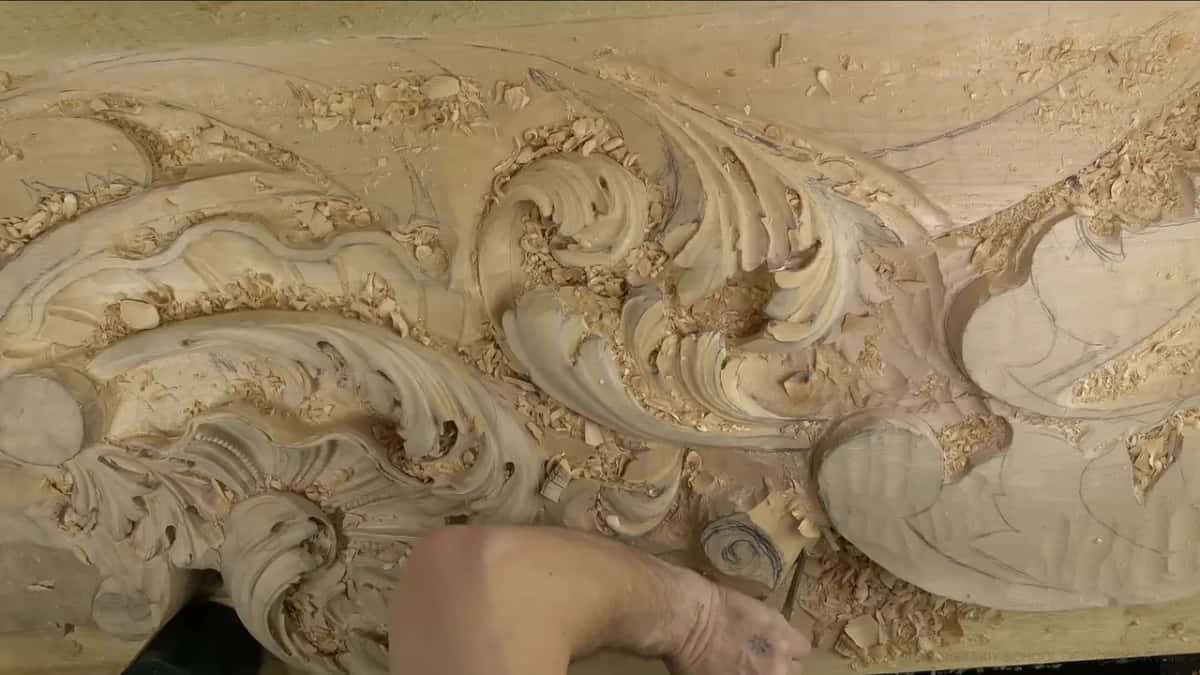
Somewhere in the middle of the sixth part you can hear me roll the workbench, which sits on wheels, and say sorry for it. On a thin panel, a low relief volute gets its depth by tilting the ground instead.
What is a double slope on a volute?
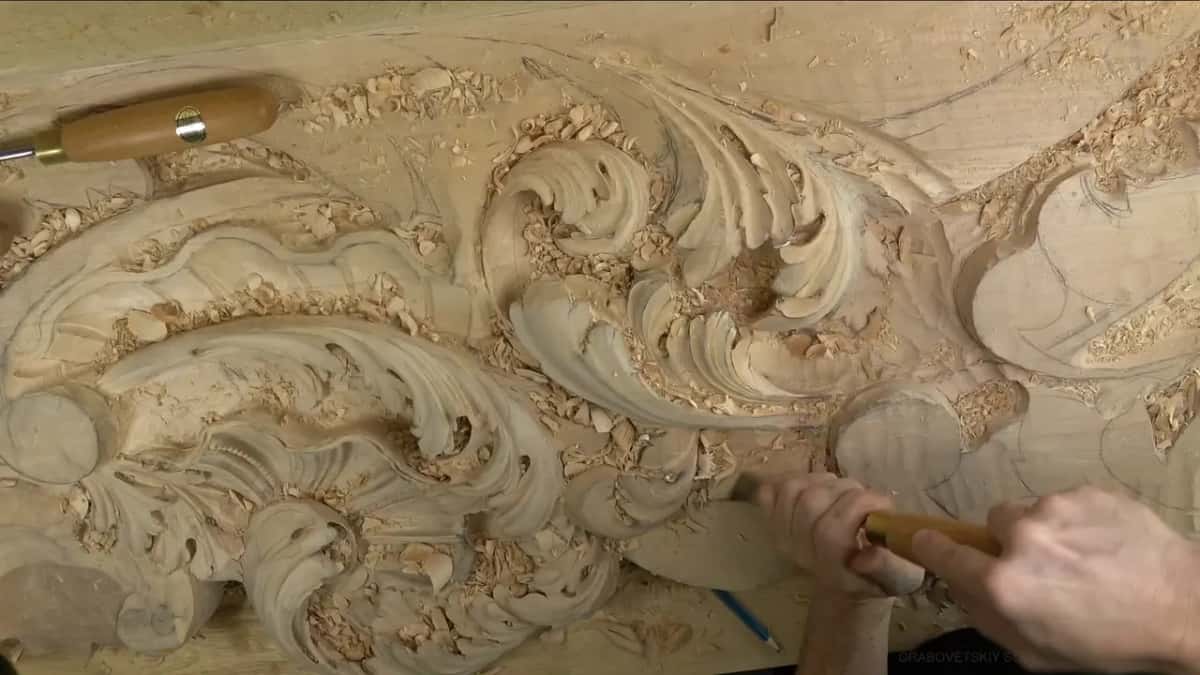
Two slopes on one volute, running opposite ways, and that is about as far as my words got on camera. The name came up first in part five, a double slope, you'll see, and I admitted it was kind of hard to explain. Once the first slope climbed from underneath, the sixth part has me saying that I need to give a slope the opposite direction, twice before it ends.
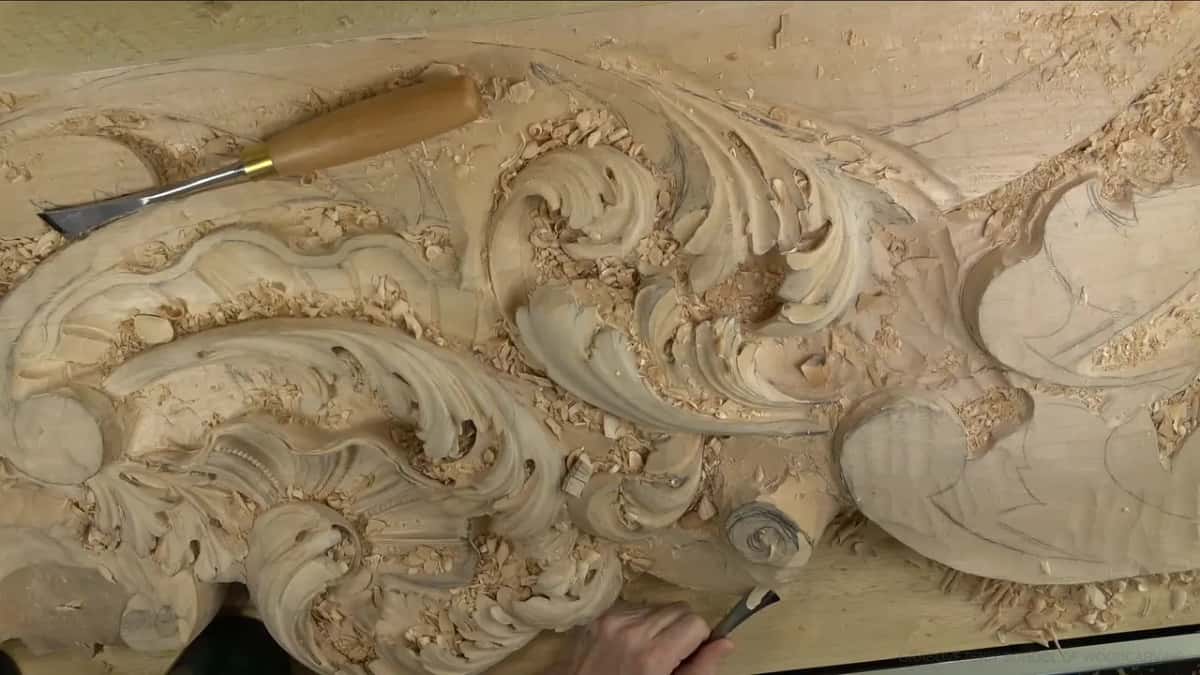
Part eight carried the idea inside the volute. I carved the same slope on one side and the same slope on the inside, starting with a number 11, and said a bigger number 11 might be better, held at the right position. A third slope turned up underneath as I dug, and I said I don't really need it, because this has to stay the highest point.
Should the volute twist once or twice?
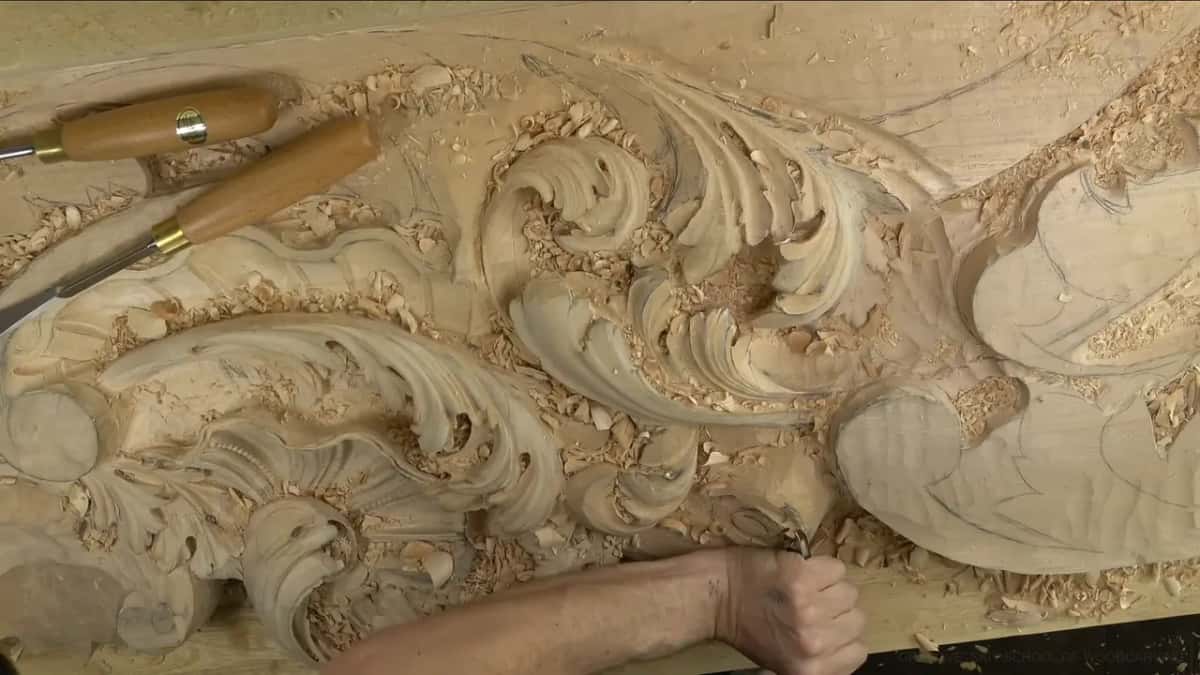
Either can work, and I said so out loud. A barrel goes inside it, I said at the start of part eight, and there are a couple of ways to do it. I could just do a double twist, or a single twist, and I don't know if it makes sense or not.
So I roughed a semi-final shape instead of arguing it in words. It's not final, but it's going to give me a really good idea what needs to be done, I said. Then came the volute itself, starting low and going up, up, up, up, into a twist.
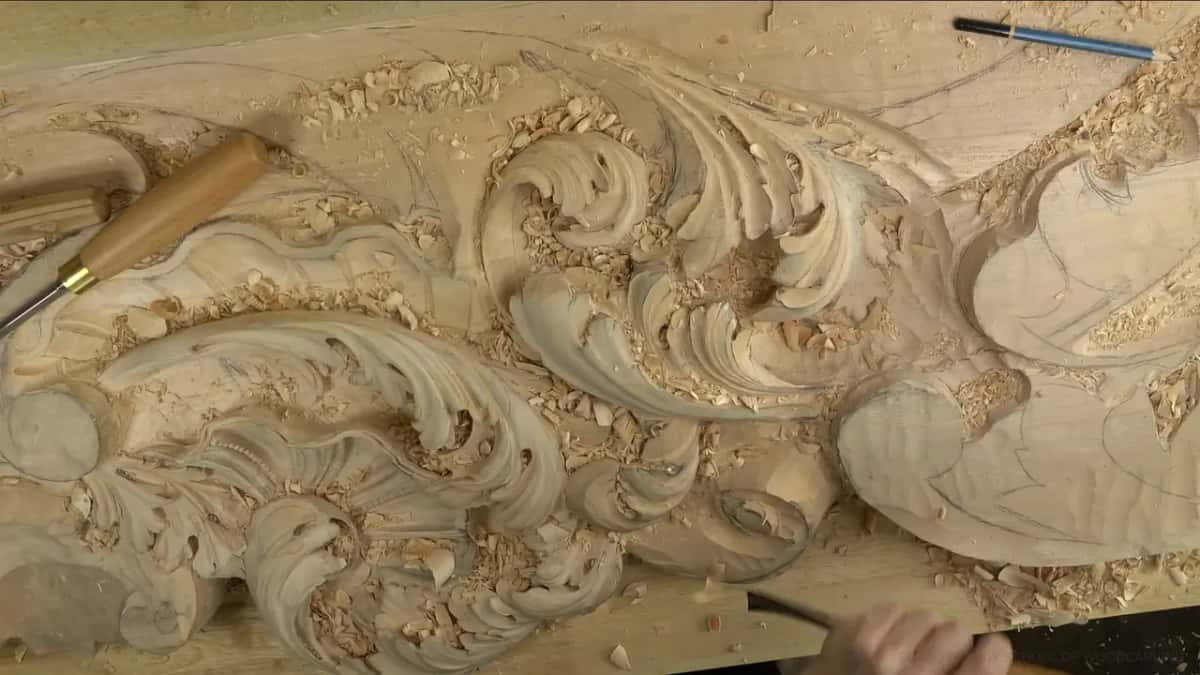
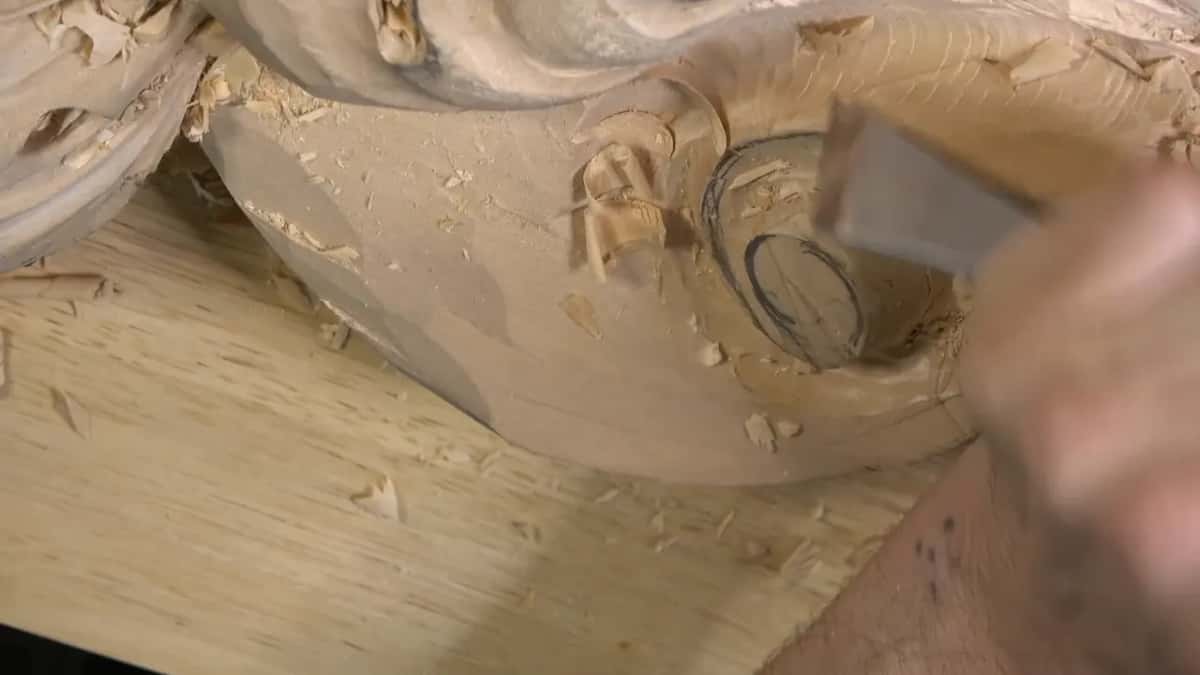
Its middle part, the barrel, as I kept almost calling it, had to be readable. I said exactly that, it has to be readable, and in part nine a number 11 exposed more of it and went deeper, for a really nice movement inside.
A number seven would do for that middle too. There are a lot of different approaches, I said, and took out the waste I didn't need. The movement has to go around and repeat inward, inside. By part ten one shape sat a little too far from the main volute, so I brought it much closer with my trusty skew.
Twisted ribbons are a different ornament, carved in four short movements along their length. Greek acanthus leaves curl their lobes into small volutes of their own, unlike the Corinthian kind.
Why keep a bump you are not happy with?
A bump can be wood you need later, and this one was. At the start of part eight I said see that area, no bueno, and it stuck up for a reason, because the volute rolls through there. A few minutes later I named a bump I was not too happy about, one I should not see. On the other hand, I said, I shouldn't worry about that yet.
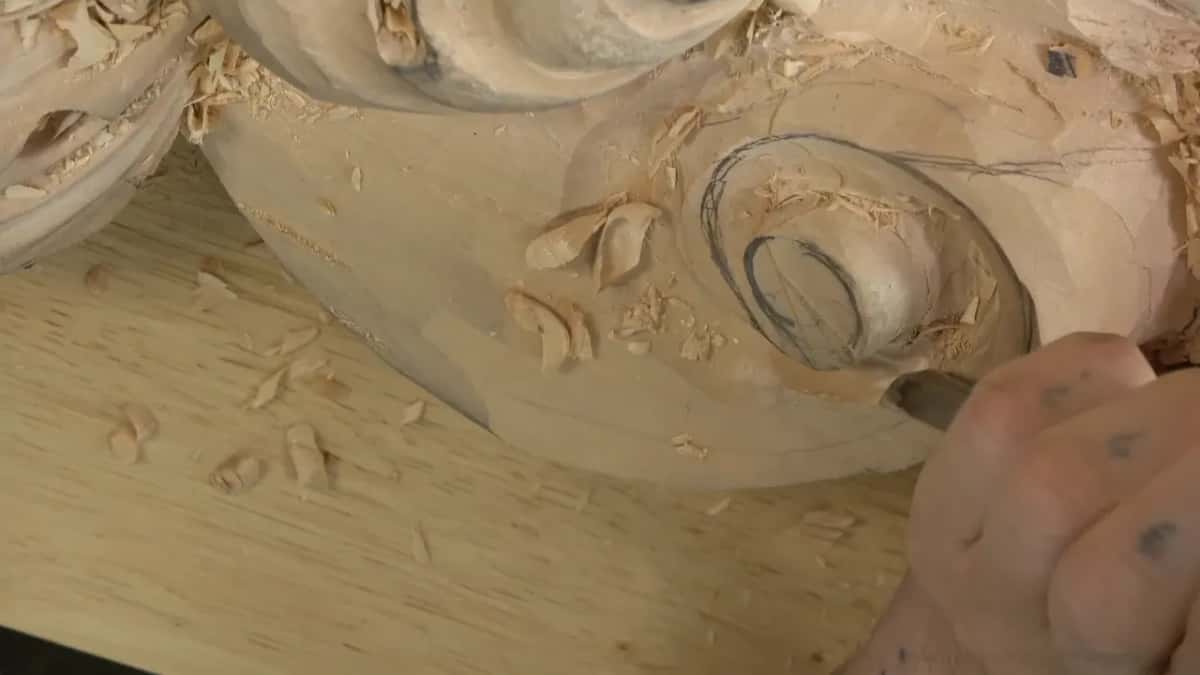
Three parts later I told you not to get rid of it, because I'm going to use it, and we're going to create something beautiful. The same thinking stopped me from carving a complete slope in part ten. I wanted something nicer there than a flat wall. The finish of this same volute, with more digging around it, is in workshop 32.
How do you check a curve you cannot see?
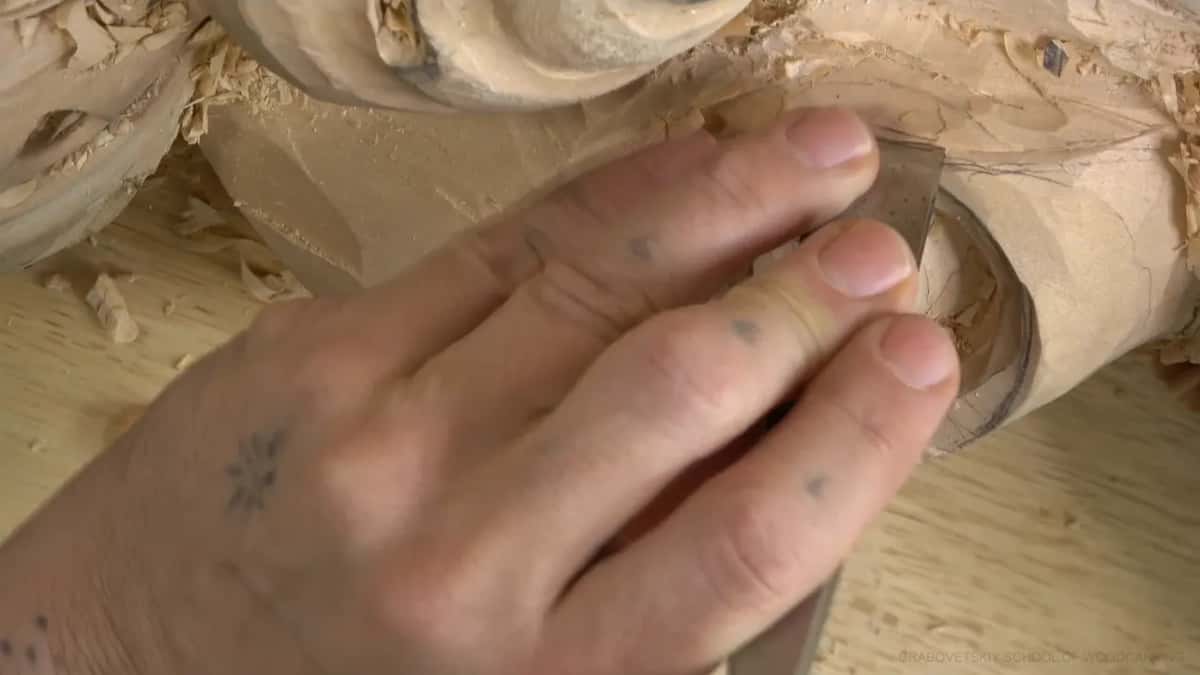
By feel, and from every side. Sometimes it's impossible to see, but it's possible to feel it, I said early in part eleven while double-checking how gradually the volute moved. Then I used the same tool as a plane and hit the high spots, and there was still one small spot.
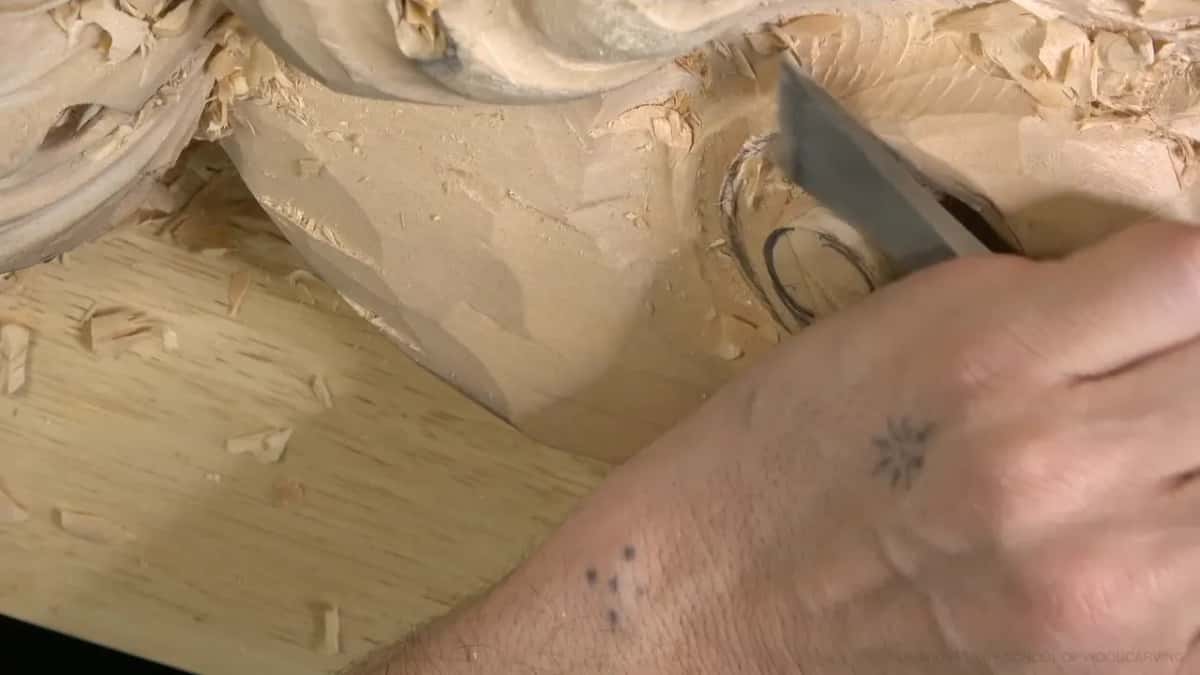
I check from every angle, over and over. In the sixth part I said I have to check from all the positions, from all the sides, even from the bottom, because it has to look really nice and smooth, and it has to make sense. Even where you don't see it now, I said, that part will be visible from below.
The ninth part tells the same story. I want this line really nice and gradual, I said, and that's why I'm checking and double-checking from different points of view. I'd attack it again until I was really happy with it. It's easy to make a mistake with those, I warned in part ten, so I kept making sure I was going in the right direction. Reading a line by turning the panel is covered in another lesson, and so is a ceiling panel people see from below.
Where does the tail of the volute end?
Under another form, where it can die without leaving a weak spot. Part eleven is me thinking out loud, and I said so. An acanthus sat there with a division running downhill that you don't see, and I wondered about adding another movement of the same acanthus to repeat the other part. Maybe it's going to be too much, I decided. Let me just do the original.
The trouble showed next. This hollow starts at almost nothing and then goes really deep, and I don't have too much material there, but I need something right there. I did not want too deep a hole.
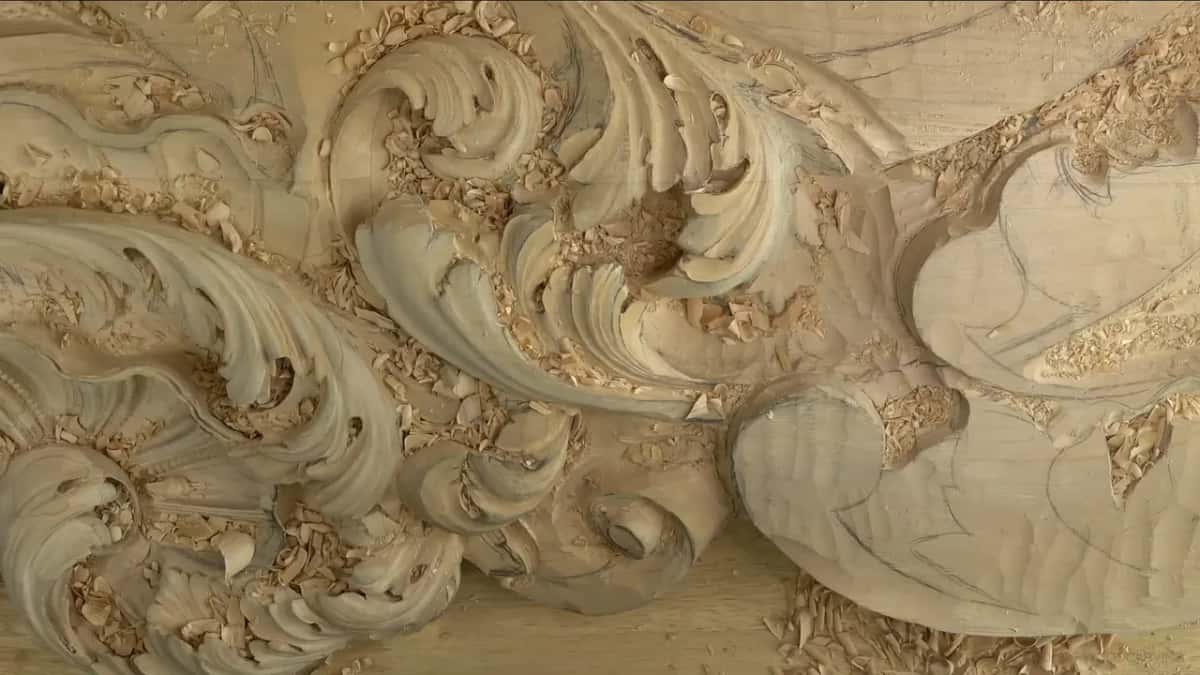
Halfway through a sentence I changed my mind. Maybe it is a good idea to create some kind of acanthus movement, I said, because that way I don't have to undercut too deep and too low, and the volute goes just underneath that acanthus. Without it, the tail would have had to die almost from underneath, with no connecting point, and it's not so smart to create too weak a spot.
So the new movement runs downhill all the way to the backside, and the tail dies right underneath it. It fills at least something. A number seven started its concave, because it does have to have a concave. At one point, I said back in part ten, it has to disappear completely underneath, and that is how it gets rounded.
Sometimes it's a good idea to leave a spot empty, I said in that last part, but not this one. Adding a leaf that was never in the drawing has a lesson of its own. My reason here was the tail.
How deep can the hollow behind it go?
Deep enough to look deep, and no deeper than the board allows. It's almost like a bowl carving, I said in the last part, like creating a beautiful excavation. But I had to keep an eye on how deep I went. Really can't go too deep.

I've got about no more than six millimeters, about a quarter inch of thickness right there, I said, and that is probably the maximum I want to go, at least for now. Near the edge I stayed back about 3/16 to 1/4 in (5 to 6 mm) and left it for later.
Next I dug toward my volute, because logically that is the much deeper spot, and the hollow goes underneath it there. It gives a right proportional look, I said. Slower there, not too fast. There is a point where I can't go deeper, but I really want that deep look underneath. I was on a 7 mm number 11, a little over a quarter inch, and planned smaller ones for later. What excavating means has its own page, from workshop 27.
Which tools shaped this volute, part by part?
Here are the tools that shaped this volute in workshop 31, each with the part where you can watch it, in the order they first came out.
| Tool | Its job on this volute | Part |
|---|---|---|
| A bigger tool | 20 mm (3/4 in) across, made the separation. | Part 31.5, near its end. |
| Number three gouge | Gave the volute its first slope from underneath. | Opening minutes of part 31.6. |
| My trusty skew | Set the movement and pulled a shape closer. | Parts 31.6, 31.9 and 31.10. |
| Number seven gouge | Cleaned the side, then roughed the middle part. | In parts 31.7 and 31.8. |
| Several number 11s | Started the movement, rolled it lower, dug underneath. | Parts 31.8, 31.9 and 31.12. |
| Regular number one | Did a little preliminary chopping in one direction. | Five minutes into part 31.10. |
What should you try first at your own bench?
One small volute on a scrap, rising from below a single leaf. Want to try that first slope yourself? Then start there, and leave the twist for another evening.
If you don't have a course in wood carving yet, this page helps you pick a first one. Workshop 31 sits between workshop 30 and workshop 32 in the Venice Room, part 3, and the lessons map shows how the courses connect.
The last thing I said on camera in this lesson was about those twisted volutes, twisting sideways. Just a beautiful detail, I think.
How it's done
- Mark the head. Carve a separation around the spot where the leaf head will stand.
- Start the slope low. Begin at the lowest point and let the slope climb from there.
- Drop the ground. Take the nearby wood down close to the bottom, then stop.
- Slope it back. Add a second slope running the other way, and open the middle part until it reads clearly.
- Feel for high spots. Check the curve by touch from several sides and shave whatever bump you find.
- Give the tail a home. Finish the tail underneath another leaf movement, so nothing ends in a weak, empty spot.
Frequently asked questions
What is a volute in wood carving?
A volute is a carved spiral, the kind of scroll that crowns an Ionic column. Greek acanthus leaves carry small ones too. On my Venice Room ceiling board it climbs out from below the leaf head and twists sideways as it rises.
Does a carved volute have to twist?
Plenty of volutes stay flat and simply curl inward, like the ones on classical columns. Twisted ones lean sideways while they roll up. For this ceiling I weighed a single twist against a double one out loud, then roughed a semi-final shape first, because that gives a really good idea of what needs to be done.
Why do carvers check a curve by feel?
A curve that hides from the eye can still be felt. On this volute I said as much while checking how gradually the line moved, then took the high spots down with the tool held flat. Even after that I found one small spot.
What to carve next