
Alexander Grabovetskiy, woodcarver, School of Woodcarving · Published 2023
What is a veiner gouge used for in wood carving?
Quick answer: A veiner is a deep U shaped gouge, marked number 11 on most shanks, and named for the veins it carves down an acanthus leaf. Roll it onto one edge and it behaves like a shallow number 3. Sit it flat on its bottom and the belly alone carves, closer to a number 9. One handle, three sweeps.
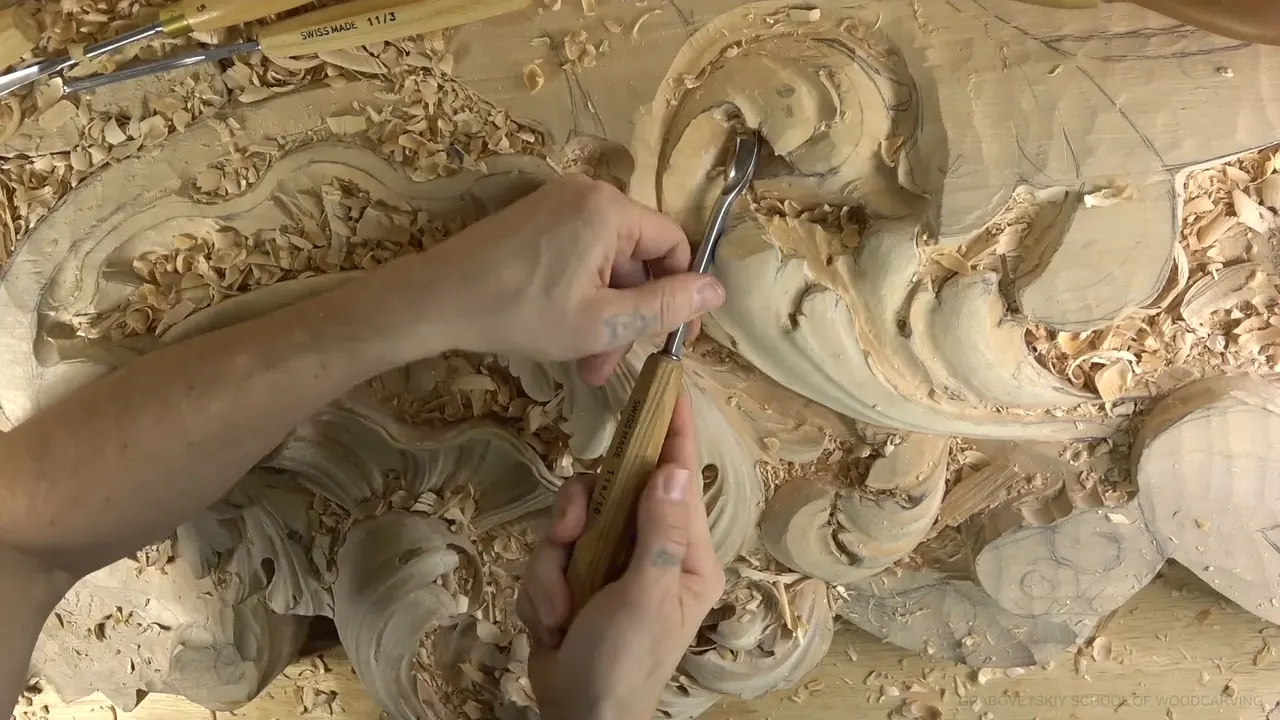
A veiner is a deep U shaped gouge, marked number 11 on most shanks, and named for the veins it carves down an acanthus leaf. Roll it onto one edge and it behaves like a shallow number 3. Sit it flat on its bottom and the belly alone carves, closer to a number 9. One handle, three sweeps, and across these twelve workshops I name it nearly three times as often as the next tool down.
Does your tool chest hold gouges you have never really worked out? Have you ever laid a U gouge over on its side, just to see what shape it leaves? One tool does a lot of the work on this ceiling.
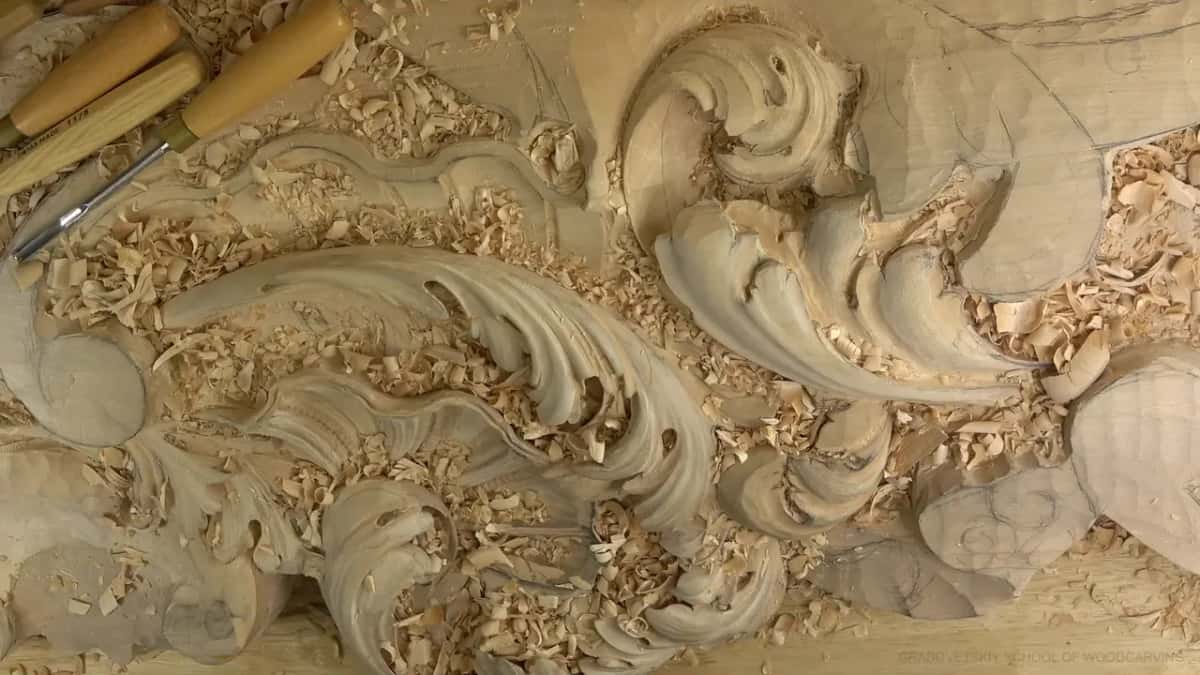
Too many tools out on the bench is not good, and I say so on camera more than once in here. Workshops 26 through 37 go the other way. Twelve workshops, one ceiling board, and one gouge I keep coming back to. I wanted to feel what the men who first carved a room like this felt, and they did not have much.
What one veiner actually does
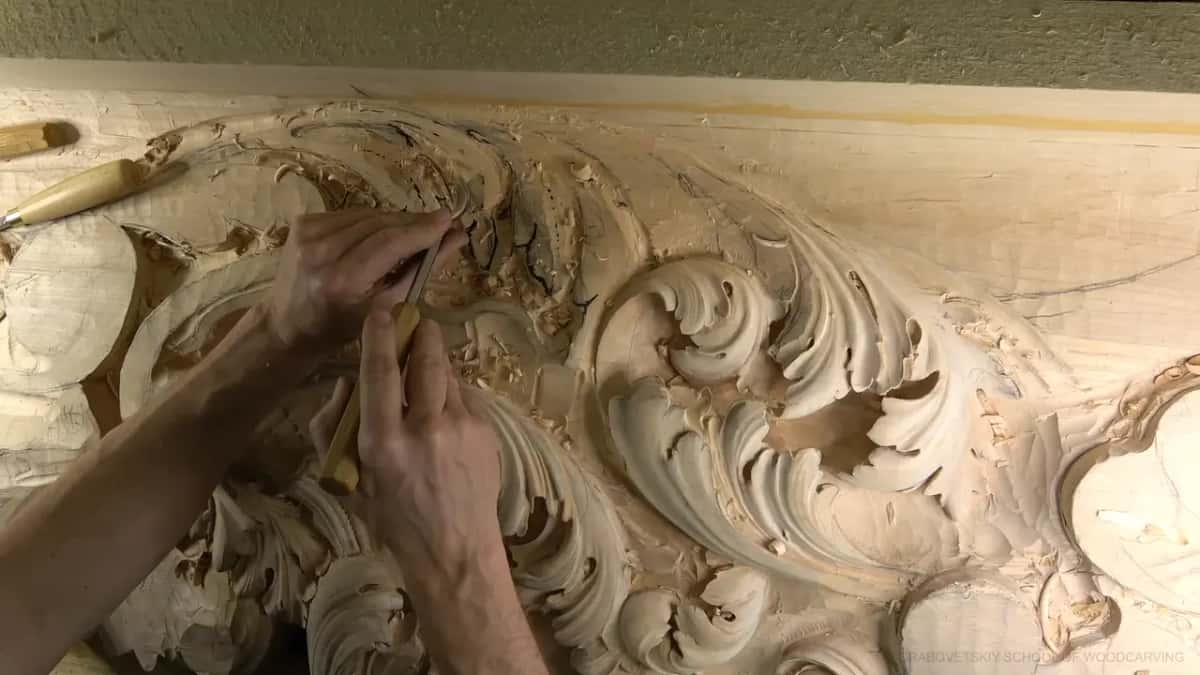
- Straight in, it carves a deep U. Woodcarvers named it a veiner because it carves the veins of an acanthus leaf.
- Laid over on one side, the same steel gives you a shallow 3 sweep, so a concave can start at nothing and deepen as it travels.
- Sat down on its belly it turns into a 9. Three sweeps, one handle.
- I run it between 0.5 mm and 30 mm, a bit over an inch, and I never once reached for a V tool in this room.
- The leaf itself is never measured. Three or five main divisions, the middle line pushed off centre by about a tenth, the rest by feel.
- When the wood starts to move under the edge, the tool is too big. Step down a size instead of pushing harder.
Why is a number 11 called a veiner and not a gouge?
A number 11 is not a gouge at all, whatever the rack it hangs on says. The tool is a veiner, and it was made for acanthus. Woodcarvers call it that because you work all those concaves and convexes like veins, running them down the leaf the way a vein runs down a real one. Carvers who did acanthus every single day invented the shape for exactly that job.
Names drift, though. In my shop I say pipes and eyes, and that vocabulary grew up later, in certain countries only. Not every country uses the same word for the same detail, so if you learned different names, you did not learn them wrong. The steel is the same steel.
It always comes back to the eleven.
My tools course walks the whole rack if the numbering is new to you.
How do you carve a concave that is deep at one end and almost flat at the other?
Roll the veiner while it travels. Start it straight, then tilt the tool up on its edge as you push, and go all the way through the stroke. A big number 11 at about 5/8 of an inch, 15 mm, hands you a 3 sweep on its edge and a 9 down in the belly. Everything in between comes free, because you choose the sweep with your wrist instead of picking it off the rack. Almost from nothing, from a number 3, and then in.
That gradual change is why I like those number 11s. A sharp transition on the inside would be okay too, nothing wrong with it. But the carvers who did this originally did not leave those sharp transitions, and I really like how they did it. It also matters for gilding. On a Byzantine style acanthus you almost never see sharp transitions, and if the piece is going to take gold leaf, a smooth transition holds it far better than a sharp one.
| How it sits | What the edge does in the wood | Feels like | Where I reach for it most |
|---|---|---|---|
| Straight and square | the full U goes in at its own full depth | like a veiner | veins, pipes and the deep separations |
| Rolled one side | one edge deep, the other nearly flat | more like a three | long concaves that fade away to nothing |
| Flat on the bottom | only the bottom of the U carves at all | much like a nine | a concave as deep as I wish |
| The bent shank | reaches under what a straight shank cannot follow | a spoon in effect | undercutting upward against the running grain |
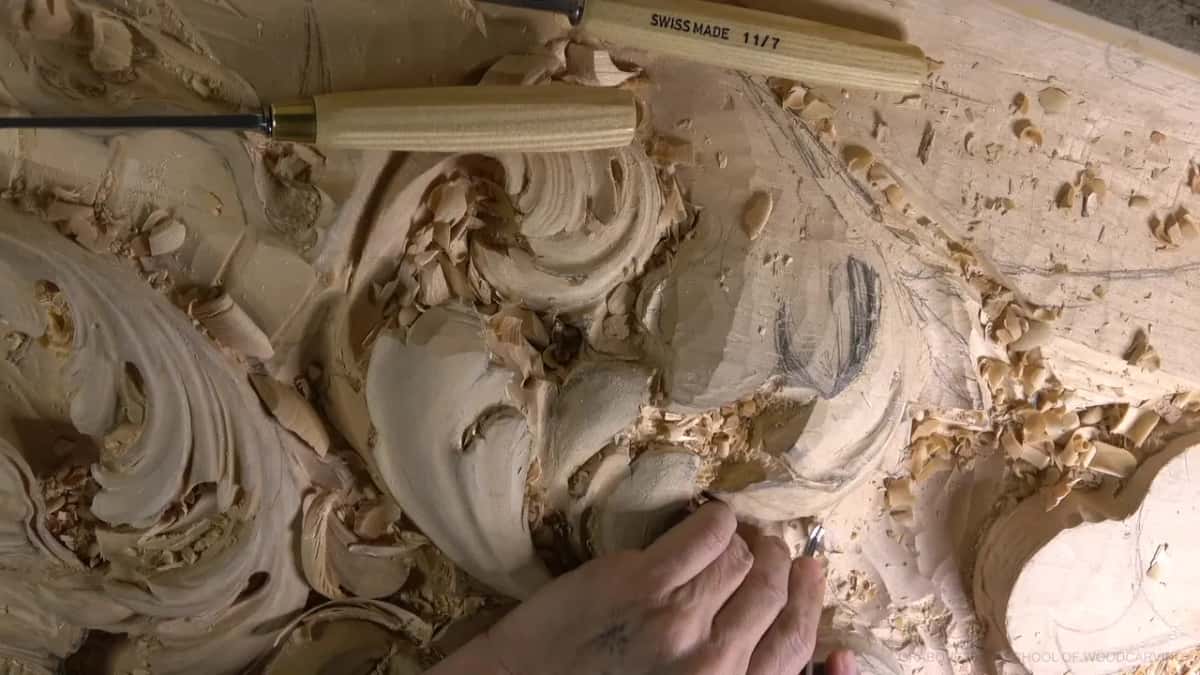
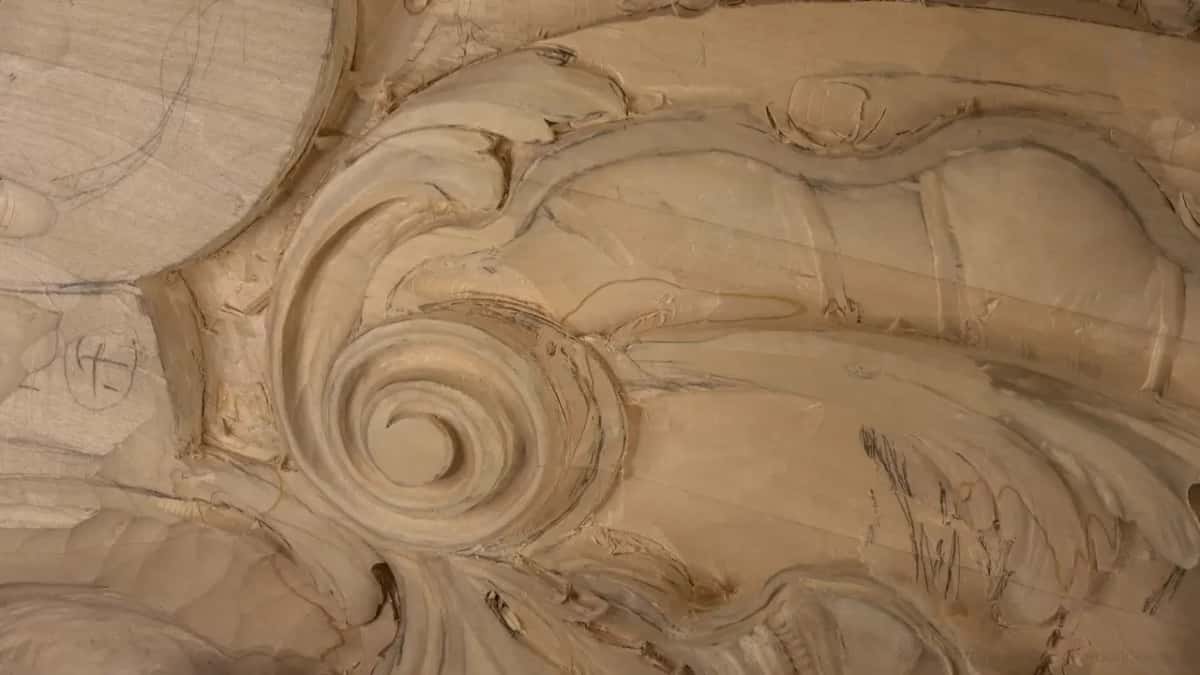
Two shapes turn up again and again all over this board. One is the letter S, and if you carve an S movement the ends are supposed to run outward, all pointing the same direction. Otherwise it just does not look too good. The other is the volute, the spiral that rolls up out of a leaf and turns over on itself. I really love volutes, especially twisted ones, and for a really deep excavation there I go down to a 5 mm and a 4 mm eleven.
Do you need a V tool to carve acanthus leaves?
A V tool never came out of my chest on this project, and I did that on purpose. I wanted to feel like those men who carved it originally, what they felt, and they had pretty much gouges and veiners. A knife and a chisel. Four things, and they did an enormous amount of work with them. Nothing stops me from using a V tool. I still could. I just do not think I need it.
Before you throw yours out, hear the honest version. Nothing is wrong with the tool. They just did not have it back then, and you can do a lot of stuff with just the veiners and the gouges. Whether you use one on a Greek acanthus leaf is your call.
What size veiner do you actually reach for?
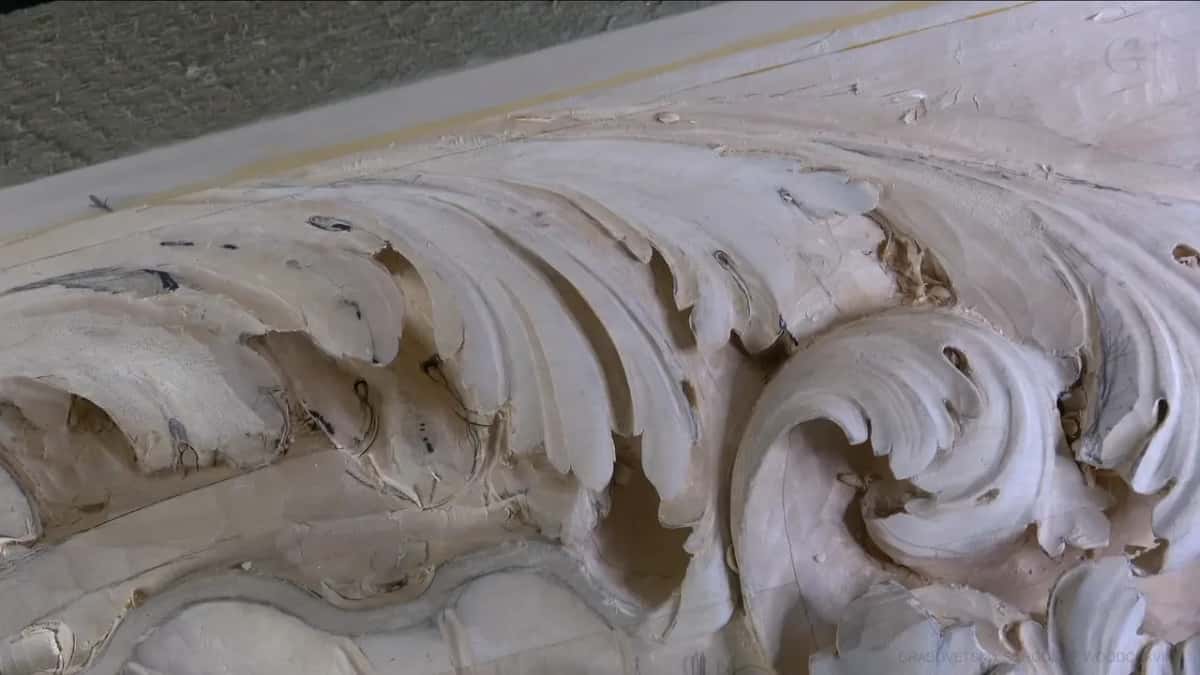
Anything between a needle and a tool the size of a garden spade. Half a millimetre number 11 goes into the tightest eye. At the far end of the bench there is a number 7 at 80 mm, three inches across, and a number 2 at 60 mm for shaving down a whole leaf surface, and a 50 mm number 2, two inches, for chopping mass out. Between those two extremes, a 12 mm eleven, call that half of an inch, and a 10 mm at three eighths come up again and again.
Here is where I have to be honest with you about numbers. That 10 mm is marked three eighths, and it feels much bigger. Closer to the edge it really is three eighths, but it runs a little wider on the outside, so it works like a half inch in my hand. A few of my tools carry no marking at all, and when I name a size on those I am guessing. It is never a perfect measurement anyway. When a maker stamps half an inch on a shank, the edge is not necessarily 12.7 mm.
If I say a thing and I am not sure of it, I am lying, so I go and check.
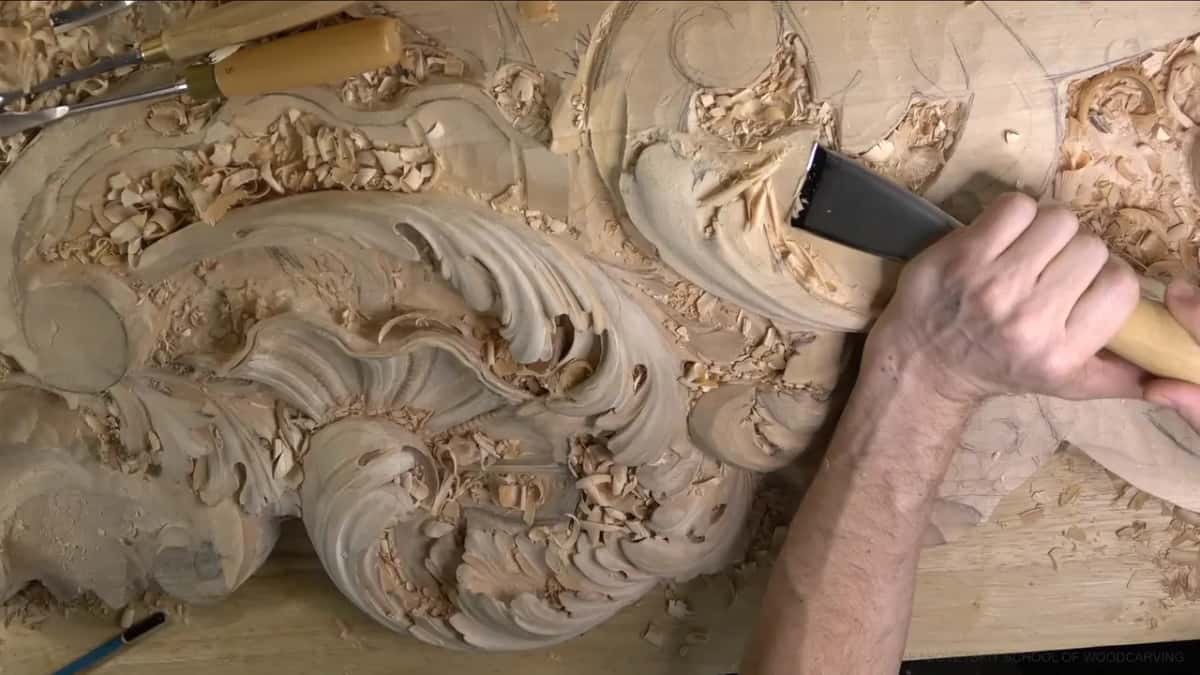
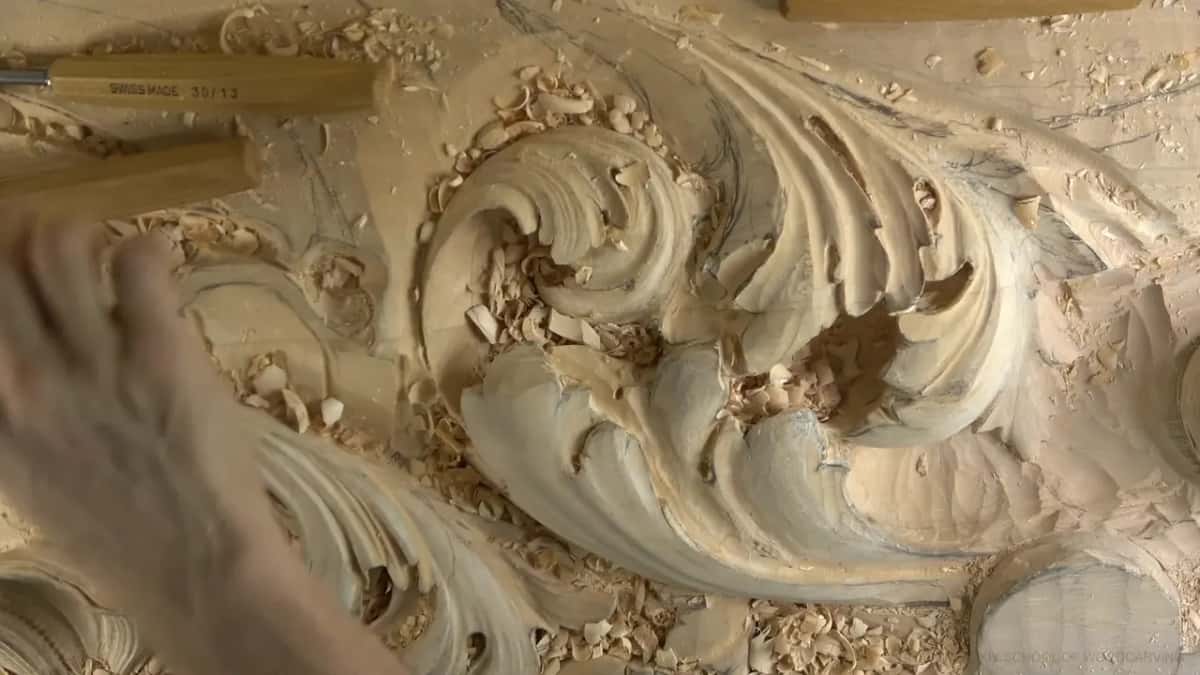
Read the stamp and you can follow along at home. Handles that turn up in the pictures on this page are stamped SWISS MADE, and you can read 11/7 on one and 30/13 on another. The first figure is the sweep, meaning the curvature, and the second is the width in millimetres, so an 11/7 is a number 11 at 7 mm, a hair over a quarter inch. Brands differ, and the difference sits in the profile. A 20 mm number 11 by Ashley Iles does not have a pronounced U. Still a U, just rounder in the belly than other makers, and for a shallow rolling concave that roundness works perfectly. Numbering also shifts by country. A skew is number 1 on my bench and number 2 in England, and my number 2 would be an English number 3.
Why does an acanthus leaf never get measured?
Design laws decide the leaf, and a ruler does not. Look at old work, stone as well as wood, and whoever carved those leaves usually gave them at least three divisions. Some gave five, which means a couple more added in, and some gave eight. Three, five, eight. That sequence is a Fibonacci number. Inside each main division come the subdivisions, which are the smaller movements of the same leaf.
For the middle line I look point to point, divide that span into ten in my head, find the middle, then shift it a little so it lands about six parts out of ten. Near enough to the golden ratio. The law of repetition says a detail I use here has to answer somewhere else on the board. Rhythm says the next one along gets a little smaller. Those laws are the actual content of my design course, and none of them needs a tape measure.
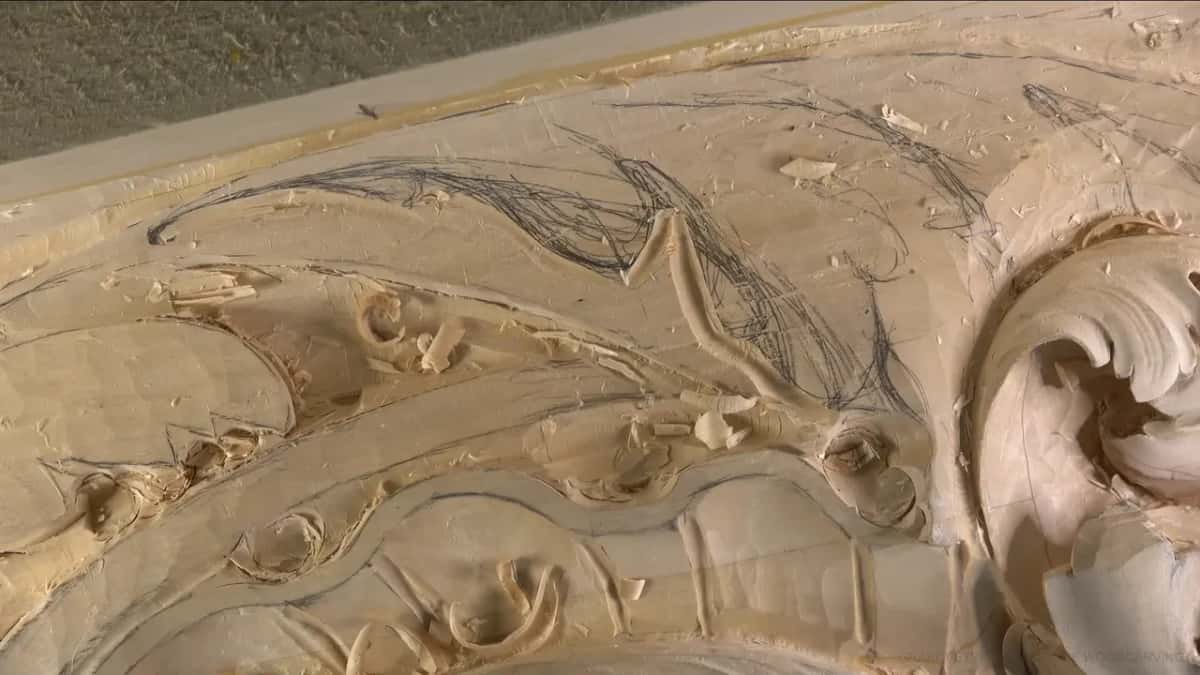
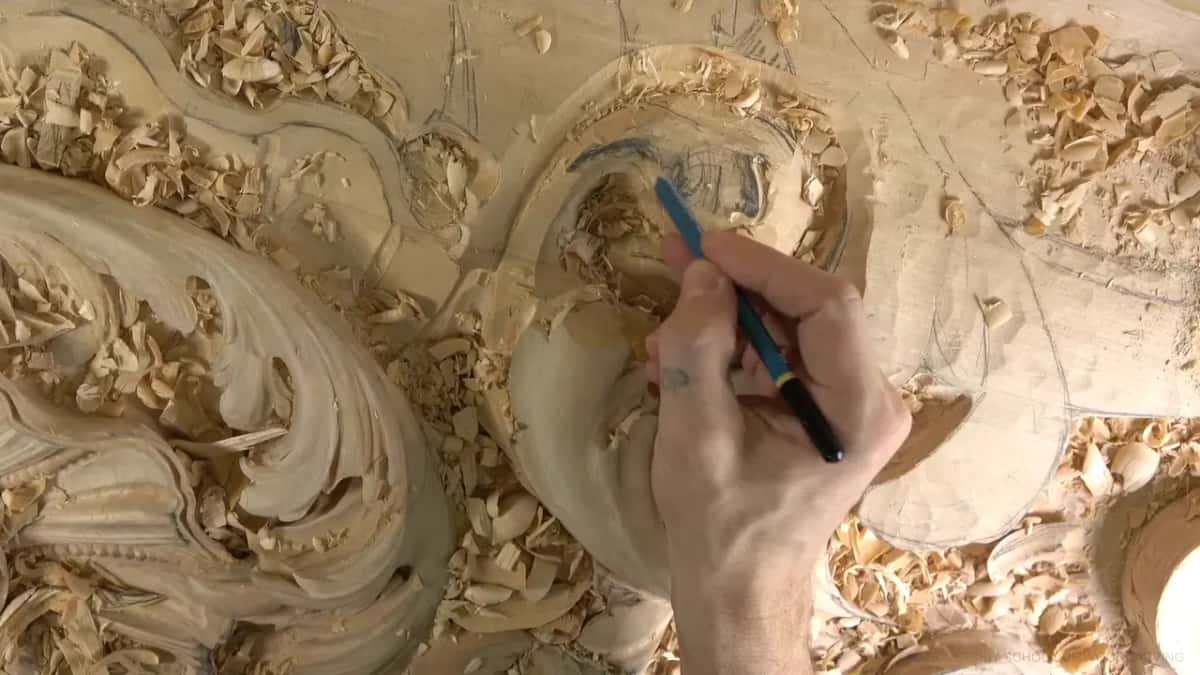
I could work it all out with numbers instead. Calculating the tension is an ancient tradition too, but I am not going to do it. Eyeballing is what happens instead, and no, I am not going to measure it, because it is all by feel and I am fairly sure I will land close. And I did just now, without any measurement, right on the money. Forty years of carving every day put that feel of depth in my hands, and I trust it on a leaf. Line headers I measure. Acanthus, never.
If that sounds like a contradiction, it is one worth sitting with. In the first twelve workshops of this same room I said flatly that I cannot be a millimetre out, because the framing waits on my board and nobody builds it until I am done. Both things are true. Lining the board up with the real brackets later takes measuring. The leaf inside does not. You can watch the rest of this room and see me switch between the two ways of thinking on the same board.
What happens when the gouge is too big for the spot?
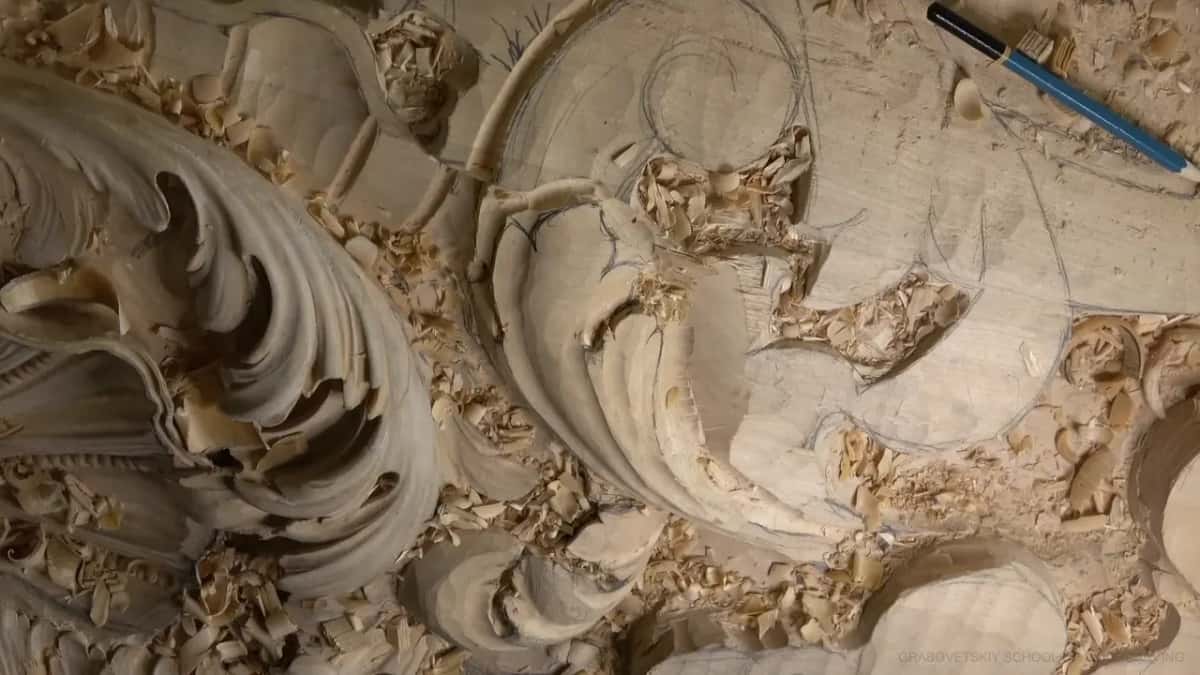
The wood moves, and you can see it move. Go in too deep and you leave the near side too weak, which is exactly what I did in workshop 26. Moves. Not good. I lost a beautiful chunk of wood that I had no business losing, and I said out loud that I might glue it back. Maybe yes, maybe no. In the next part I said it would still look beautiful, maybe not as I was planning.
The tool was the whole problem, because I used too big of a tool, and I said so right there. In workshop 35 I did the sensible thing instead and stepped down. The 4 mm eleven went in, and I could see the piece move. So 3 mm, and it still moved. Then 2 mm, and it was much safer. Three sizes to find one that would not stress the wall. On this board those walls run about a quarter of an inch, 6 mm, and that is all I need to feel the movement.
Yes, I am wiggling while I do it, and I am fine with that.
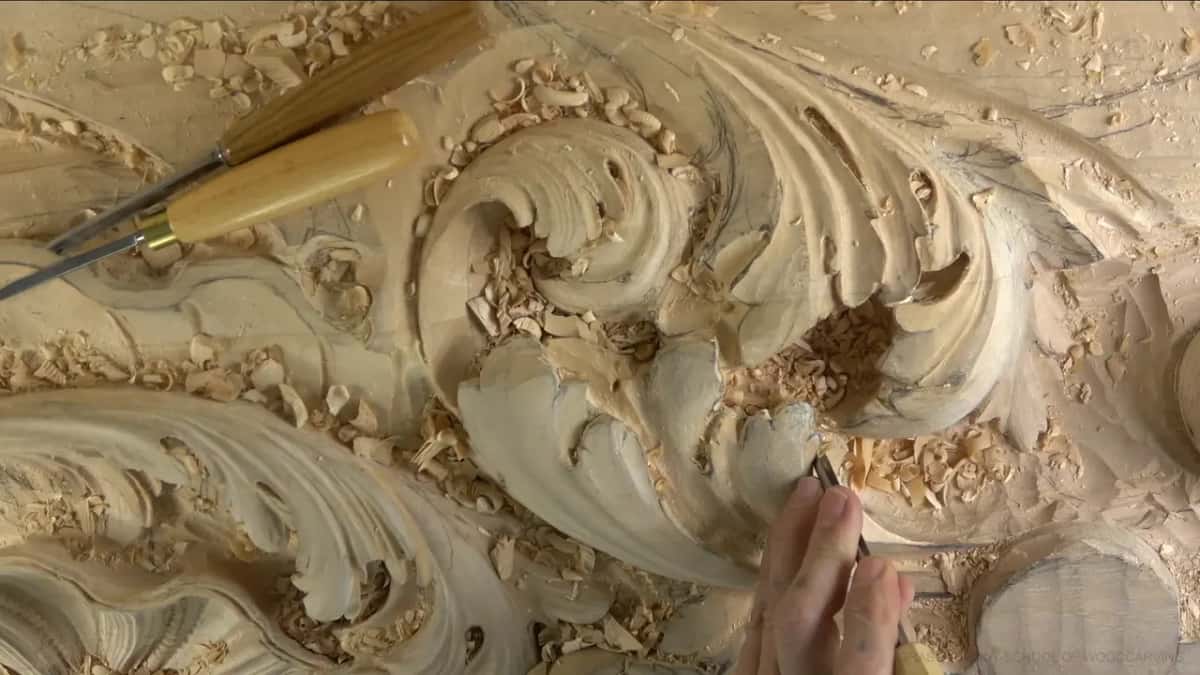
Rushing does the rest of the damage. I broke a piece in workshop 27 and the steel was not to blame. Avoidable. It happened anyway, and I guess I was rushing too much, which is the only honest account of it I can give you. My granddaughter was visiting while I recorded one of these parts, and you can hear her in the background, and I kept the camera running.
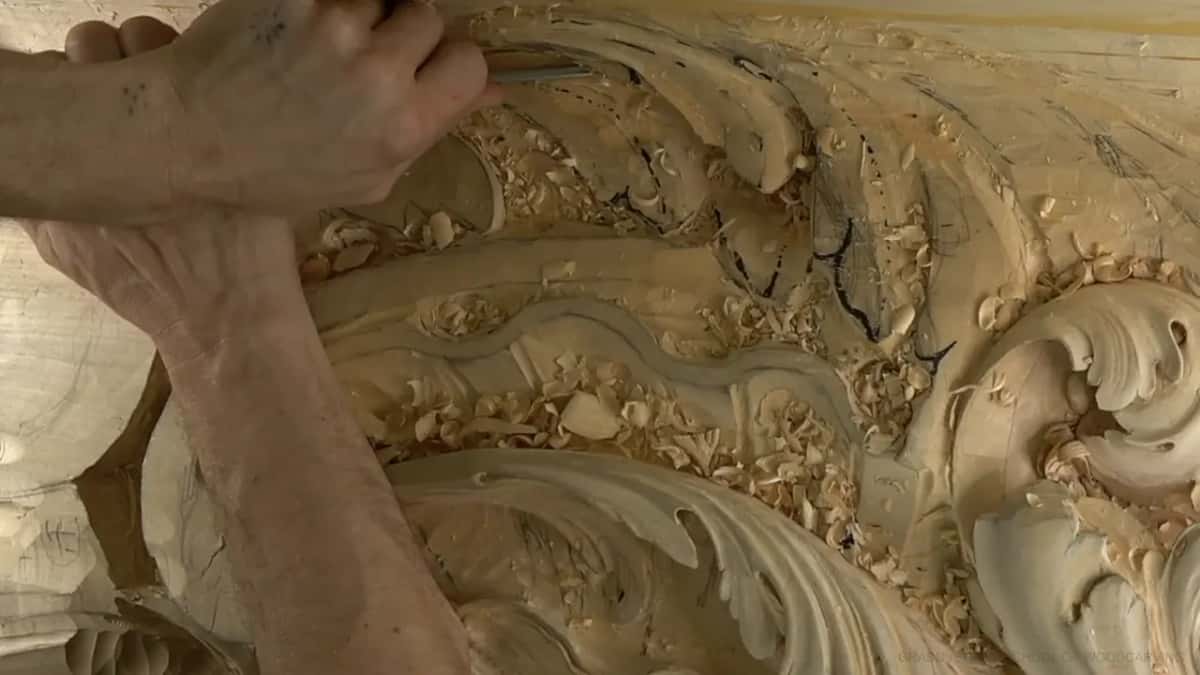
Why undercut a relief carving if nobody can see behind it?
Shadow. Wood carving is all about the lights and the shadow, and there are five levels of it, which is a whole subject on its own and worth studying properly. Movement and design matter, of course, but carving is more than movement and design. I have to think all the time how it will look where it gets installed, and where the light comes from. So I undercut under the edge of a leaf, a little, to create an extra shadow.
A one millimetre spoon number 11 under there gives a really nice shadow. Even a line with almost no carving in it, made with just the side of a number 11, your eye picks up right away, especially if I turn one of the lights off. Plenty of carvers skip it. In production work in the Middle East, and I have seen the same from carvers in South America working for churches, the holes get left open and the undercutting does not happen. Some of that has hardened into a style. Most of it is just laziness, and I say that as somebody who understands the arithmetic. They get paid the same either way, and only another carver sees the difference. They have to make a living, and they are doing a genuinely good job of the main form.
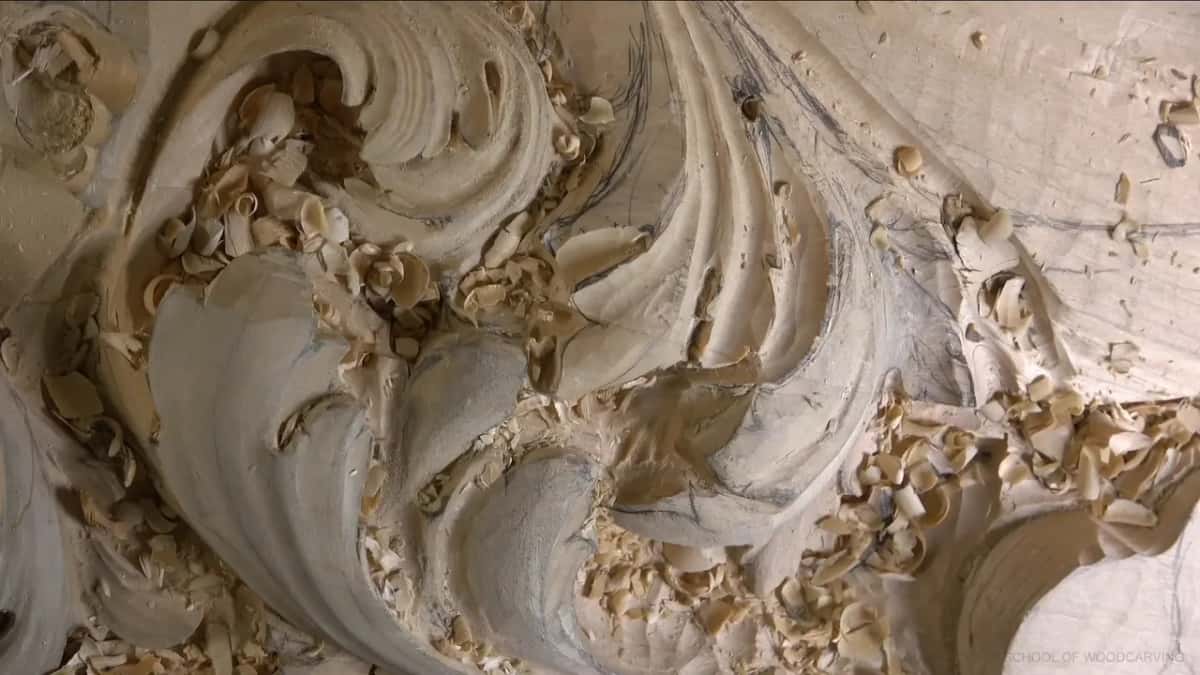
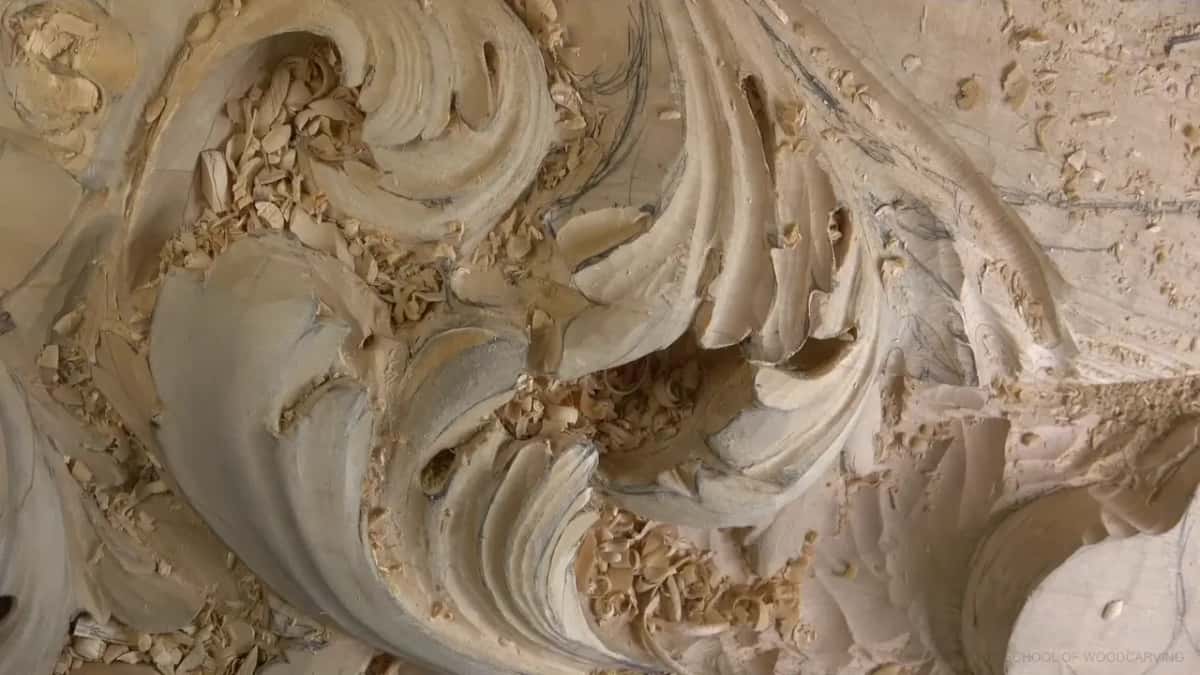
My board is not production work, so the standard is different. Every surface I carve in relief here has to hold up when somebody stands underneath it in a finished room and looks up. And if a line I eyeball comes out just slightly off, that is not a big deal. It shows a human being did it and not a CNC machine. Not too wavy, though.
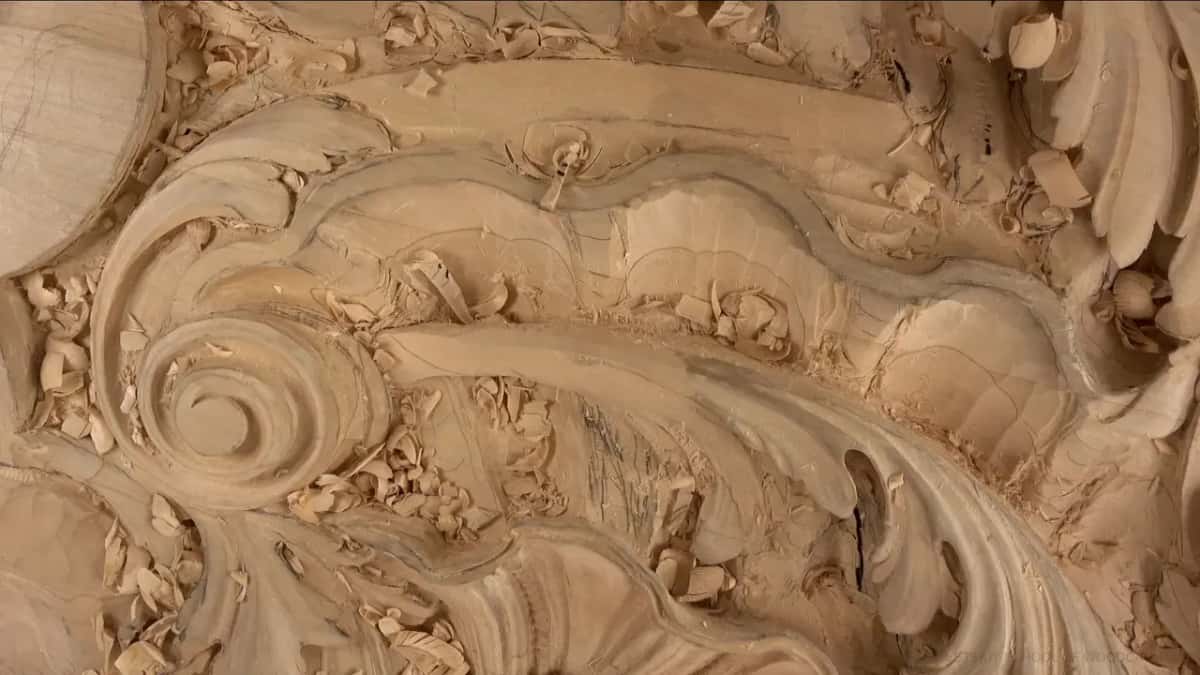
How do you undercut where a straight gouge cannot reach?
Bend the shank. A spoon or a back bent veiner puts the edge round a corner your wrist cannot follow, and in a deep pocket it is often the only tool that fits. A 10 mm spoon number 11 will go up against the grain and take out a lot of what I do not need, and a back bent number 5 at 13 mm gives a much cleaner look right out of the chisel. When everything is in the way, the back bent is the only tool I can get in there at all.
Two habits keep this from ending badly. I leave a border about 5 mm, 3/16 of an inch, back from the edge. There are tools sold for that. I butt a finger against the edge and use it as a reference point instead. Where the detail is fine I leave about 2 mm, 3/32 of an inch, and there my finger is too thick, so I just eyeball it. And where two carvings meet coming from opposite directions, the grain runs two ways and the surfaces have to be blended together. I call that the marriage line, because I am marrying those two cuts.
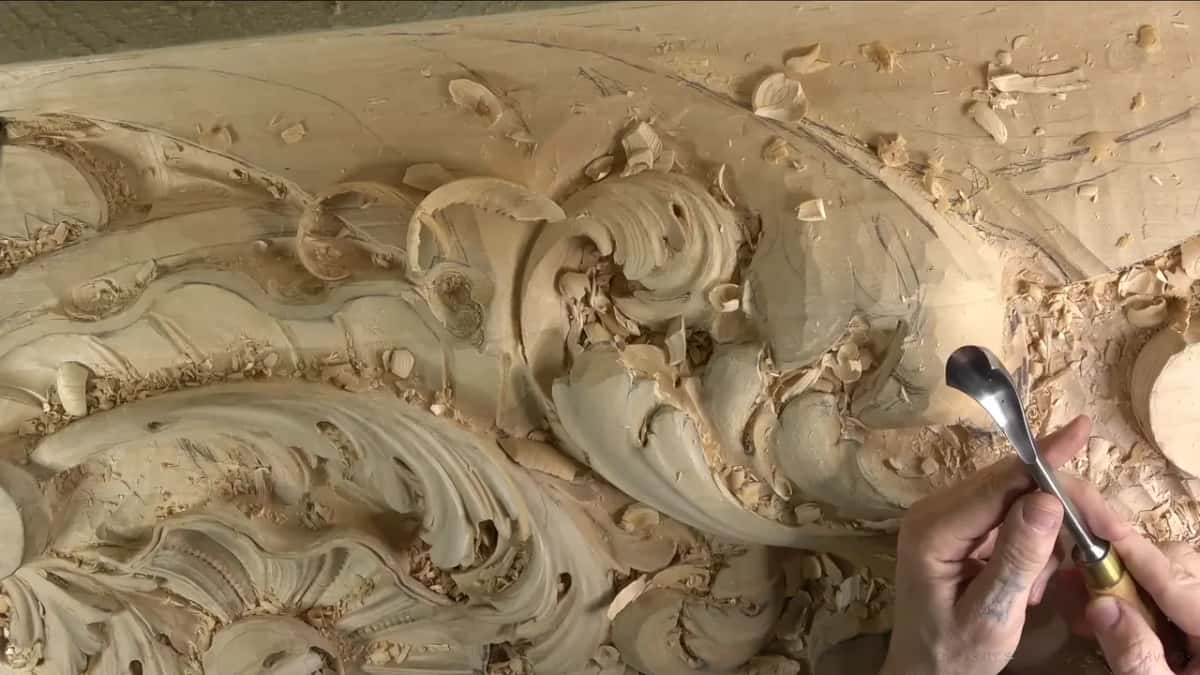
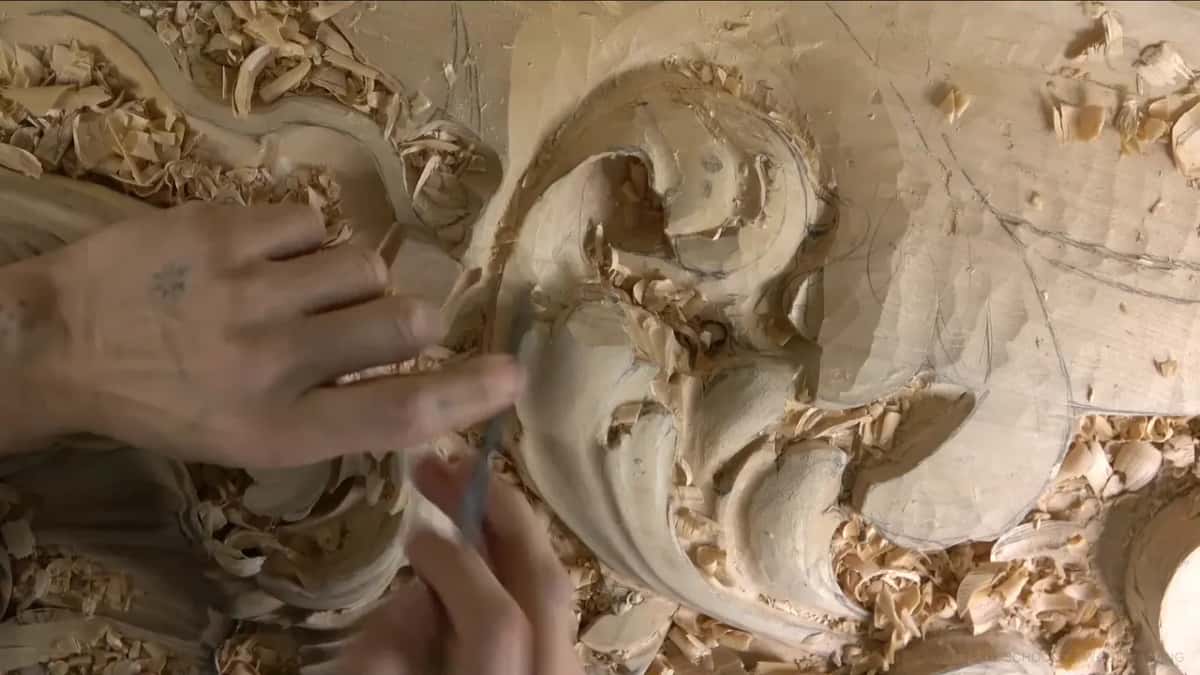
Can rasps and sandpaper be used on a hand carved panel?
Rasps live on my bench now, and I still feel guilty every time I pick one up. I own them, so why not use them, and there I go excusing myself again. Still feels fake. It is not really fake. Just because I never used them before does not mean I cannot use them and still call the result carving. And honestly, I like how fast the job goes. I must admit it. I actually like it.
Some of the people in my school are professional furniture makers trying to stay strictly authentic to the original work. They do reproductions. What would they say about my rasps? Furniture makers in the past used techniques like this too, so maybe the guilt is misplaced. I would genuinely like to know how you feel about it, and not about me, because I am probably going to keep doing it. Mine are the aggressive ones. Maybe I should buy something gentler.
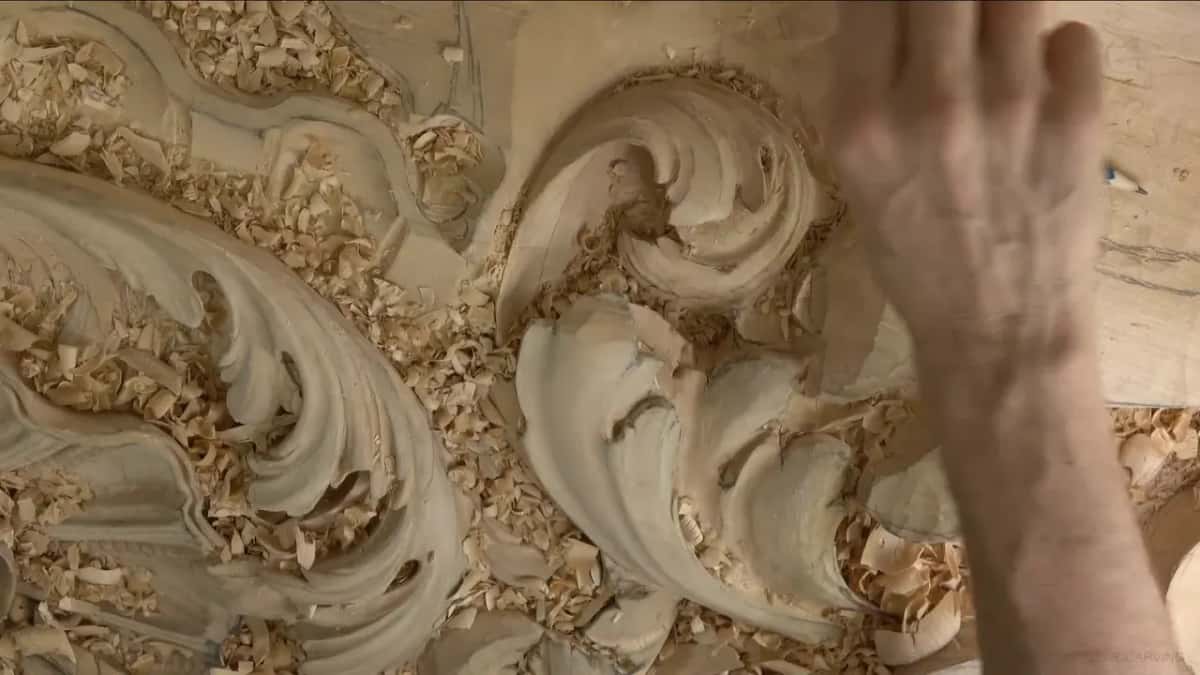
While we are on cheap tools, you do not need specialty steel to scrape a surface clean. A normal razor blade from Home Depot, or any lumber yard near you, will scrape a leaf perfectly well. To harden a fragile detail before it snaps, dilute ordinary yellow glue like Titebond in water and let it soak into the fibres. On a piece that will be painted there is no blotchiness to worry about.
Which habit ruins a carver's hands fastest?
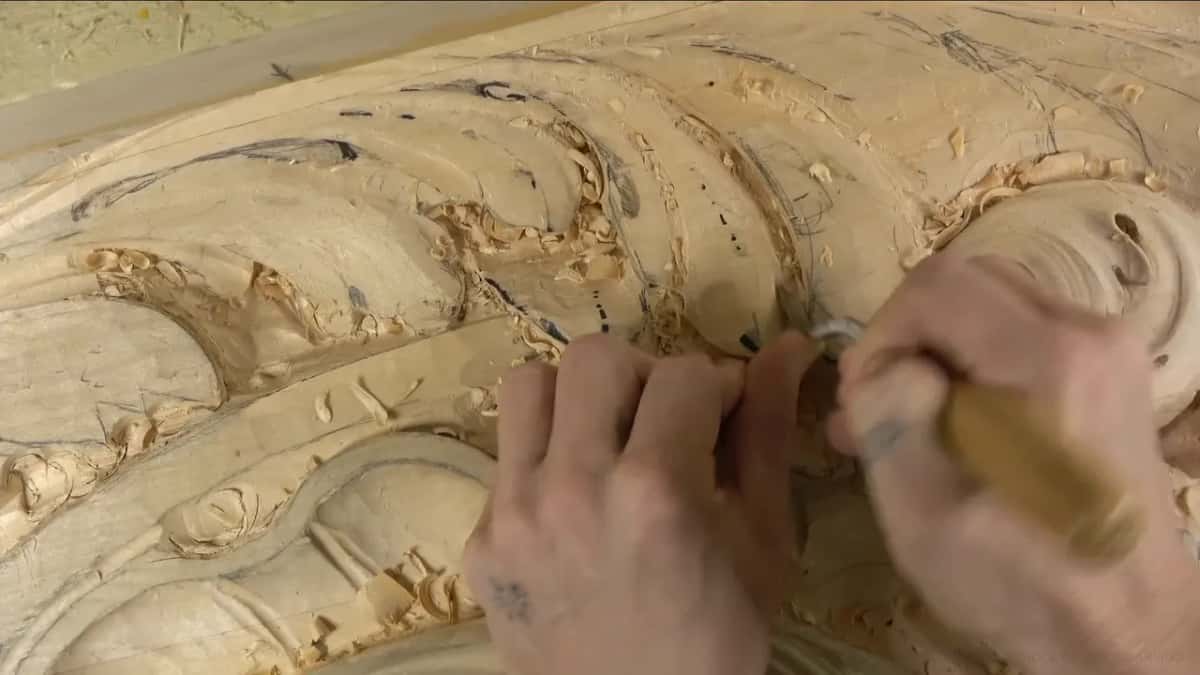
Hitting the tool with your bare palm. In workshop 34 I did it on camera and immediately told everybody watching not to copy me, because in Europe they call it the carver's disease. You strike the nerves inside your palm, you damage them, and the hand closes up and will not open. Even professional carvers hit with the hand a lot. They should not. There is a pad sold for exactly this, and with the pad it is fine, but never a bare hand.
Use the mallet, and use one heavy enough to do its own work. Twelve ounces will work, but it tires me out much quicker, so I want 30 ounces and I let the mallet do the job. I put the brass one aside for a different reason. Too much noise, and I would rather not hurt my ears. Sharpening beats force anyway, and my sharpening course makes that argument better than my shoulder does. I had green sharpening paste on my fingers in one of the workshop 33 parts.
Can a beginner carve any of this?
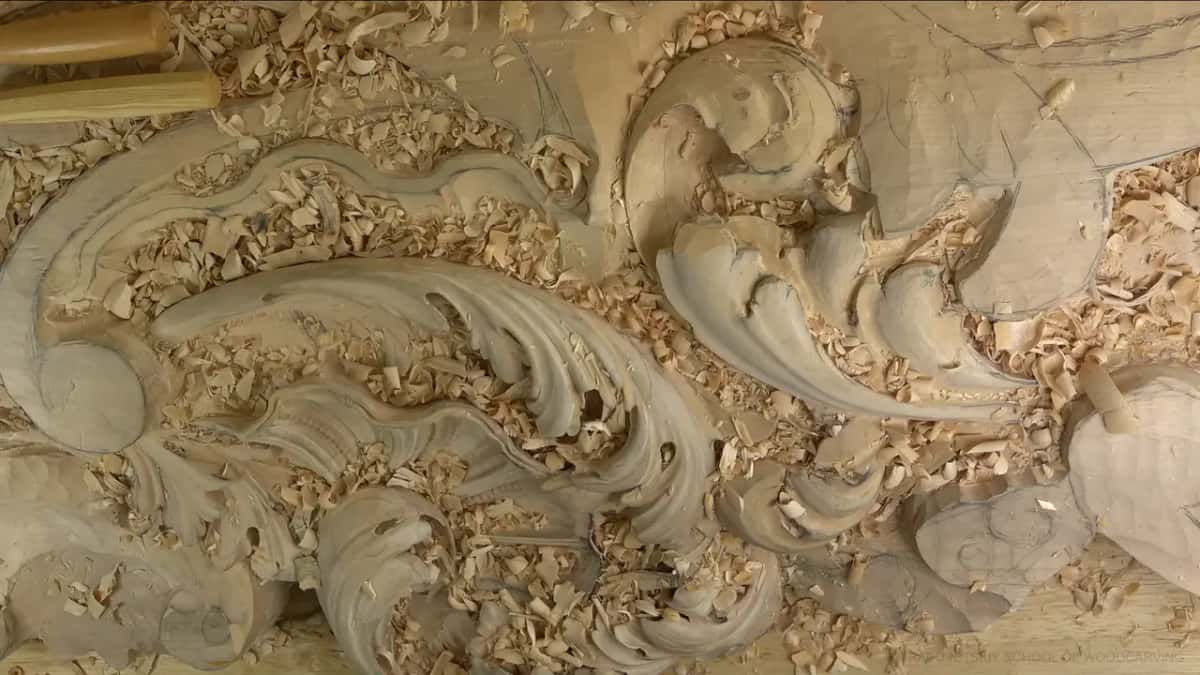
You will not carve the whole room, and you were not planning to. You could take one small element off this board, put it on a smaller panel, and try it out, and I would love to see what you come up with. A single leaf with three divisions and one rolled concave is that kind of small element. If you want to carve in person, there are bench classes too.
I know I am stuck in one spot for a long time, but how else will you do something really nice?
If you disagree with how I do it, that is fine too. I am okay with that.Start smaller than this ceiling. An antique style rosette a flower rosette or an acanthus over a molding is a much smaller job than this board, and the last one is carved right over a molding. The questions I get asked most sit alongside them, and the whole lessons map shows how the courses connect. Workshops 38 through 49 carry this same board further, and the workshops before these worked on the head of the acanthus.
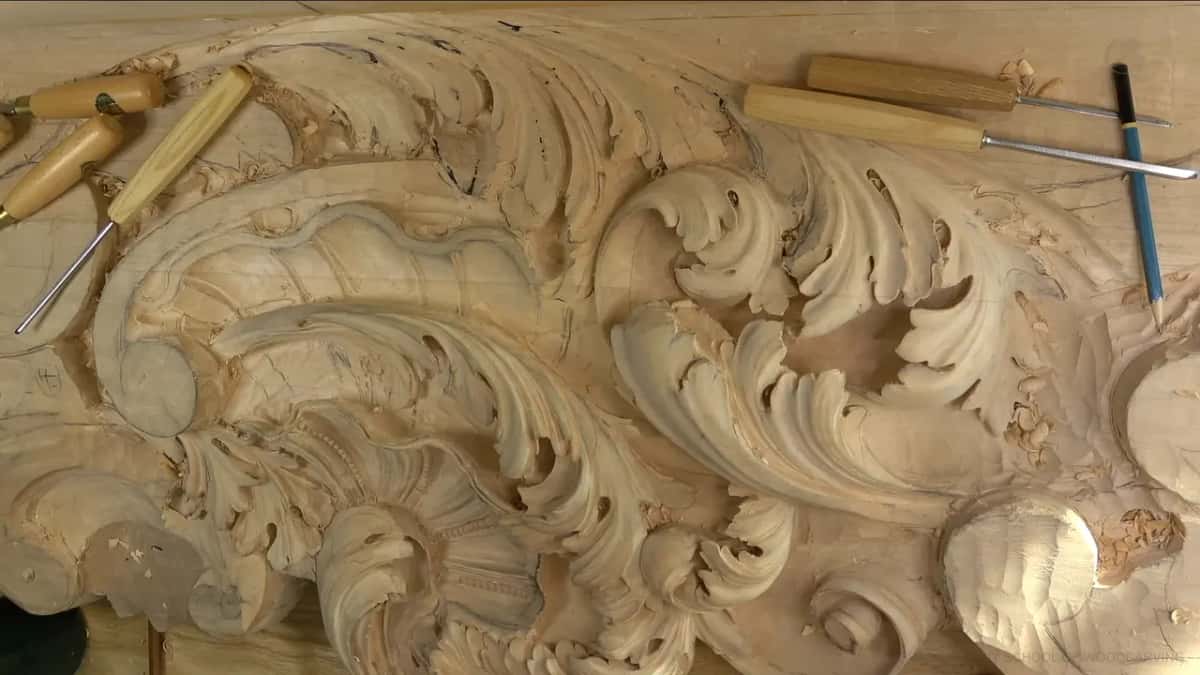
I quoted a line in workshop 27 that people give to Leonardo da Vinci, that a project is never done, it is just abandoned. At a certain stage you decide, and you say that is enough. I said it more than once in here, and kept going anyway, because there is absolutely no end. You can spend all your time in one area and still find more to improve. There was an easier way. I did not take it, and maybe I should have. Pick something to carve. Shall we carve?
How it's done
- Find the divisions before the steel touches it. Most acanthus leaves want three or five main movements, sometimes eight. Mark those first, then the smaller subdivisions that sit inside each one.
- Push the middle line off dead centre. Look point to point, split that span into ten in your head, then move the middle across until it sits nearer six tenths than five.
- Enter square, then rotate. Set the veiner in straight, let it lean over as it travels, and run the whole stroke. Almost nothing at the start, full depth by the end.
- Read the wall before going deeper. About a quarter of an inch, 6 mm, of wall is all I need to feel the movement. In one spot that was as deep as I wanted to go.
- Drop a size the moment the wood shifts. The wood moved under a 4 mm veiner in workshop 35, and it still moved at 3 mm. At 2 mm it was much safer.
- Fence the border with a finger. Leave about 5 mm, 3/16 of an inch, back from an edge. A finger butted against the edge is the gauge. Where the detail is fine, leave about 2 mm and eyeball it.
- Undercut for the shadow. Undercut for that extra shadow, then check it from below, the way people will see it.
Frequently asked questions
What does the number on a wood carving gouge mean?
Two figures are stamped on the shank. The first names the sweep, which is how curved the edge is, and the second gives the width in millimetres. An 11/7 reads as a number 11 sweep, 7 mm wide. English makers often number one step higher than the Swiss, so a Swiss number 1 skew is a number 2 in England.
Is a veiner the same thing as a U gouge?
Very nearly, and the difference is depth. A number 11 is the deepest U on the rack, with walls running close to parallel before they turn. Open that same U out wider and shallower and you have a number 9. Carvers who spent their lives on leaf work named the deep one after the veins it makes.
What gouge size suits acanthus leaf work best?
I use a lot of sizes. A 10 mm or 12 mm number 11, three eighths or about half an inch, turns up a lot. For the tightest eye I go down to a 1 mm one. A wide number 2, around 60 mm, flattens a surface out.
What to carve next