
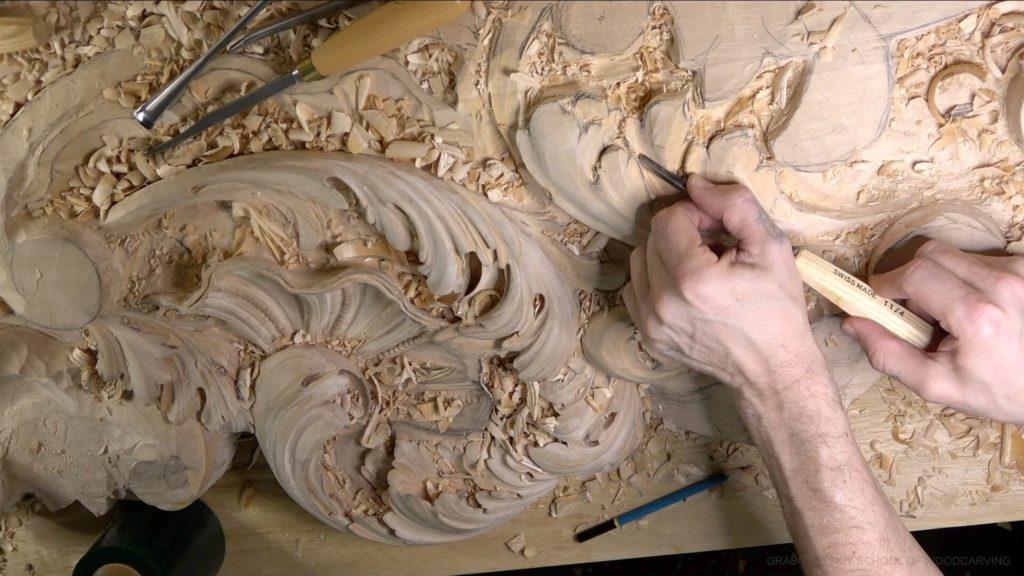
Alexander Grabovetskiy, woodcarver, School of Woodcarving · Published 2020
Why does a carved acanthus leaf look wrong?
Quick answer: An acanthus leaf that looks wrong is a leaf with movements that disagree. One pipe stops short when it should run on under the head, one subdivision lacks its partner, or the parts cross in no steady order. I fix the movements before anything else, because a rough leaf that agrees with itself already reads right.
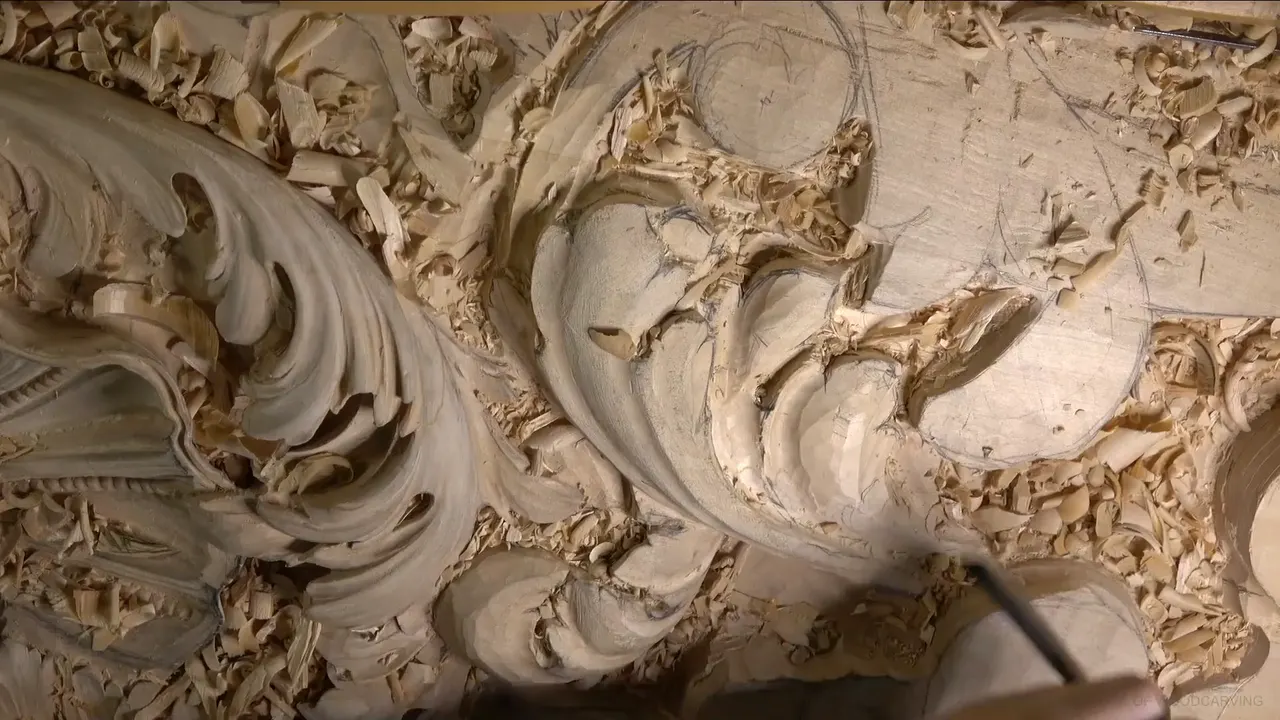
An acanthus leaf that looks wrong is a leaf whose movements disagree with each other. One pipe stops dead in open wood. A small subdivision sits in one spot with no partner anywhere else. Parts slip under a neighbor in one place and climb over it in the next. You can follow an acanthus leaf pattern line for line, keep every pass clean, and still end up with a leaf that reads wrong from the floor. A rough leaf with agreeing movements already looks right to me, before a single detail goes in.
Have you ever looked at a carving and felt something was off before you could say what? Would you like to know where I look first? I look at the movements. Every check on this page comes from one workshop, number 26 of the Venice Room, where I roughed out two acanthus leaves on a lime ceiling board for a client before I touched the shell next to them.
Five places a leaf's movements can disagree
A pipe should keep going, even when its path runs beneath the head onto a side you have not carved yet.
Every subdivision needs a twin somewhere else on the leaf, since that is how a real leaf is built.
Over and under follow one order.
A flip that fights the rest of the leaf stays off, however nice it would look by itself.
Judge the rough shape first, and if the movements agree, the details can wait.

What is a movement in an acanthus leaf pattern?
When I say movement, I mean a shape on the leaf that flows, big or small. I say the word fifty-one times in workshop 26, across eleven short parts, so it earns a minute here. On a relief panel like this one, a long pipe running down a lobe is a movement. So is an S shape, and so is the slow slide of one part as it goes downhill and tucks under its neighbor.
By part 7 one leaf had three main movements roughed in, and I said every one belongs to the same movement. Before I carved deeper, I made sure the whole thing looked logical, because I do not want to carve something that will not look good. I say logical or logically eleven times in the same workshop.
Why does a pipe have to keep going?
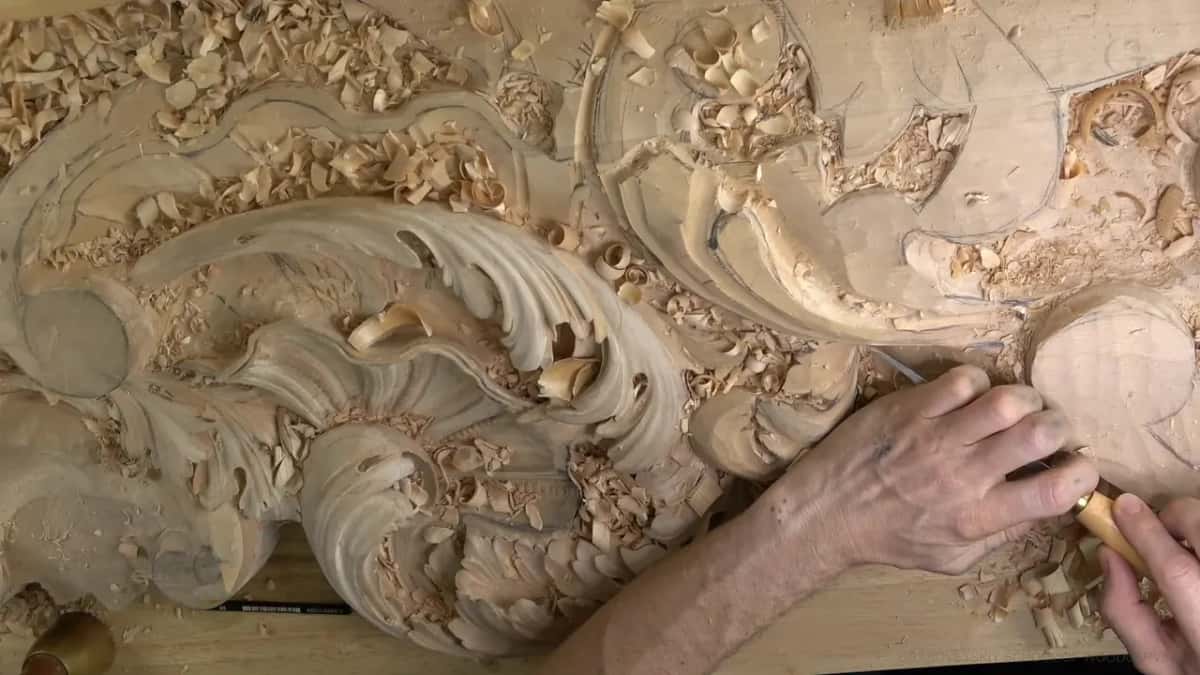
A pipe has to keep going because logically it goes somewhere, even when that somewhere is a part of the board you have not carved yet.
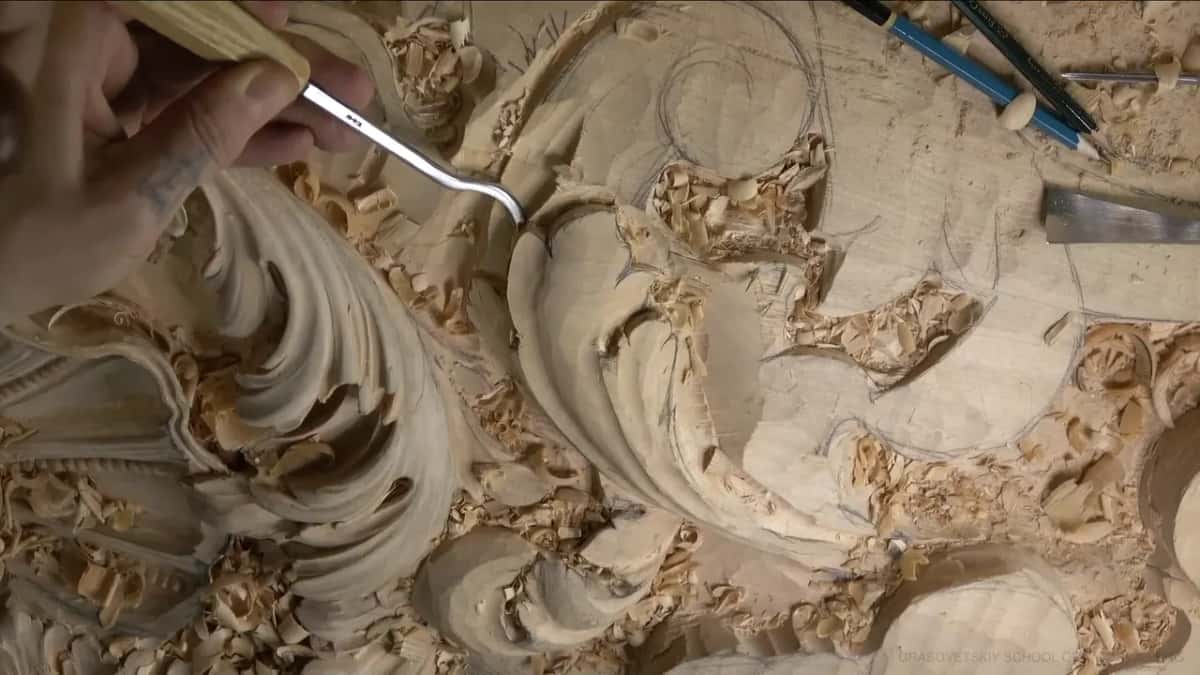
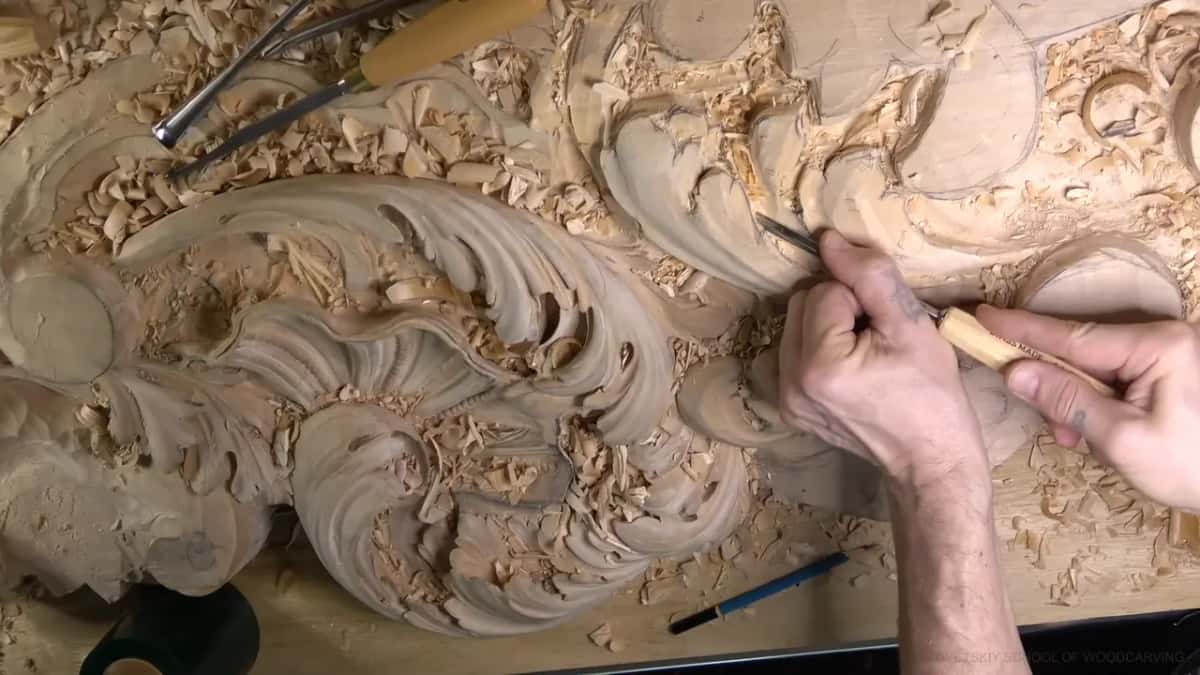
Early in workshop 26 I drew one long pipe on the leaf and carved a #6 concave along it, the gouge about half an inch (13 mm) wide. After that I stopped and told the camera where that pipe goes. It runs underneath the acanthus head and carries on out the far side, a side the camera could not show yet, and I told myself to keep that in mind.

Even a subdivision that does not exist yet can change the shape next to it. Near the end of that same part I let the concave drift slightly down in two places, because another subdivision was coming there.
A concave in part 2 ate into the pipe as I ran it along the whole side. My pipe was going, and I said I did not worry about it, because I would be able to fix it.
The long pipe itself was a choice. I was not sure the part needed more divisions, and with them the pipe would have had to turn and run another way. So I kept one long movement, to stick to the original. Workshop 17 has the same kind of choice, on a long, flowing curve.
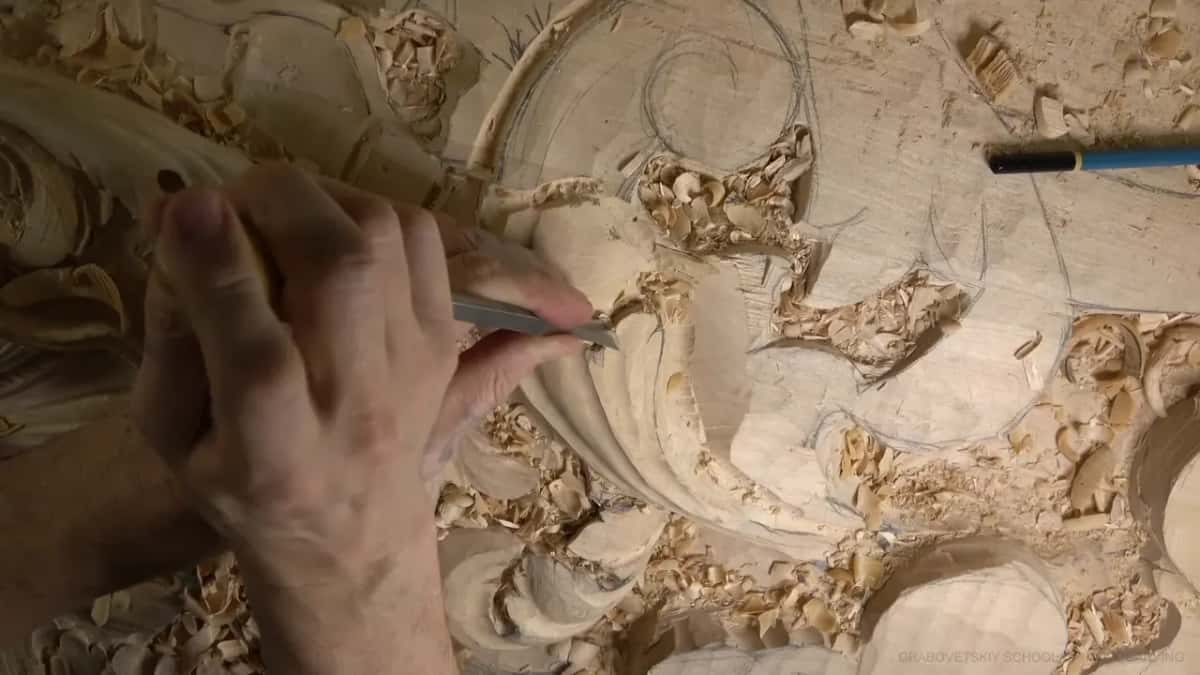
A single line that arrives somewhere is a lesson of its own, on a curly cutting board in the beginner course. On a ceiling leaf the same idea covers pipes that travel under other carving, out of sight for a while.

Does every subdivision need a partner?
On this leaf it does, because the leaf has to make sense the way a real one is built. The ornament started as a real plant.
Midway through part 4 I wanted one extra small subdivision for a bit more curl. Before I carved it, I said I would have to repeat it in another spot too, and I routed it away from the main movement so I would not wreck what was already there.
Two parts later I undercut inside one lobe, knowing it would hardly show from below the ceiling. I liked what it gave me anyway.
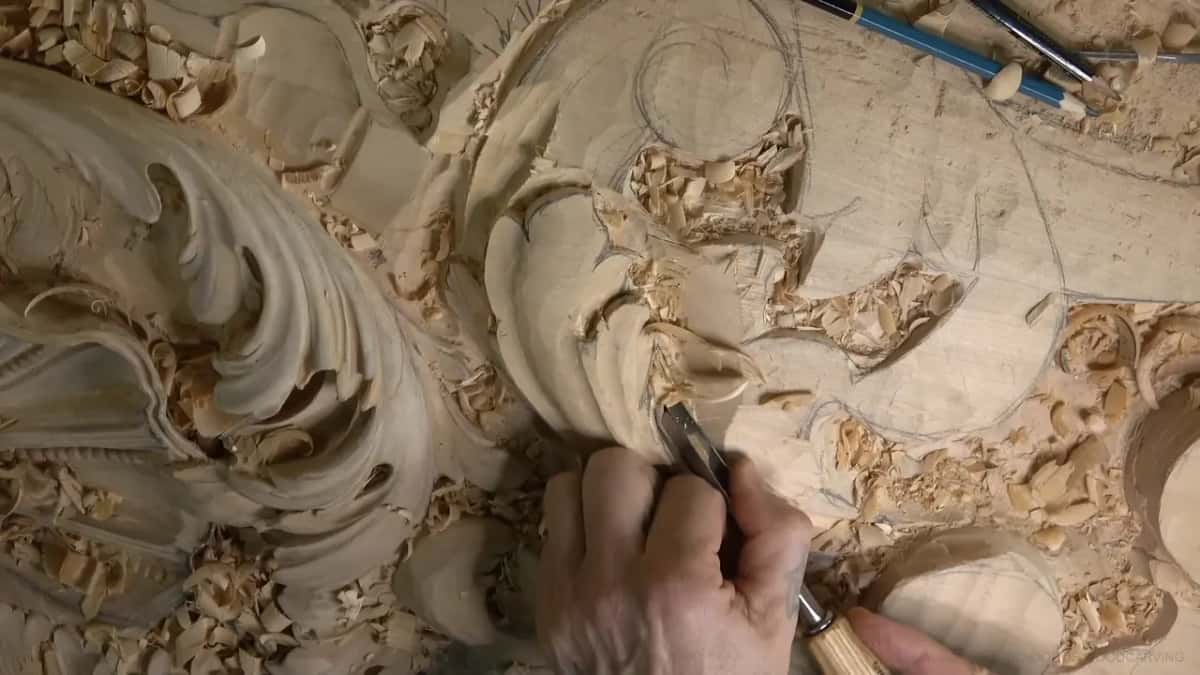
Somebody might reach up there one day and look, but the real reason came out in my next breath. It works with how the leaf is built in real life, and if I have a subdivision there, I have to have one here too.
When I put a subdivision pretty close to the edge in part 3, I did it because that is the nature of those old acanthus movements. The original carvers of Venice put them there, and I follow them. My design course calls this the law of repetition.
Which part goes under, and which goes over?
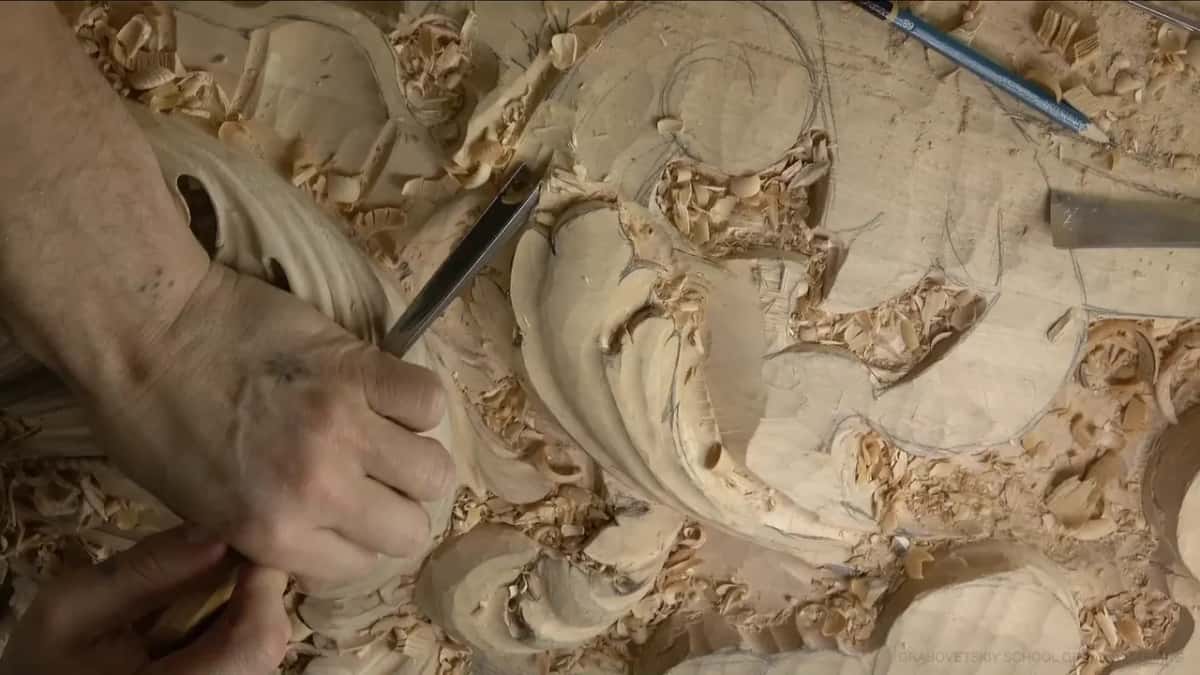
Either part can go under, as long as the order holds for the whole leaf.
Back in part 2 I had to decide how several parts should sit, and I picked the order where this one lies above that one, and that one above the next, because it is more logical and continuous. Later in the workshop I said I could go the opposite direction, and there is nothing wrong with that.
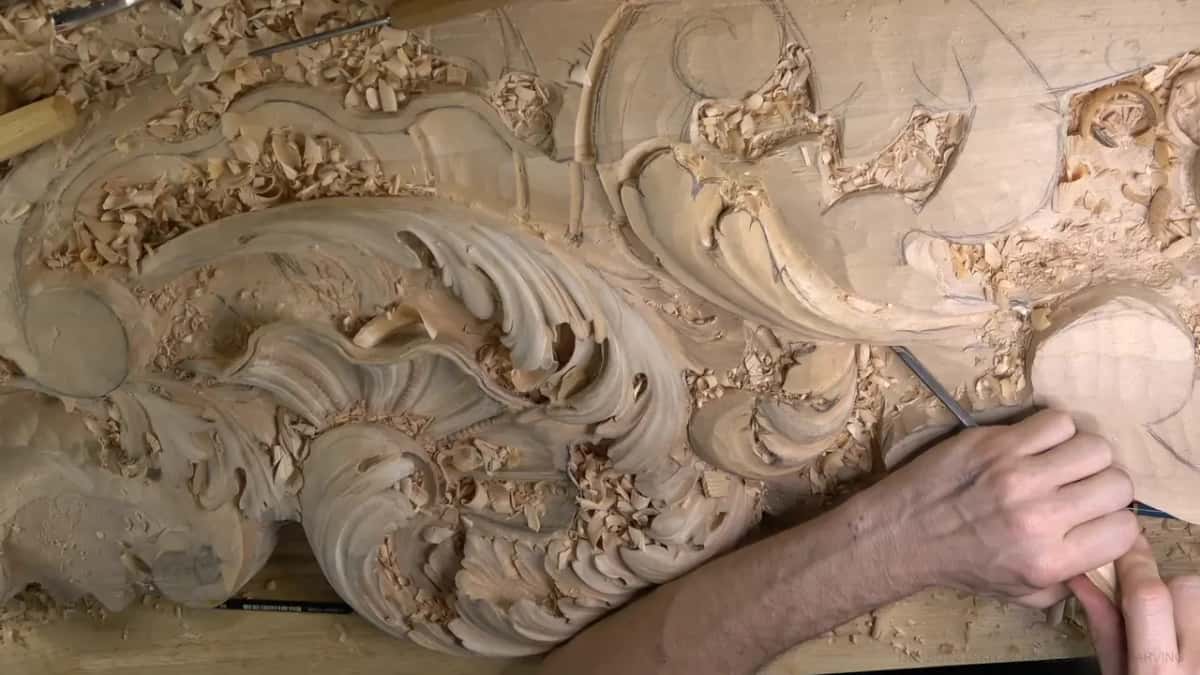
Eyes settle some of it for you. An eye sat in one spot in part 3, which meant the part beside it had to go underneath, so I lowered that side.
Levels can go too far, too. During part 6 I set one part on a lower level than its neighbor because it looks much better that way, but not too low, because the overall shape still has to hold. I outlined it with a #11 at 7 mm, a little over a quarter inch, and lowered it slightly. A whole section in part 7 would end up lower than the acanthus, so I dug a lot more out of it right away with a heavier gouge.
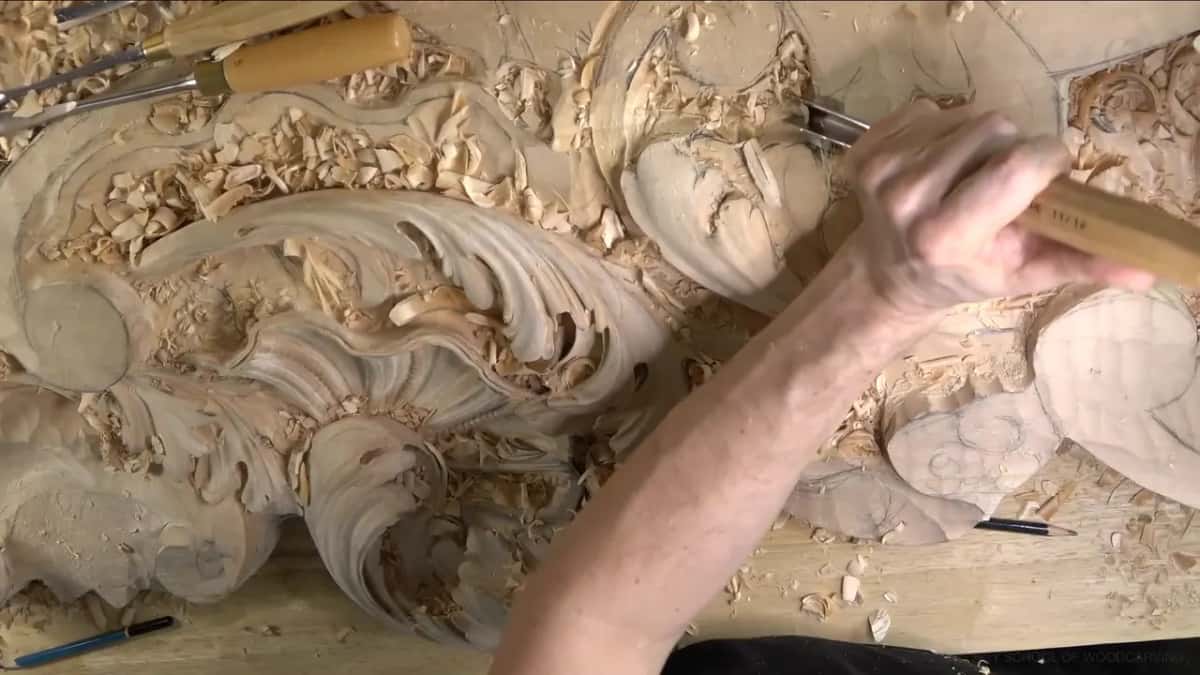
The light has a say as well. Where the light will hit, I dug one concave a little deeper for extra shadow, and the other side got a lesser one from a #5 or a #6.
Here is the short version of what reads wrong and what the leaf wants instead.
| Trouble | Rule | Proof |
|---|---|---|
| Pipe stops short | Let it run on beneath the head. | Part 1, a long movement kept |
| Subdivision without partner | Repeat it in a second spot too. | Said before carving it, part 4 |
| Crossings keep switching | Keep one order for what lies above. | An eye decided it, part 3 |
| Extra flip added | Leave out whatever does not flow together. | Questioned a flip there, part 10 |
| Clean, still wrong | Judge the rough shape before any detail. | Overall shape read right, part 11 |
Why leave out a flip that would look nice?
A flip earns its place only when it flows with the movement around it.
Near the end of the workshop I looked the leaf over and saw room for many more nice movements. I could flip one part and run it all the way over. And I said maybe I should not even bother, because it has to be logical to the overall movement, and it has to flow together.
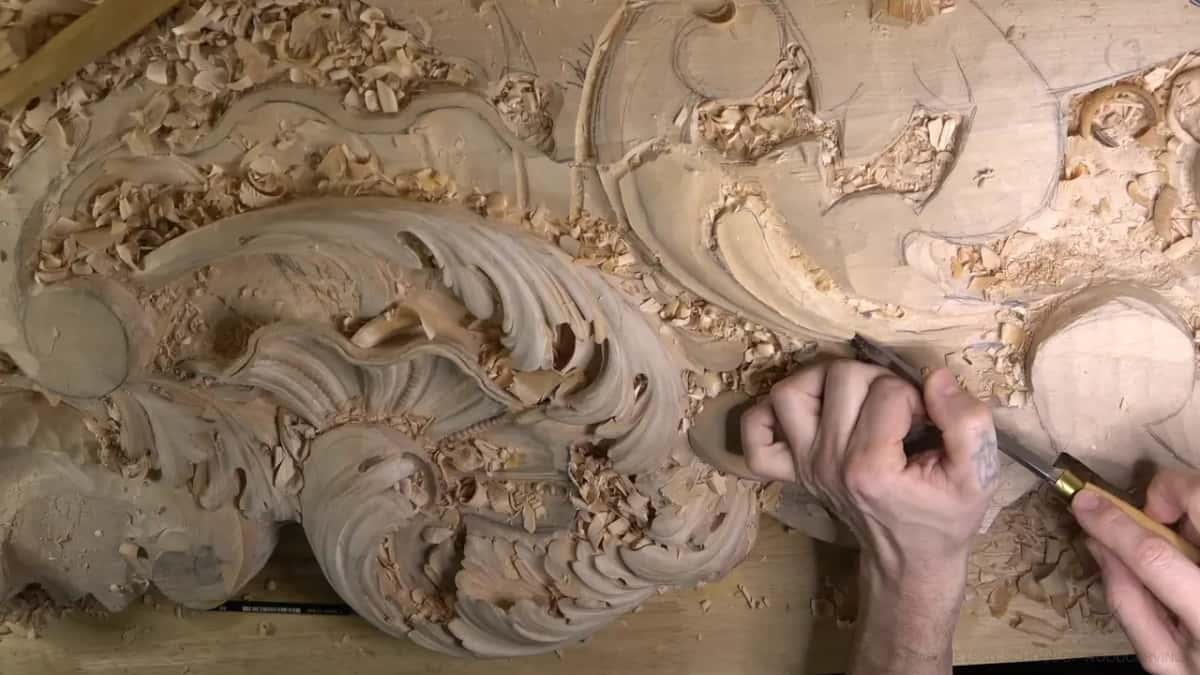
Earlier, in part 6, I wanted more subdivisions and more movement. I was not sure, so I left the leaf as it was for the moment, gave the overall shape some rasp work first, and left the details for later.
The opposite happened in part 3. One part started turning inward, which I had not planned, and I decided to keep it, because I could see it would give me a beautiful detail.

What decides is whether a movement flows with its neighbors, planned or not. My S shapes follow the same rule, and all of them point outward, the same way. Checking whether a single line flows is another skill, with its own lesson on the Hashemi flowers.
Can a rough leaf already look right?
Mine did, at the end of workshop 26, with no details in it at all.
After the rasp work on the overall shape, I told the camera that even before any details go in, the leaf already gives me the feel of how it is going to look. In three dimensions the movements were blending together nicely, and I called it enough for now.
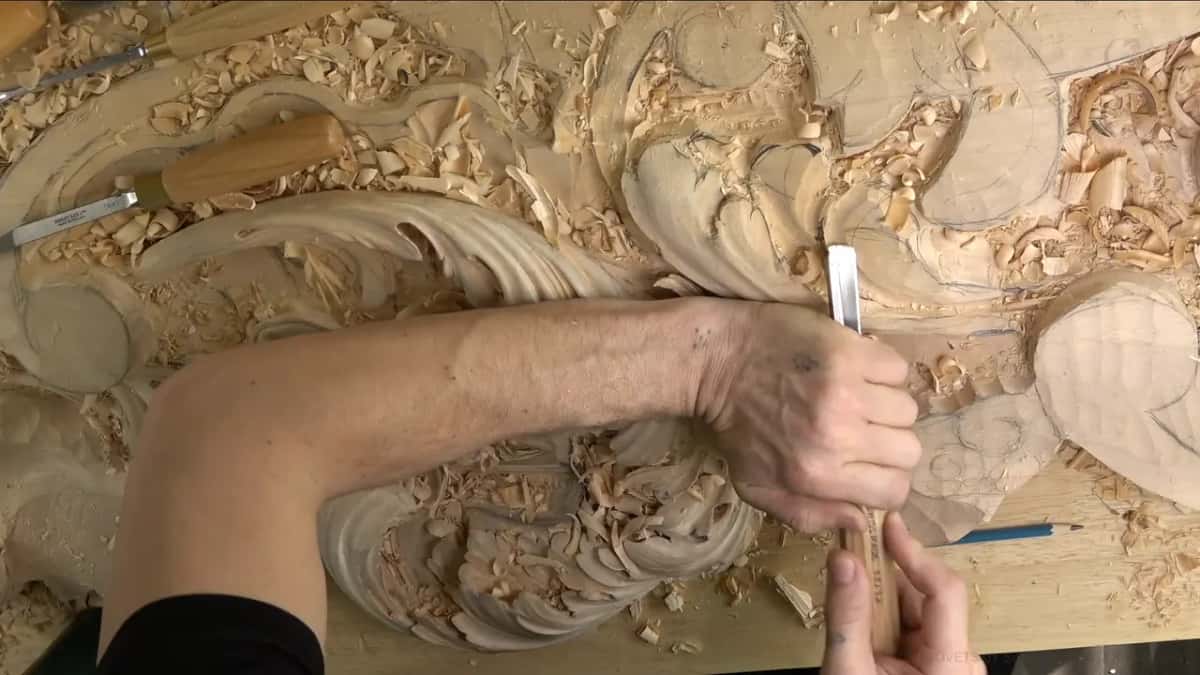
Clean can wait at this stage. A pass looked rough in part 8, and I said I was not worried about it, because I was establishing the main movement of the leaf. I could always come back later with one more pass and make it much cleaner.
A pair of big eyes went in during part 9, a quarter inch (6 mm) each and exactly the same size, and when I pulled the plugs I said it looked a little messy but the final result would be awesome.
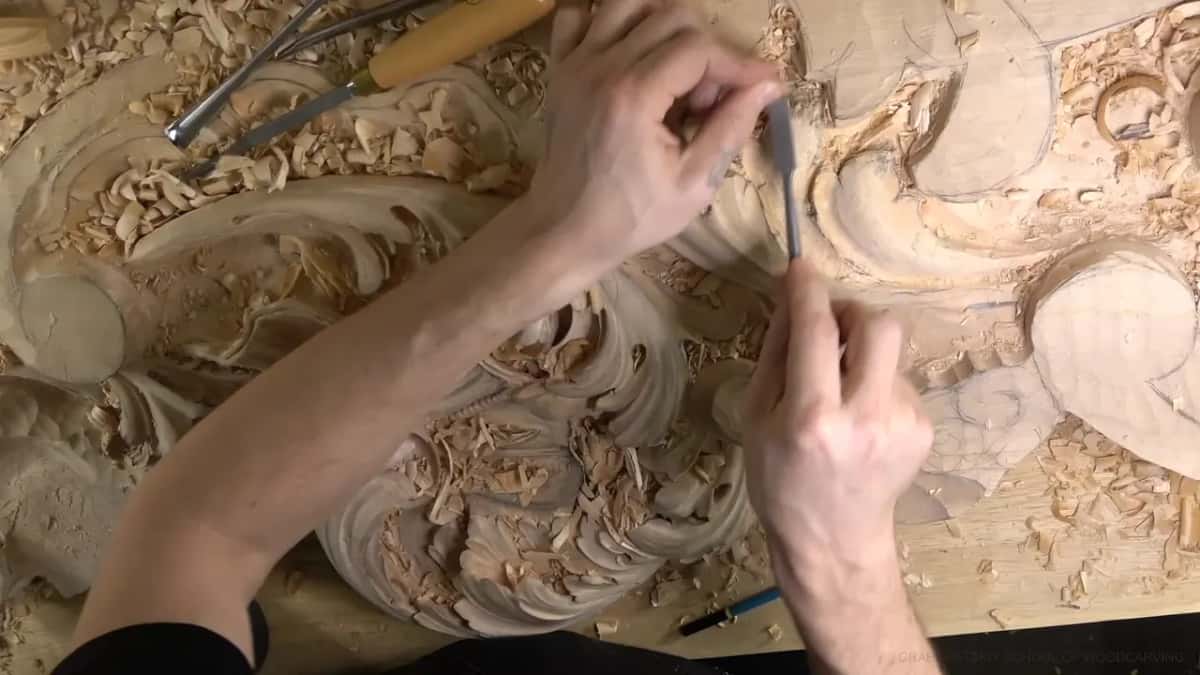
I stopped in part 5 to say it plainly, since I had not put the final details in yet.
One stage has a name of its own. Before the concaves in part 7 I carved what I called a semi-final ridge, because the ridge is what I read the height from. Judging the details once they are in is a separate job, done from below and under more than one light, and lesson 12 of the room covers it.
What went wrong when I dug too deep in workshop 26?
I went in too deep with too big a tool, one side got too weak, and a beautiful chunk of wood came away.
Shallow is how I like to start a concave. My first one in part 1 went in with a #6, for the beginning, and I said I can always make it deeper. A later one in part 8 started the same way, from a #6 spoon at 10 mm (3/8 in).
Let me tell you a story. In part 9 I went deeper than one spot could take. Seconds before it happened, I had said out loud that I did not want to go too deep and make a weak point. The gouge was a #11 at 4 mm, a little bigger than an eighth of an inch and a little less than 3/16.
I watched the side move and said it was not good. A moment later I said it was okay, I would fix it, it was not a big deal.
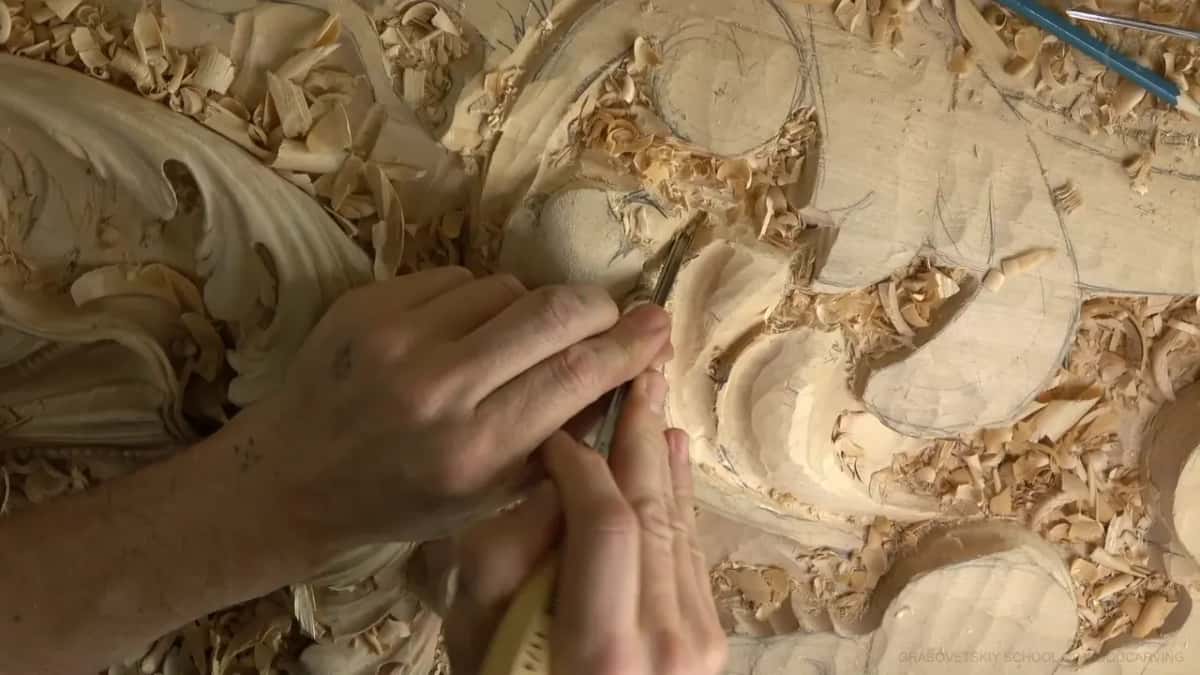
The course overview tells that loss in a few lines. What I did next matters more here.
I said I really liked how high that part looked. Then I asked myself whether I even needed to keep it. I decided I could get rid of it completely, bring the other part inside, and put the S shape there, since one of those parts was supposed to go underneath anyway. It had been looking good, really nice, and I said so. I also said I used too big of a tool.
Next part, I promised it would still look beautiful, maybe not the way I was planning. There was a lot of junk inside, and I cleared it carefully, because I still had to work on that movement and I had no wish to damage the piece it would become. Chips were piling up all around me by then, and I said so.
And in the last part, on that same side, I refined what was left, since I had lost the movement I was after. I held back so I would not lose the overall feel, and I still undercut it, since that part has to come from underneath. This time I started with a 7 mm gouge, called it a little too big, went down to 4 mm, and then switched to 3 mm (1/8 in). Picking the gouge size for each cut has its own lesson in workshop 18.
Where this leaf goes next
Workshop 27 carries on with the same board, and part 4 of the room, workshops 38 to 49, takes it further.
If you are coming from workshop 25, this is where part 3 begins, and the acanthus head these leaves grow out of was carved in part 2.
New to acanthus? Start with the Greek leaf, the same family of leaf that sits on a Corinthian capital, before a Venetian ceiling. Tuition opens every workshop of this room, all fourteen blocks of wood carving on one ornament commission.
Would you like your next leaf to read right from across the room? Carve one small leaf, follow every pipe to its end, give each subdivision its partner, and look hard at the rough shape before you clean a thing.
How it's done
- Trace each pipe to its end. Run a finger along every pipe. If one stops in open wood, find where it wants to go, even under another carving, and carry it there.
- Pair the subdivisions. Carve an extra subdivision only when its mate goes in somewhere else too.
- Settle what lies on top. At every crossing, choose which part rides over. Keep that order down the whole leaf, and drop the part beneath a little, never so far that the overall shape sinks.
- Drop the extras. Before you add a flip or one more curl, check that it flows with the movement beside it. When it does not, leave it out.
- Read the rough shape. Stop while the leaf is still rough and look at it in three dimensions. Clean it only after the movements agree.
Frequently asked questions
How do you carve an acanthus leaf?
Divisions come first, and the eyes go where they fit. Relief cuts free the parts, each pipe runs its full length, and a concave follows each side of a pipe. My workshop 26 leaf got three main movements this way, all part of one movement, with no detail yet.
Must every part of a leaf go concave, convex, concave?
Concave, convex, concave is what I call the usual idea in workshop 26, and in the same breath I add that it does not have to be on all of the movements. Where a part needs only an indication, a shallow concave and some blending do the job.
What does a carver mean by meat?
Meat is my word for the wood a movement needs. I carved one separation a little deeper in workshop 26 because I needed some meat for that movement, and I named it on camera. Those were only preliminary cuts, made with a #11 at 12 mm, half an inch.
What to carve next