
Alexander Grabovetskiy, woodcarver, School of Woodcarving · Published 2026
What grit sandpaper should you use on a wood carving?
Quick answer: Sanding a wood carving, in my shop, is a light pass rather than a full finish. I start with a 240 or a 220, stay above 120, and keep the paper on the upper half of each grape while the leaves hold their tool marks. A sponge at 4000 adds a little shine, and gold leaf wants it all smooth.
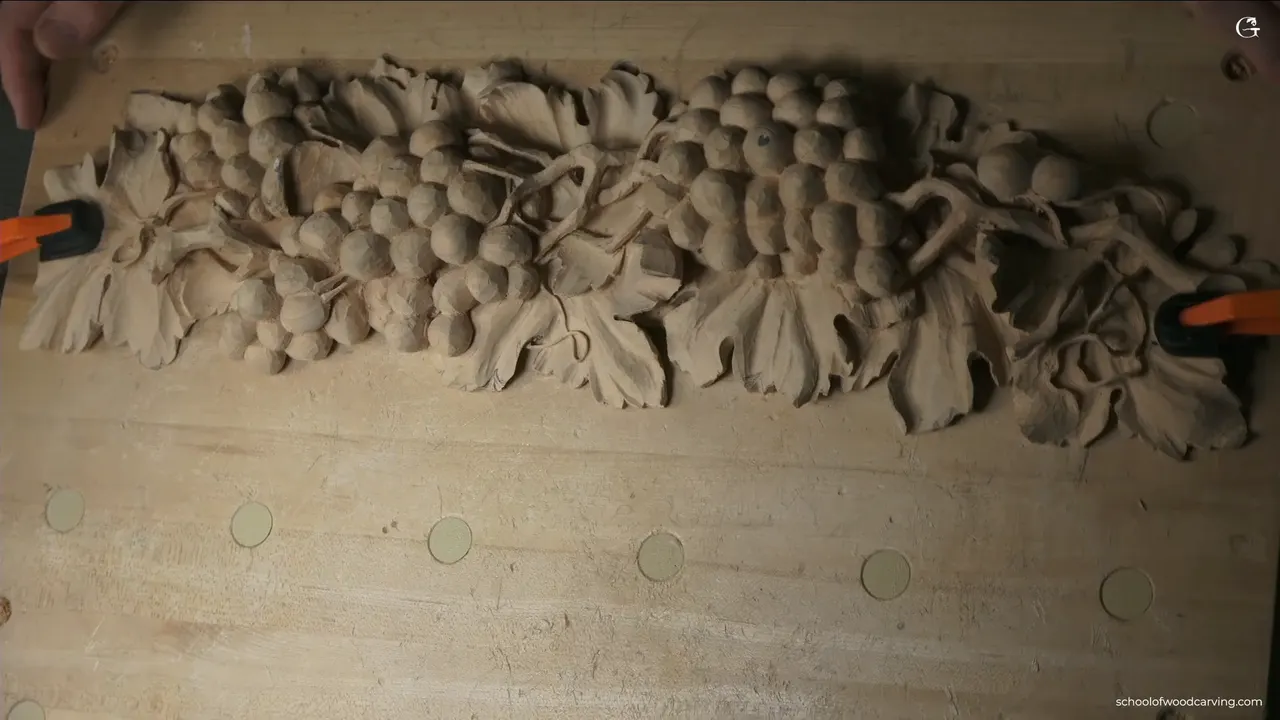
The last lesson of the grape onlay is a lesson about sandpaper, and about how little of it I use. A few grapes get a light pass on top with 220 or 240 grit. The leaves keep their tool marks. Then you take a photo of your onlay and upload it here for the certificate.
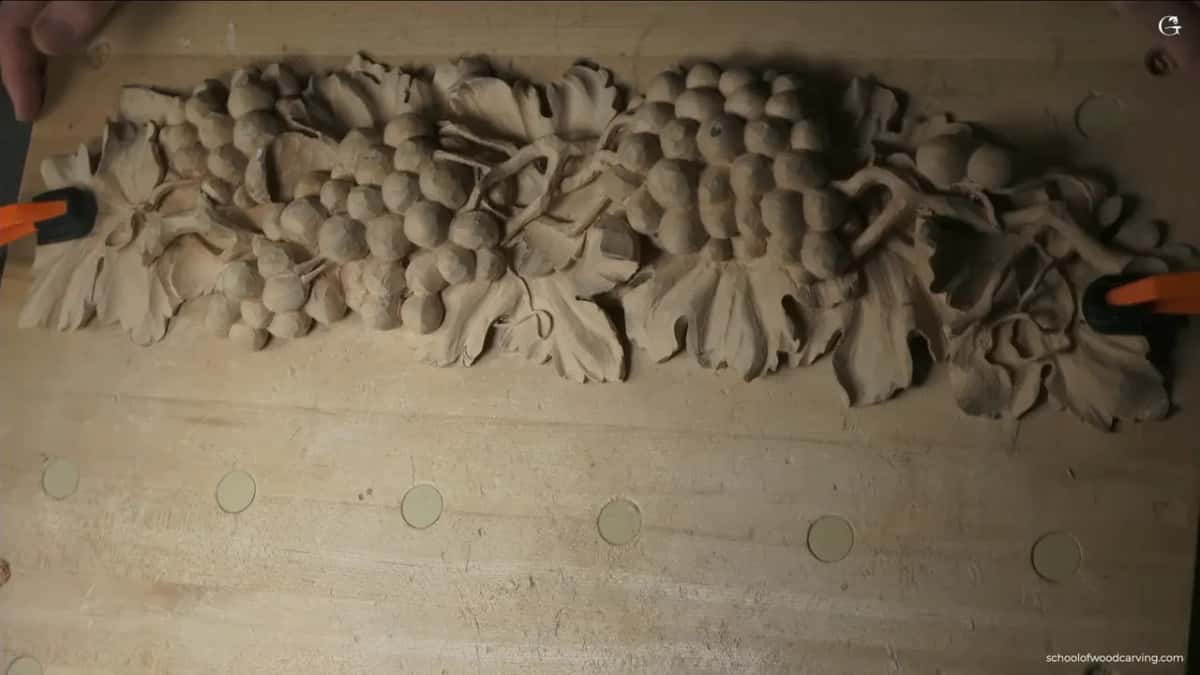
Have you carved your way through fourteen lessons of grapes, leaves and tendrils? Are people already asking how you will finish it? I get that question a lot, and this video is my answer.
How you finish yours depends on where it will hang, so I am not going to hand you one rule. What I can do is show you what I did on this onlay, grit by grit, and where I stopped.
How I finished this onlay
- Paper goes mostly on the tops of the grapes.
- Nothing below 120, and that grit only for one spot that is still rough after the finer paper.
- Mirka mesh, or a purple 3M roll.
- The 4000 sponge comes last, and only for a little shine on the crowns.
- Leaves stay mostly rough.
- Gold leaf changes the whole plan, because gilding wants a smooth and shiny surface under it.
- One photo for the certificate.
Should you sand a carved grape at all?
A little, on top, if you like a smoother look. Personally I like the marks. They are the nature of wood carving, and they tell everyone the work was done by hand with chisels.
In lesson 11 I said that carving is painting with the light and the shadows. I know it sounds philosophical, but that is exactly what it is.
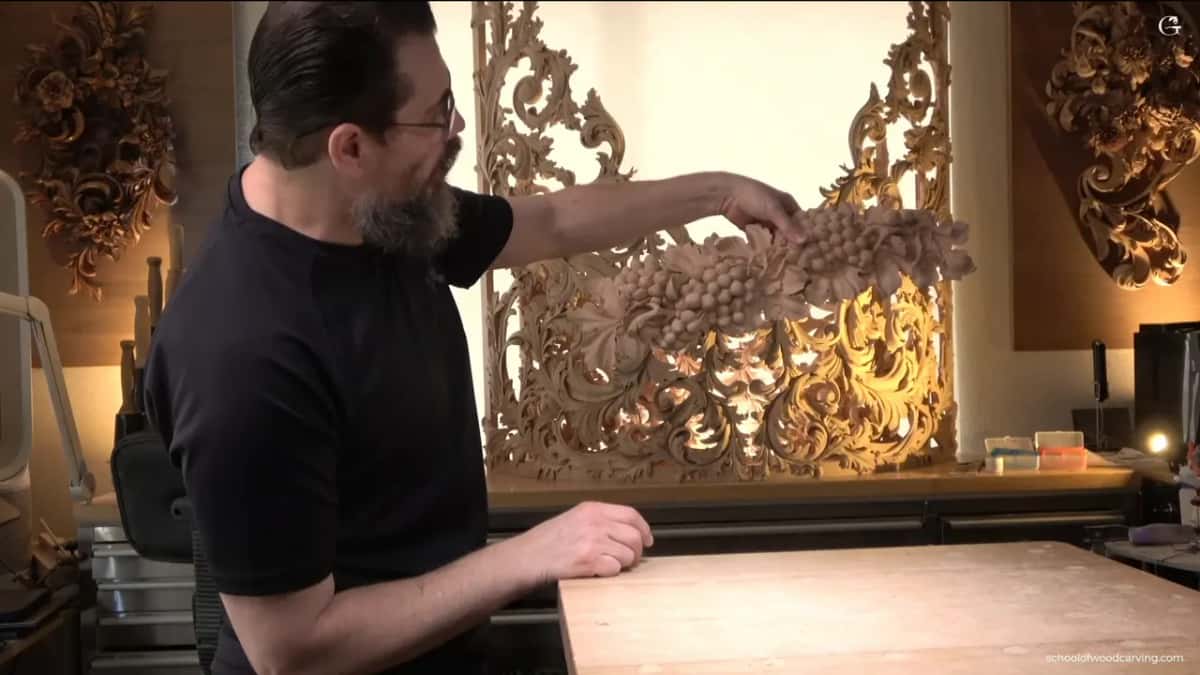
Some people want it smoother, though. You can see the marks all over this onlay, which is exactly why the question keeps coming. On a grape I think a light sanding looks nice. Look at the two grapes I point to in the video, each one somewhat smooth at the top and rougher toward the bottom.
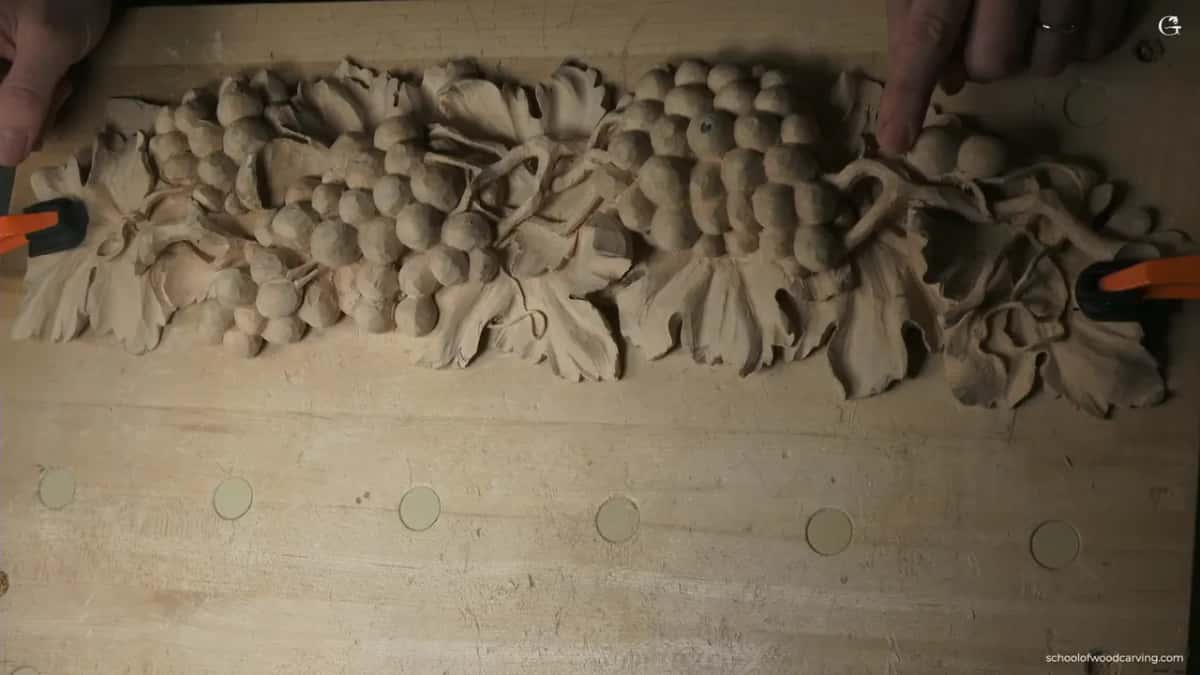
Leaves are another story. Every tool mark can stay on them, or you can knock a few down very lightly. Don't be too crazy there.
In other lessons I refuse paper completely. On the Byzantine acanthus the facets come off with the same gouge that made them, and on the cutting board for beginners sandpaper would round off the edges that make the shadow. Grapes are the exception I allow, and even there it stays on the tops.
Which grit do I start with on a carving?
Most of the time I start at 240, sometimes 220. I don't go coarser than 120, since the scratches a rough grit leaves are hard to take care of later.
I have two favorites, and I really like the Mirka brand. Mirka makes Abranet, which is not even paper, it is a mesh, and mine is 240 grit. The other is a purple roll from 3M, sold for automotive work, in 220. You just tear the 3M off its roll. The Mirka comes on a roll too, but that one I have to cut.
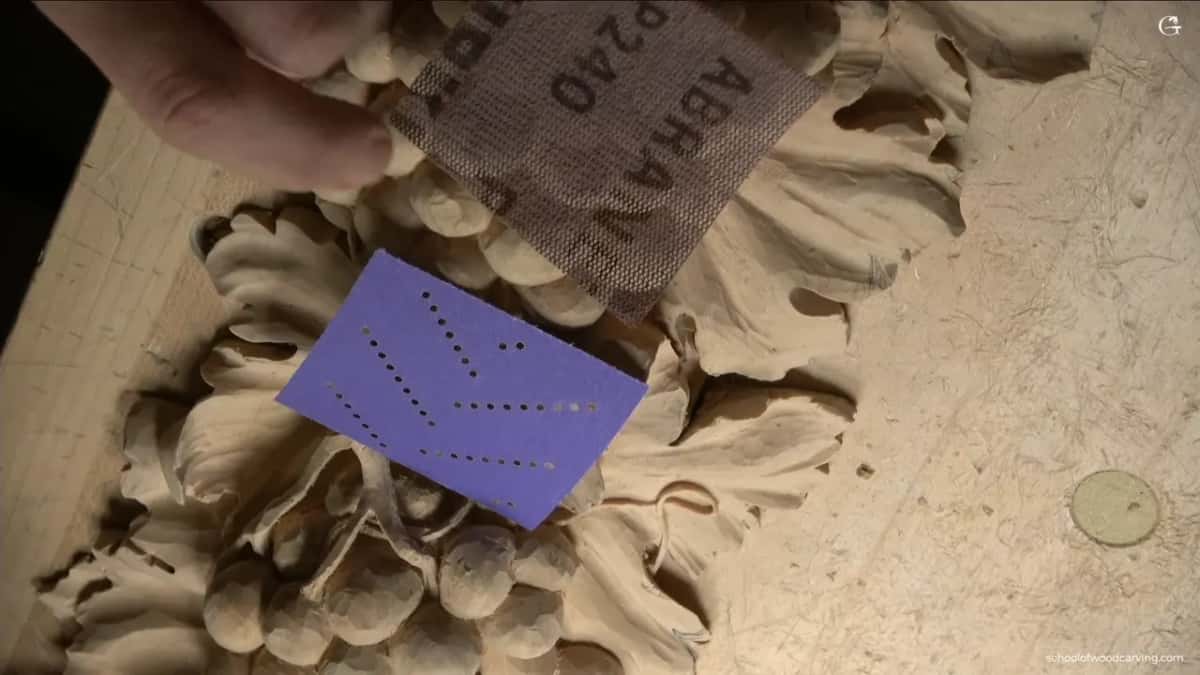
A mesh leaves less abrasive behind in the wood. It is not 100 percent clean, but it is better for your tools when they come back to that surface.
Most wood you buy today is kiln dried, not air dried, and it gets fuzzy when you sand it. Before I sand, I like to put on one light coat of sanding sealer first.
Any sandpaper will work, to be honest, and these two are simply what I reach for first.
Where on the grape does the paper go?
On the upper part of each grape, and not much. As the beginning stage, the 240 just knocks those facets down really well.
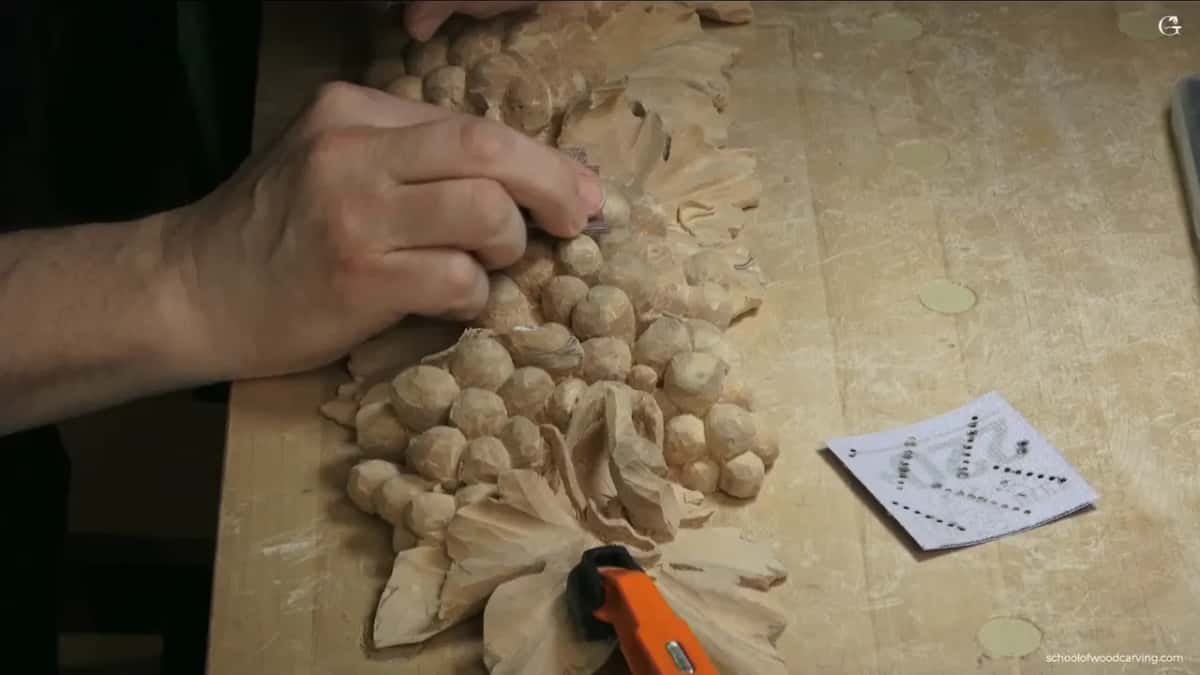
I just knock down the tops a little bit. One spot on this bunch is rough, and there I drop to 120 for a moment. The tool would take care of it better, obviously, but even the sandpaper does the job in this case.
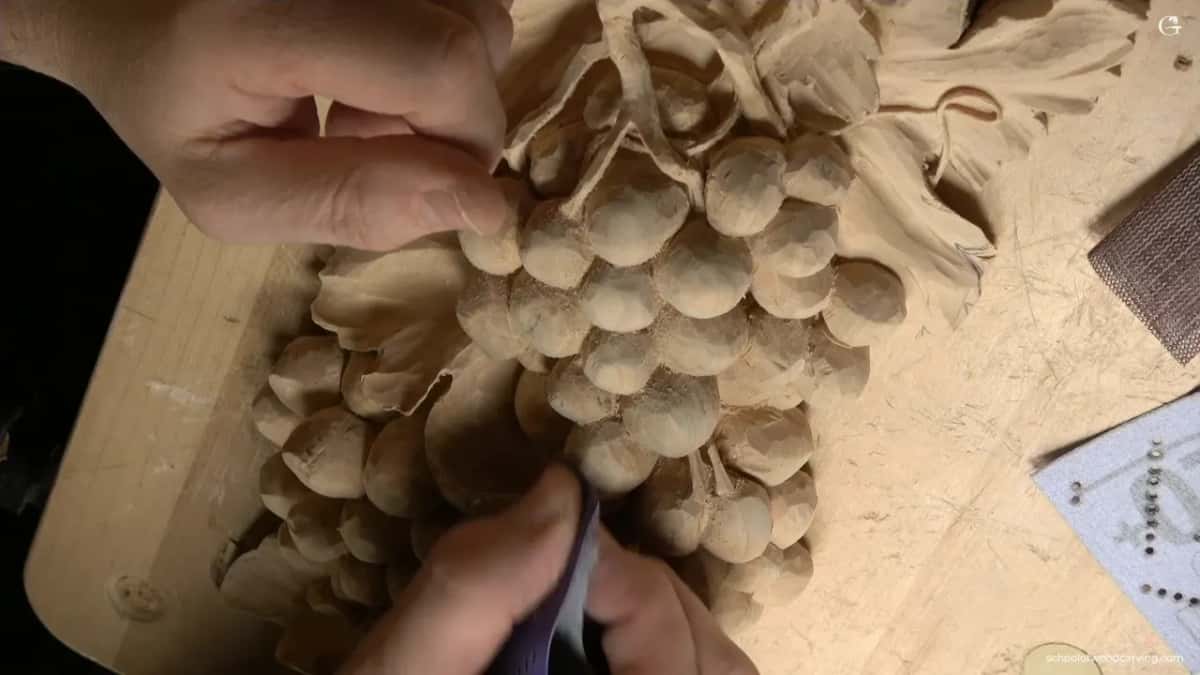
Don't get crazy with it. Some rough spots have to stay, or nobody can see that you carved this by hand with the chisels, and I like the chisel marks.
Here is everything I touched the onlay with, side by side.
| Abrasive | Grit | Where it goes on this onlay |
|---|---|---|
| Purple 3M automotive roll | 220 | Torn off by hand, as much as you need |
| Abranet mesh by Mirka | 240 | First stage on the tops, knocking facets down |
| Something coarser | 120 | One rough spot and nowhere else on the carving |
| Mirka sponge | 4000 | A small shine at the very top of a grape |
| Shaped scrapers | none | Soft basswood scrapes, just not easily |
What does a 4000 grit sponge do to a carving?
A Mirka sponge in 4000 grit puts small shiny spots right at the top of the grapes. I reach for it after the sandpaper stage, and the wood under it just becomes really shiny.
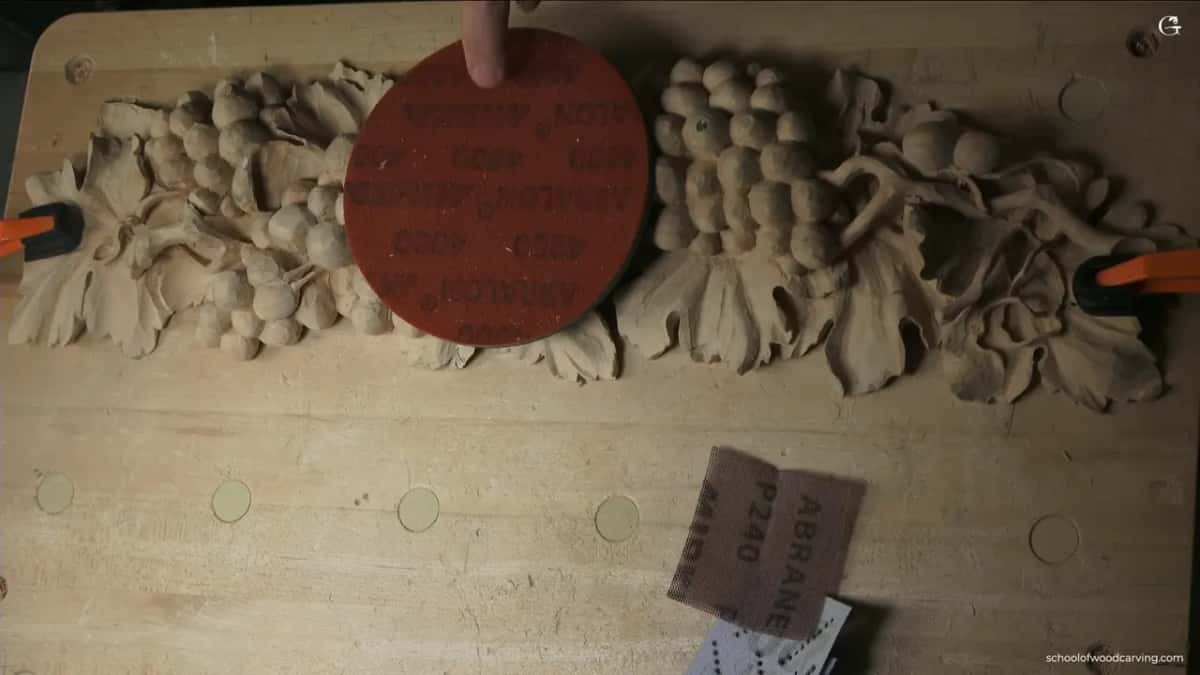
Be careful with it. On camera I did only a little, for the sake of the lesson. When a piece is going to be gilded, that 4000 is my final step, and the wood comes out gold ready.
When does a carving have to be smooth all over?
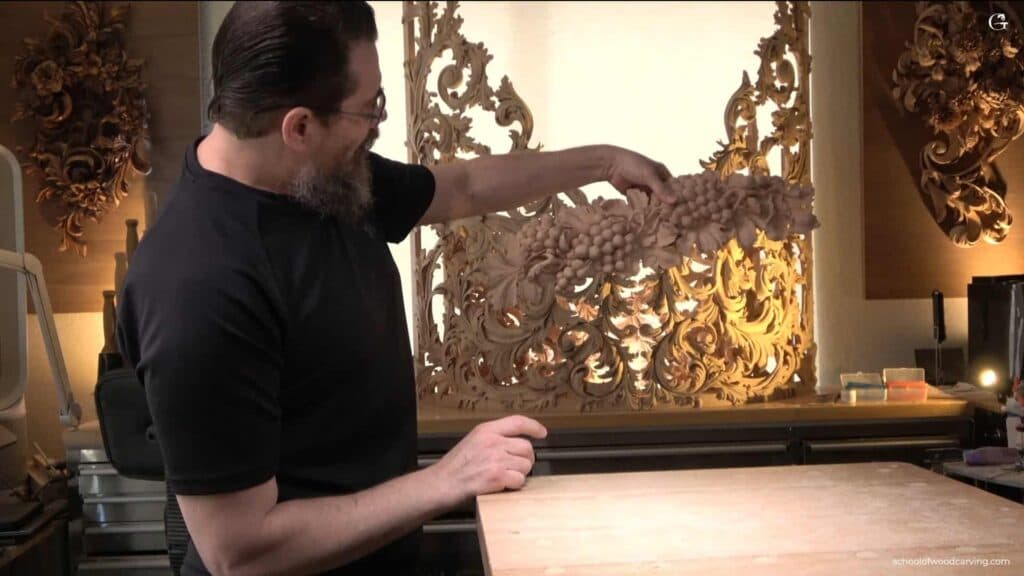
When it gets gold leaf. Behind me in the video are panels for a pipe organ, and every inch of those is going to be gold. For gilding the surface must be smooth, so I have to sand them or finish them some other way before the gold goes on. As much as I love a surface straight off the chisel, gold leaf is the one job where I still sand. It must shine first, or the gold will not look good.
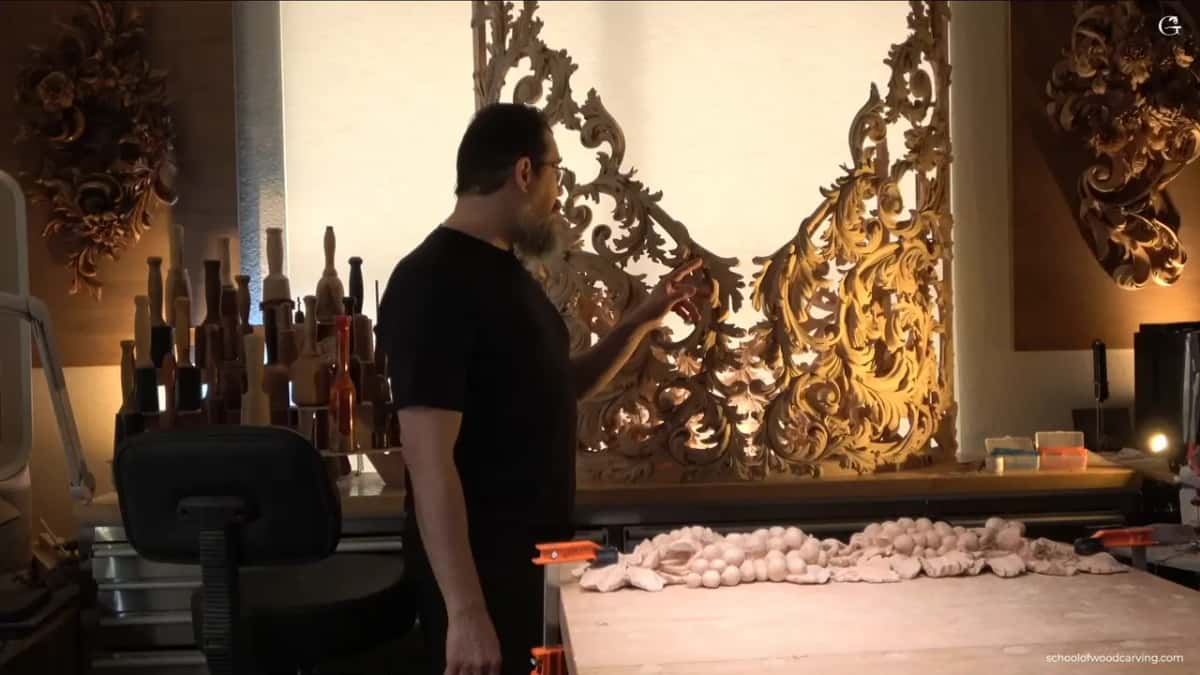
Those organ shades are carved in a German Baroque style of acanthus, a little different from the others. They cover a musical instrument, so every number on them gets calculated exactly. They show up again in lesson 10, where I carved grapes in front of them.
The shades are going to New York City, and about half of each one is holes, fifty percent wood and fifty percent air. A carving made for gold leaf usually carries fewer small details, since every tiny one becomes a nightmare for the gilder, and these hang really high on a huge instrument. Two of the pieces meet on a miter, and you can see that miter on the back.
Where the onlay hangs decides the rest. Put it on a mantel that is painted and you are going to paint the onlay as well.
Can a sharp tool do the job instead of sandpaper?
A sharp tool usually does the job better than paper. In lesson 12 I turned the gouge upside down and rode right on top of each facet in a small circle, barely removing any wood. First pass, then a second one, micro, micro movements. Pass after pass, the grape ends up looking completely sanded, with zero facets left.
It takes time. For me that cleaning is tedious and kind of annoying work, and maybe I am doing it wrong, but that is what I do.
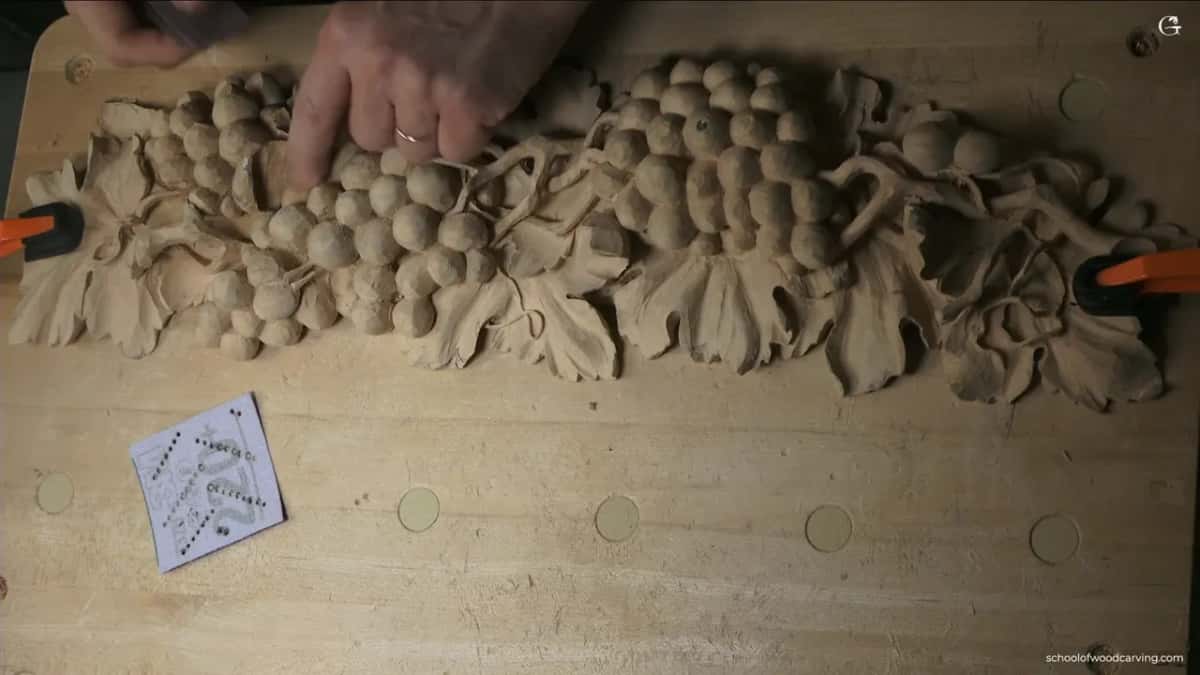
In the tiny triangles between grapes a knife does the same job, the way you would work in chip carving, and that knife has to be really, really sharp. Any knife will do, and its shape does not matter much. On a leaf, any carving knife can scrape the facets slightly if you follow the grain, and it looks much softer at once. I showed that back in lesson 8.
Big weird facets are a job for a number 7, 14 mm, a little over half an inch. With that gouge I sliced all around the grapes in lesson 3 to give them a better shape. That number 7 is a really good cleanup tool, and it improves the shape too.
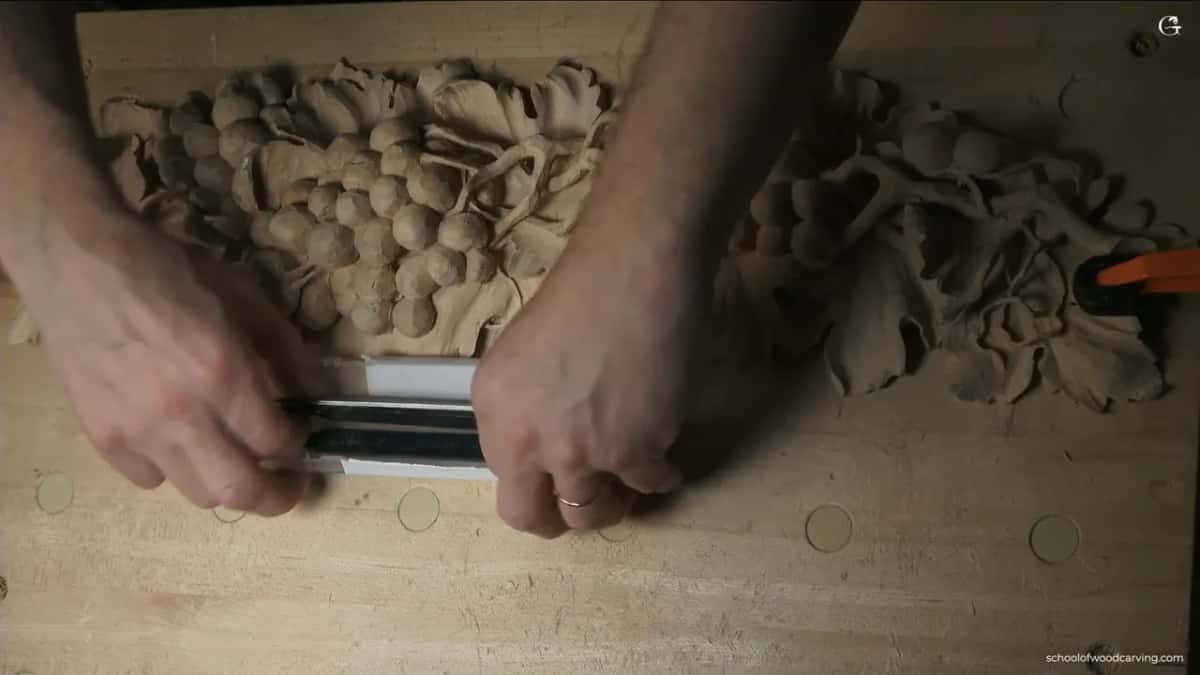
The scrapers you see in this video came from Amazon, they are really, really good, and they have several shapes. Lime or basswood is kind of soft and not great for scraping, but you are still able to scrape it. A whole lesson on scrapers sits in the tools course, flat card scrapers and shaped ones.
Some facets on the leaves I keep on purpose. If they bug you, a flatter gouge or a number 1 skew chisel, moved in that same small circle, takes almost nothing off and cleans them up. You can get really great results with just that. Inside a concave spot the idea is exactly the same, only on a micro level, with little Dockyard tools.
Not every spot needs that treatment. In some places one clean pass, left alone, already gives a finished look.
Before sandpaper existed, carvers scraped. Some used the skin of a shark, not everybody lived near the ocean, so in England they used rush reeds, and carvers of the fifteenth century scraped with a piece of glass. Scraping was used all over Europe. After scraping you can burnish the wood with a scrap of the same species, and it comes up really shiny, which is exactly what gold leaf wants. The reed gets its own lesson in the cutting board course.
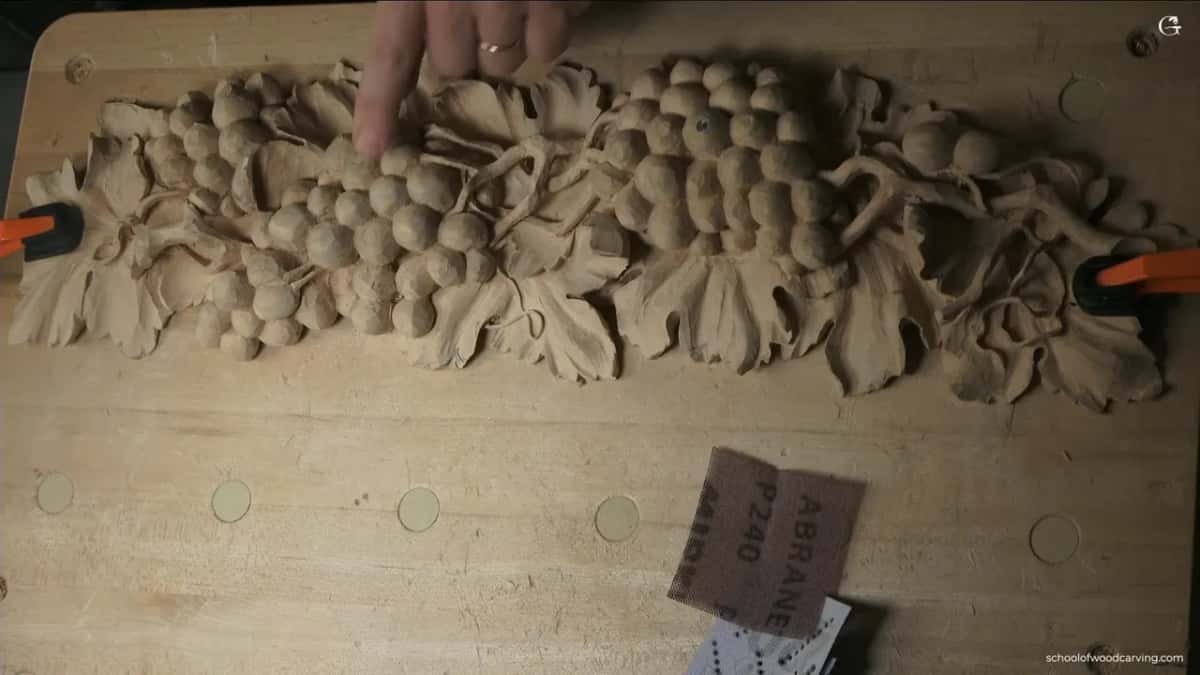
All fourteen lessons that led to this point are filmed inside the school, and you can watch the gouge work on the grapes and on the leaves.
How far can you take a grape onlay?
There is no end to how far you can take it. Keep refining forever, or abandon it. How it looks in the end is only up to you.
At the end of lesson 14 there was still a lot of cleaning to do, and little by little it took shape. I love the overall shape, and again, that is just my opinion.
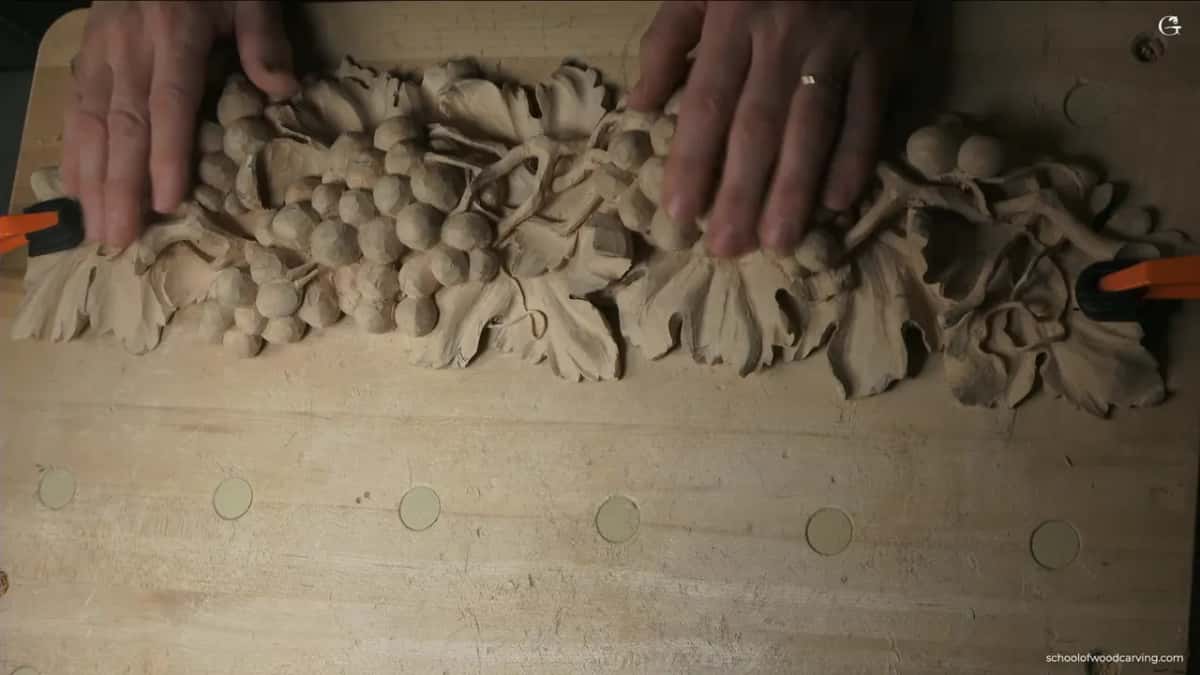
I think this one looks really good. I turned it both ways in the video so you can see it in 3D. Every grape needs to be full 3D, even a small one, or the bunch starts to look like fish scales.
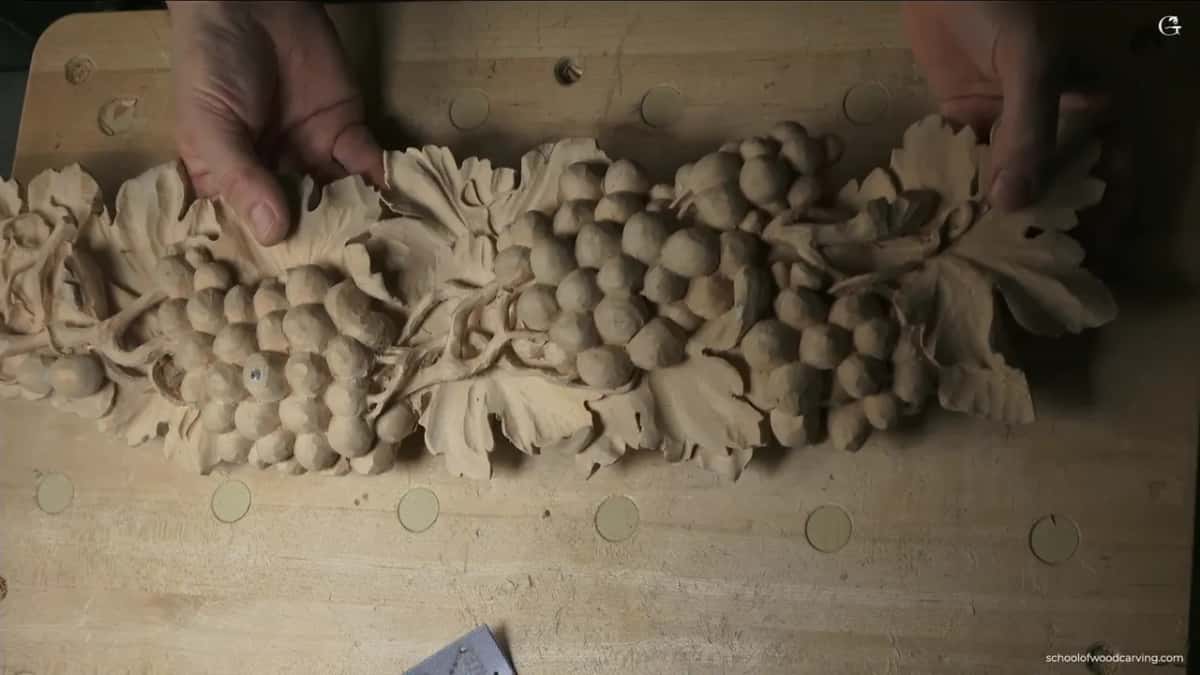
This is the final, final look. Even the leaves can take a light, light touch at the end. It will still look really nice. I still have to take pictures of mine and post them, so you can recreate the whole thing if you want to.
Where does a finished grape onlay go?
Anywhere with a classical look, and I have carved plenty of grapes in my carving career. It fits on a mantel, above a kitchen hood, over a door as a header, or simply on a wall as a piece of art.
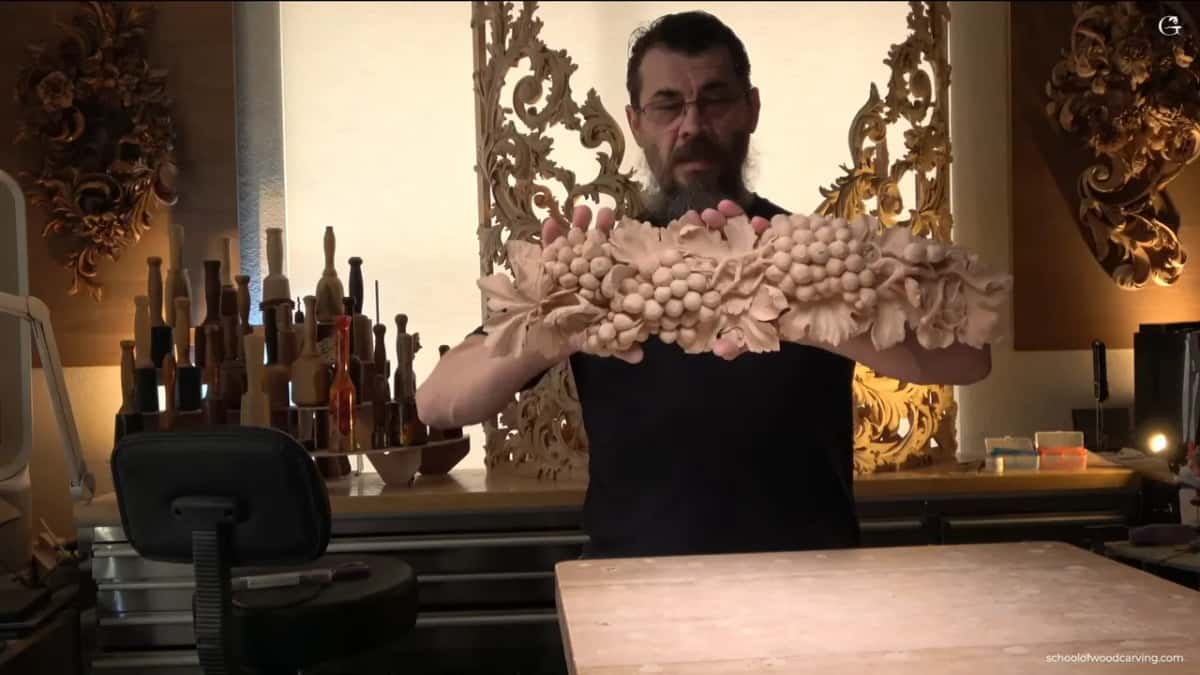
This one came out of a board 24 inches long, which is about 61 cm, and 6 inches wide, about 15 cm. It is 8/4 material, roughly 2 inches or 5 cm thick. Mine measured 1 7/8 inches, 4.76 cm, and yours does not have to be exact. The project is somewhat advanced, but if you want to challenge yourself, why not? My board even had a knot. I used basswood, which is lime or linden wood in Europe. Lesson 1 starts from that board, with the approach we used when we carved it at the Marc Adams School.
The roughing there starts with a number 9 of 20 mm, about 3/4 inch, which is probably tool number one for this project. A 25 or 30 mm number 9 is even better if you own one, since it saves so much time.
How do you send your onlay for the certificate?
Upload one photo of it on this lesson page. Use jpg or png only, never a zip, and shrink the file first at TinyPNG.
Have the picture ready before you begin. You get one chance on this page, and the upload button disappears after you leave. I will look at your work and certify you based on what I see.
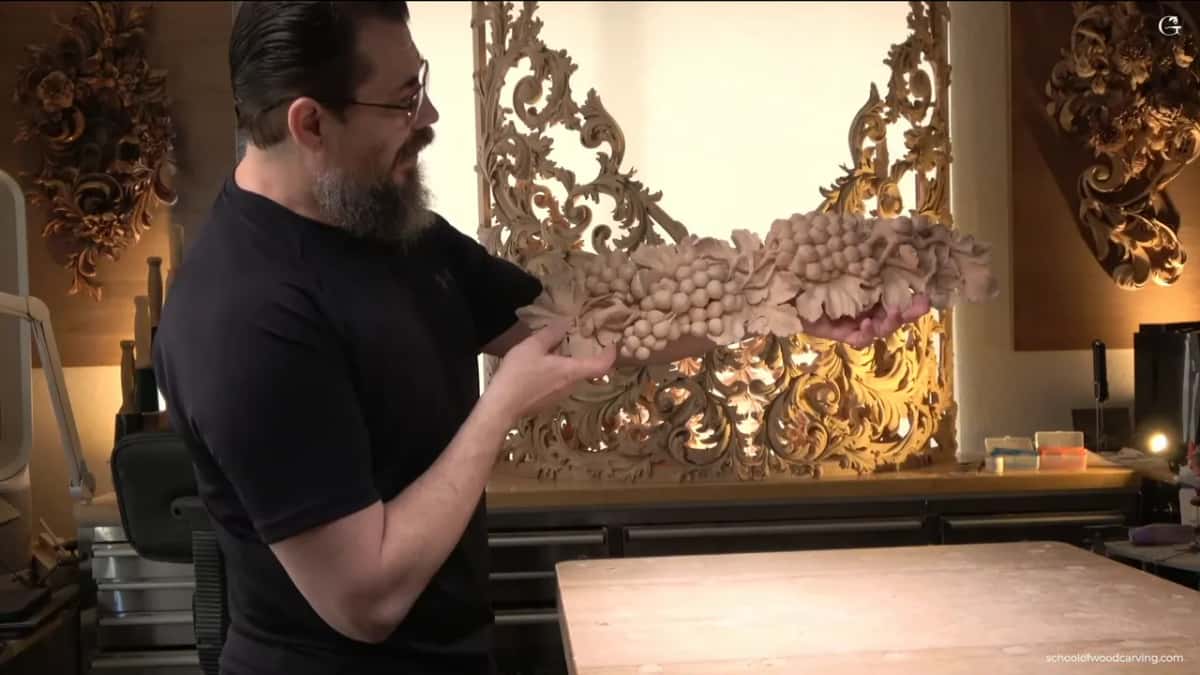
What one photo reveals about a carving is the subject of the floral panel assessment, and the Gibbons final asks for the same kind of picture.
What comes after the grapes?
More carving, and harder carving. I am planning a lot more complex work, like Grinling Gibbons, and simple projects for beginners as well.
Gibbons himself never had sandpaper. He smoothed with rush reeds, and a reed works about like 400 grit. How I use that plant is in the Greek acanthus lesson.
There were a lot of movements in this course, and I hope they made good lessons. Thank you for being part of my school. Ask me any questions and I will try to answer. Good questions, not the bad ones. But try. Thank you very much, and have a good one.
Is your onlay finished, and is the photo shrunk and ready to go?
How it's done
- Decide where it will hang. A painted mantel means paint over the carving, and gold leaf means a smooth, shiny surface. Anything else leaves the choice with you.
- Clean big facets with a tool. Ride a sharp gouge, flipped over, across the worst facets before any abrasive touches the wood.
- Seal kiln dried wood. Brush on one light coat of sanding sealer so the fibers do not fuzz up under the paper.
- Sand the upper half only. Work 220 or 240 lightly over the crown of each grape.
- Treat one rough patch. Drop to 120 only where a spot is still rough.
- Add a little shine. Touch the crowns with the 4000 sponge, and go carefully.
- Photograph and upload. Send a single photo, shrunk first with TinyPNG, from the final lesson page.
Frequently asked questions
What grit is safe on a basswood carving?
Start at 240, or 220, and stay there for most of the work. Anything rougher than 120 leaves scratches that are hard to remove later, so I never go below it. Even then, keep the paper on the crowns of the grapes and let the leaves be.
Why use a mesh abrasive instead of plain sandpaper?
Dust falls through the holes in a mesh, so less grit ends up buried in the wood. Your gouges come back to that surface later, and a cleaner surface is kinder to their edges. Mirka makes the mesh I keep at my bench.
Should the leaves of a grape onlay be sanded?
Leave them rough if you can. Tool marks on a leaf show the carving was done by hand, and a flatter gouge or a skew chisel softens any facet that bothers you. A very light touch with fine paper, once everything else is done, is as far as I would go.
What to carve next